Halloween Graveyard Dirt Cups
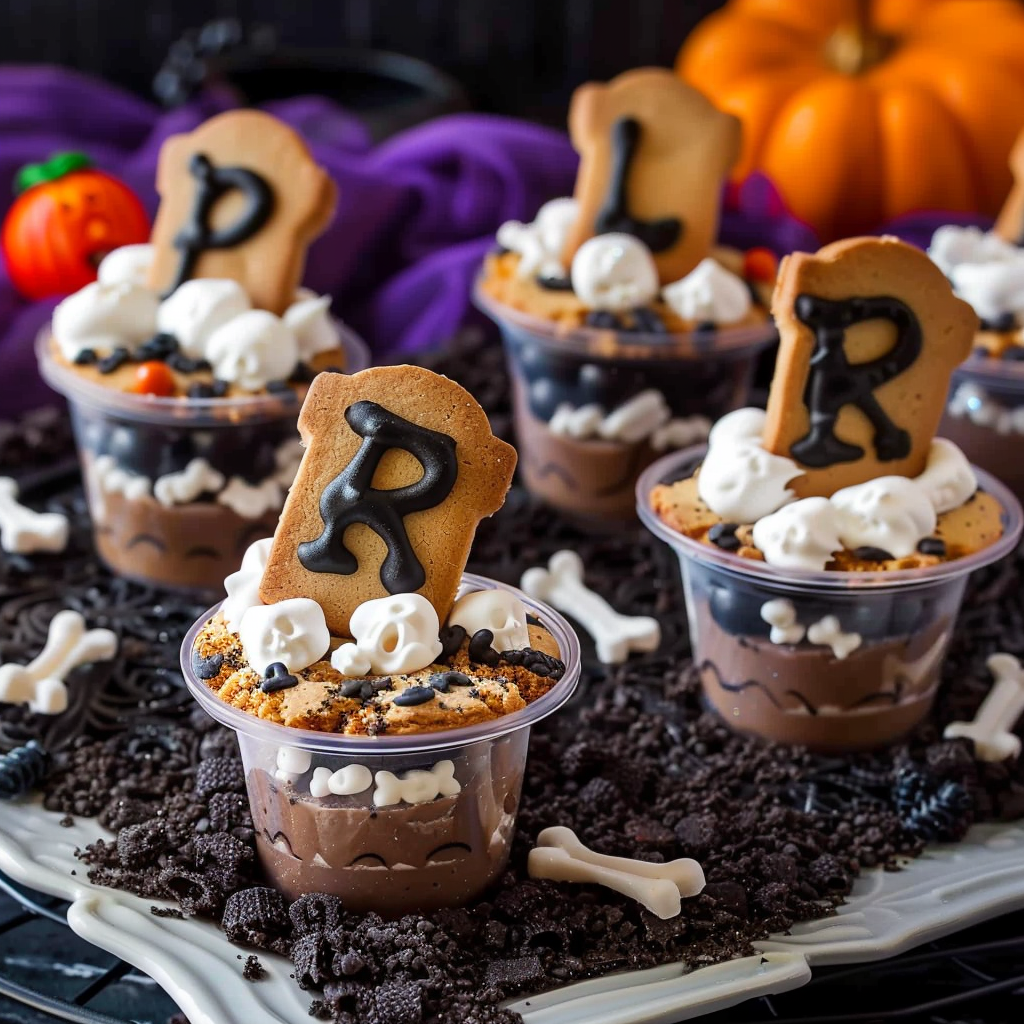
Halloween graveyard dirt cups are the perfect spooky treat for Halloween parties, combining fun visuals with irresistible flavors. These no-bake desserts are incredibly easy to make and offer a creative outlet for both kids and adults. By layering chocolate pudding, crushed cookies, and creepy candy decorations like gummy worms and cookie tombstones, you create a festive and memorable treat that guests will rave about.
What makes these cups special isn’t just their spooky look—it’s their versatility and simplicity. Whether you’re planning a school party, a backyard Halloween gathering, or a quick dessert after dinner, Halloween dirt cups are a stress-free and engaging option. Kids especially love the hands-on decorating, making these cups both an activity and a dessert rolled into one.
The popularity of these treats comes from their nostalgic combination of flavors and textures—creamy chocolate pudding (see Chocolate pudding – Wikipedia), crunchy cookie “dirt,” and chewy gummy candy (Gummy candy – Wikipedia). Plus, thanks to social platforms like Pinterest’s Halloween pudding cup ideas, inspiration for decorating is endless. These treats are also great conversation starters on themed dessert tables and can be made in advance for convenience.
Whether you’re a seasoned baker or a parent looking for a fun Halloween dessert kids will love, these graveyard cups hit all the marks. They require no oven, minimal prep, and deliver maximum Halloween flair with every bite.
Why Kids and Adults Love This Halloween Dessert
Halloween graveyard dirt cups are beloved by both kids and adults because they’re a perfect blend of creativity, flavor, and fun. Unlike complicated baked goods, these no-bake Halloween desserts are approachable and playful, making them a staple for fall celebrations.
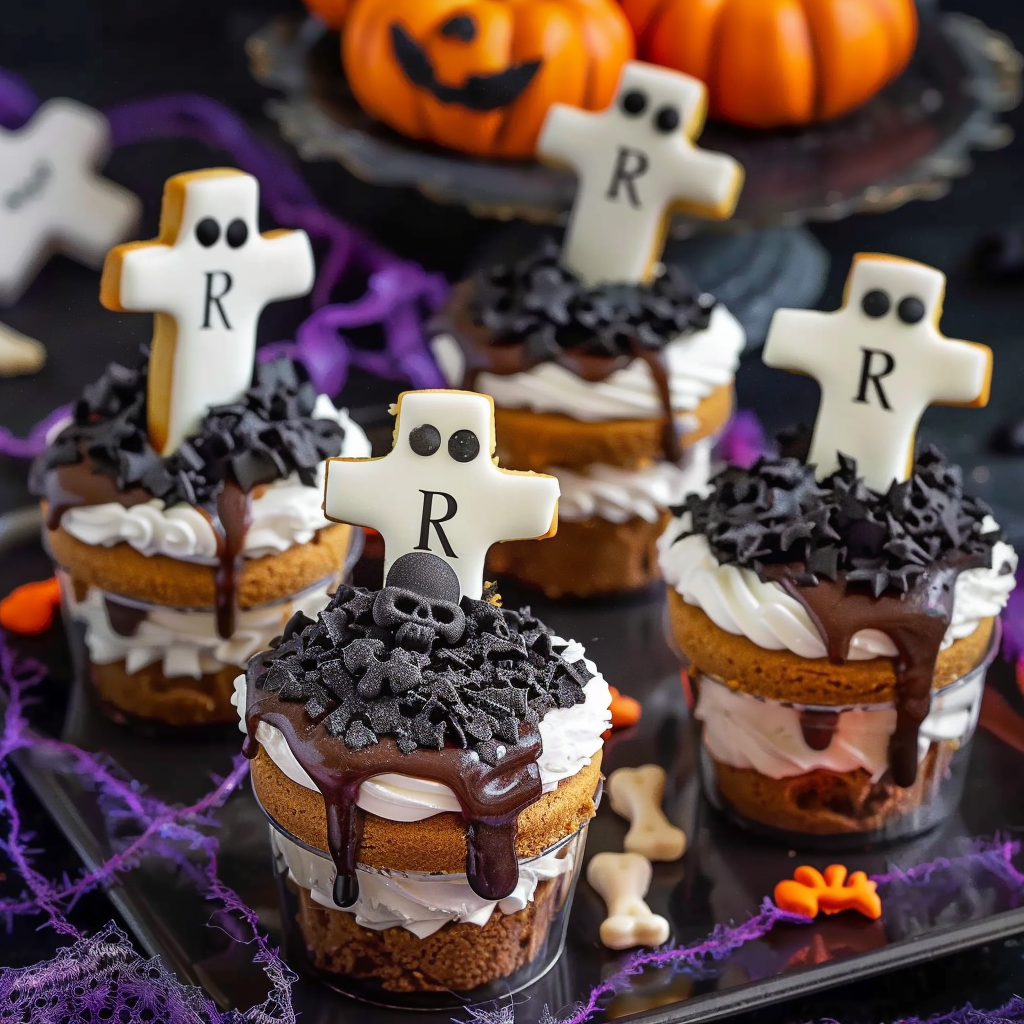
One of the biggest appeals of these spooky treats is their layered texture. The contrast between smooth whipped cream (explore more about whipped cream on Wikipedia), rich chocolate pudding, and crunchy crushed cookies mimics soil in a whimsical way. Topped with colorful elements like gummy worms and tombstone cookies, they instantly become a kid-friendly edible craft.
Adults love them too—not only for the nostalgia but also for the simplicity. They’re easy to prepare in advance and require only a few ingredients. This makes them ideal for hosting Halloween parties where quick prep and low mess are essential. For more inspiration, visit easy Halloween treats for kids on Pinterest to see just how versatile these dirt cups can be.
Another reason these Halloween desserts stand out is their interactive nature. Kids enjoy helping with each step, from crushing cookies to decorating tombstones. If you’re building a Halloween party dessert table, these cups fit perfectly alongside other spooky snacks—just check out creative setups like those on Pinterest’s Halloween dessert table ideas.
Halloween dirt cups aren’t just treats—they’re a festive experience. Their visual appeal, customizable design, and hands-on preparation make them a favorite year after year for families looking to celebrate Halloween in a fun, memorable way.
Ingredient Breakdown
Creating Halloween graveyard dirt cups starts with a handful of simple, store-bought ingredients. These easy-to-find components come together to form a treat that’s both delicious and fun to decorate.
Base Ingredients for the Pudding Layer
-
1 (3.9 oz) box instant chocolate pudding mix – This forms the creamy base of your dirt cups. Choose a high-quality brand for best flavor. You can learn more about chocolate pudding on Wikipedia.
-
2 cups cold milk – Cold milk helps the pudding set quickly and gives it the right consistency.
-
1 (8 oz) container whipped topping, thawed – Adding whipped topping creates a lighter, fluffier texture. You can also use homemade whipped cream for a richer flavor.
“Dirt” Topping
-
15 chocolate sandwich cookies (like Oreos), crushed – Crushed cookies mimic soil and add a satisfying crunch. Discover more about Oreo cookies.
-
You can crush them using a food processor or by placing them in a ziplock bag and using a rolling pin.
Graveyard Decorations
-
Milano cookies or any oval-shaped cookie – These serve as edible tombstones. Their shape and light color make them perfect for writing spooky messages like “RIP.” See more about cookies on Wikipedia.
-
Black decorating gel or melted chocolate – Used for writing on the tombstones. Edible markers work too.
-
Gummy worms – Essential for that creepy-crawly effect. Gummy candy comes in various spooky shapes during Halloween.
-
Halloween sprinkles (optional) – These add color and can include bats, pumpkins, and ghosts.
Substitution Suggestions
-
Use dairy-free pudding and plant-based whipped topping for a vegan version.
-
Substitute chocolate cookies with gluten-free sandwich cookies for allergy-friendly options.
-
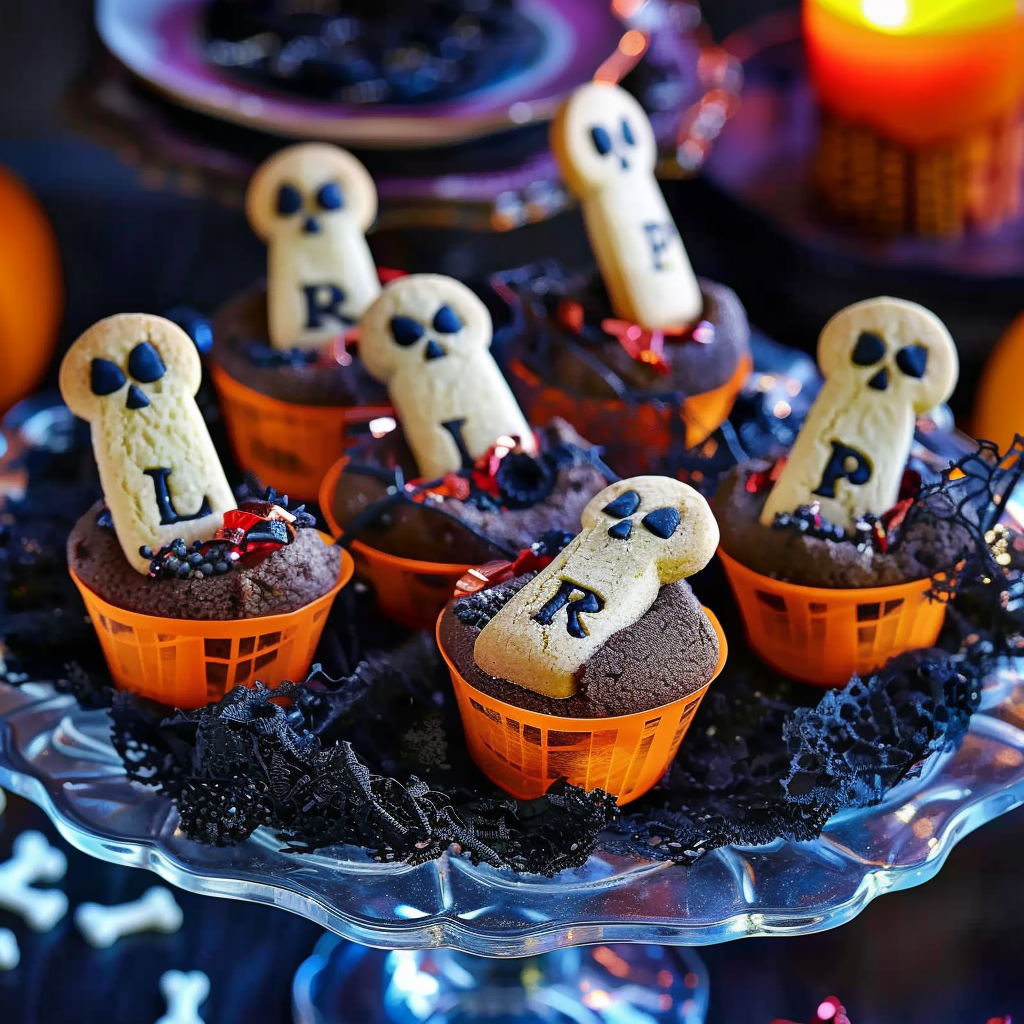
Replace gummy worms with candy bones or eyeballs for a scarier twist.
By keeping the ingredients flexible, you can tailor the dessert to meet dietary needs or personal preferences. You’ll find endless ideas on Pinterest’s spooky dessert crafts, making this treat easy to customize for any Halloween party.
Step-by-Step Instructions with Pro Tips
Making these Halloween dirt cups is a breeze. Here’s a step-by-step guide to getting that perfect creepy look and taste:
-
Prepare the pudding base:
In a medium mixing bowl, whisk the instant chocolate pudding mix with 2 cups of cold milk until it thickens (about 2 minutes). -
Fold in whipped topping:
Gently fold in the thawed whipped topping until the mixture is smooth and fully combined. Avoid overmixing to keep it light and fluffy. -
Spoon into cups:
Divide the pudding mixture evenly among small plastic cups or clear dessert glasses. Fill each about ¾ full. -
Add the “dirt” layer:
Crush the chocolate sandwich cookies into fine crumbs and sprinkle a generous layer over the pudding. This mimics the soil and adds crunch. -
Create tombstones:
Using a toothpick, edible marker, or piping bag, write “RIP” or spooky words on Milano cookies. Gently press a tombstone into the back of each cup. -
Decorate with gummy worms and extras:
Place gummy worms crawling out of the “dirt,” and sprinkle with Halloween-themed sprinkles or other candies. You can find decoration inspiration in collections like Pinterest’s Halloween pudding cup ideas. -
Chill before serving:
Refrigerate the dirt cups for at least 30 minutes or until ready to serve. This allows the flavors to set and keeps the pudding firm.
Pro Tips:
-
Use clear cups for maximum visual effect.
-
Let kids decorate their own cups for a party activity.
-
For extra creepiness, add candy eyes or fake spiders on top.
These steps ensure your graveyard dessert cups not only taste amazing but look spectacular on your Halloween party dessert table. See more setup ideas on Pinterest.
Fun Variations on the Classic Graveyard Dirt Cup
While the original version is a crowd-pleaser, you can easily customize Halloween dirt cups to match your party theme or dietary needs. Here are a few fun and creative variations:
-
Pumpkin Patch Cups:
Use green-tinted coconut flakes as grass and top with candy pumpkins. -
Ghost Graveyard:
Add ghost-shaped Peeps or marshmallows standing upright in the dirt. -
Witch’s Brew Cup:
Swap chocolate pudding for green or purple-colored pudding and add candy eyeballs and bones for a witchy twist. -
Vegan or Dairy-Free Version:
Use plant-based pudding and whipped topping. Choose gelatin-free gummy candy to make it fully vegan. -
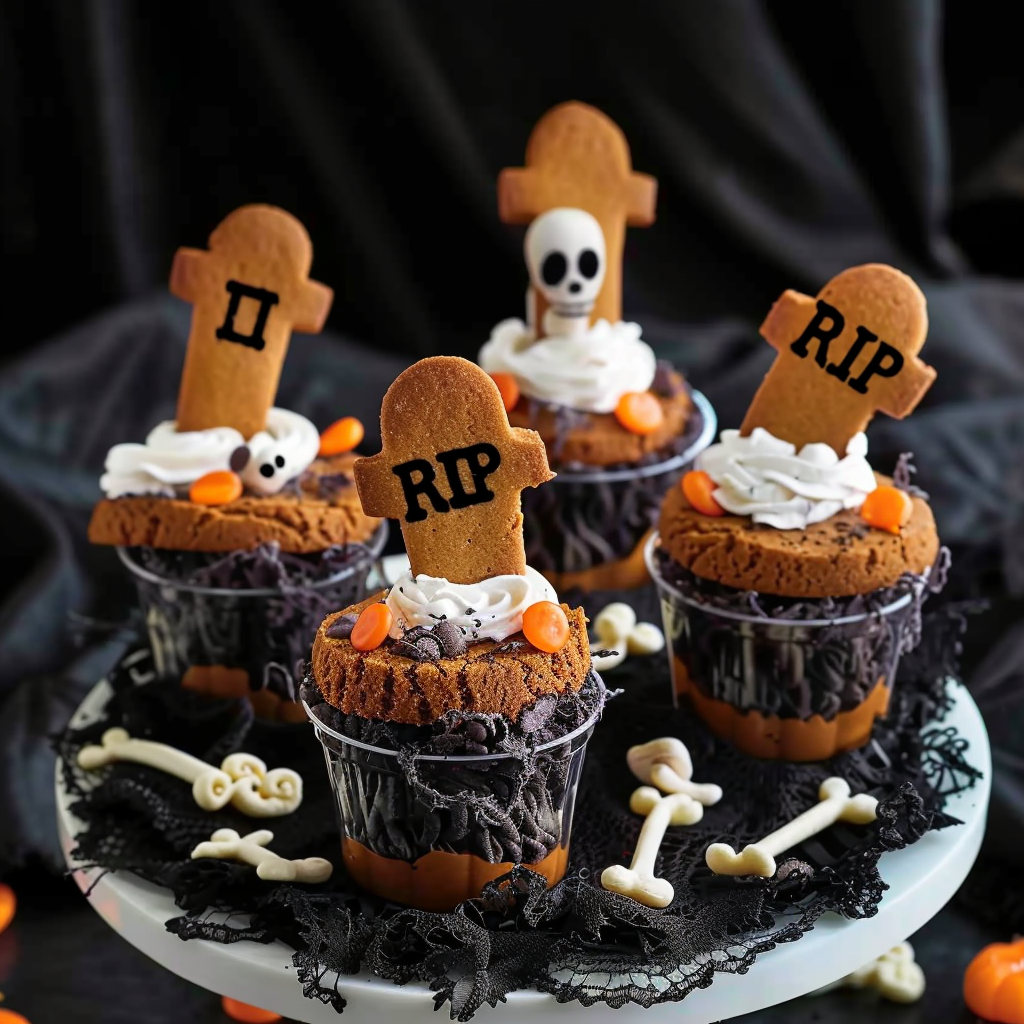
Cookie Graveyard with Candy Bones:
Replace tombstone cookies with bone-shaped sugar cookies and scatter candy bones across the top. -
Spooky Forest Scene:
Add pretzel sticks as “trees” and use candy bats or spiders for a creepy atmosphere.
You can also use mason jars or mini glass jars for a rustic, elegant look. More ideas can be found in seasonal Pinterest boards, such as Halloween treats for kids.
How to Present and Serve Graveyard Dirt Cups
Presentation can take your Halloween graveyard dirt cups from fun to unforgettable. Here are a few tips to make them look as good as they taste:
-
Use clear plastic cups so everyone can see the spooky layers. Alternatively, use mini mason jars for a more upscale look.
-
Label tombstones with custom messages like “Boo,” “Enter if you dare,” or the names of party guests.
-
Display creatively: Place the cups on a decorated serving tray with fake cobwebs, mini pumpkins, and LED candles to complete the graveyard theme.
-
Serve with Halloween-themed spoons or party picks shaped like bones or coffins.
-
If you’re creating a full Halloween party dessert table, arrange the cups among other themed snacks for a cohesive look. For ideas, check out this Pinterest dessert table gallery.
These ideas make your dirt cups stand out and turn a simple dessert into a focal point of your Halloween celebration.
Fun Halloween Party Ideas Featuring Dirt Cups
Halloween dirt cups are more than just a dessert—they’re a fantastic activity and display item for parties. Here’s how to incorporate them into your event:
-
DIY Dirt Cup Decorating Station:
Set up a table with pudding cups and toppings so kids can create their own versions. Include gummy worms, sprinkles, candy bones, and tombstone cookies. -
Costume-and-Treat Pairing:
Match treats to costumes—zombie costumes with graveyard cups, witch costumes with Witch’s Brew cups, and so on. -
Halloween Craft Contest:
Let kids decorate their cups and vote on the spookiest, funniest, or most creative design. -
Party Favor Cups:
Serve the dessert in Halloween-themed plastic cups that guests can take home. -
Haunted House Snack Station:
Set up dirt cups as part of a creepy buffet, complete with chocolate cookies and candy critters.
Pinterest has great inspiration for spooky dessert crafts, helping you plan a themed experience from snacks to decor.
Make-Ahead and Storage Tips
Prepping your graveyard dirt cups ahead of time saves stress and ensures the flavors meld perfectly. Here’s how to store them properly:
-
Make-ahead: You can prepare the pudding base and cookie layers up to 24 hours in advance.
-
Decorations: Add tombstones and gummy worms just before serving to avoid sogginess or melting.
-
Storage: Cover the cups with plastic wrap or lids and refrigerate. Keep chilled until ready to serve.
-
Avoid freezing: The texture of the pudding and whipped topping can change if frozen.
Making these cups in advance gives you more time to focus on party setup and lets the pudding firm up nicely.
Safety and Allergy Considerations
While Halloween dirt cups are generally safe for most kids, a few precautions help keep things fun and allergy-friendly:
-
Dairy and gluten: Use dairy-free pudding and gluten-free sandwich cookies for guests with intolerances.
-
Gelatin: Some gummy candies contain gelatin, which isn’t suitable for vegetarians. Choose plant-based alternatives.
-
Decorating gel: Use nut-free and dye-free decorating gels if you’re serving children with allergies or sensitivities.
-
Choking hazards: For toddlers, avoid hard or small decorations like candy bones or eyeballs.
Labeling ingredients and offering alternatives ensures all guests can enjoy the treat safely.
Educational and Developmental Benefits for Kids
Creating and decorating Halloween graveyard dirt cups offers more than just fun—it’s a hands-on learning opportunity:
-
Fine motor skills: Writing on cookies, sprinkling toppings, and placing worms help kids develop coordination.
-
Creativity and expression: Each cup becomes a canvas for kids to express themselves with spooky flair.
-
Following directions: Measuring and layering the dessert teaches sequencing and listening skills.
-
Parent-child bonding: Making these treats together strengthens connections and encourages teamwork.
These benefits make dirt cups a great addition to Halloween learning activities, combining fun with skill-building.
FAQs: People Also Ask
What are Halloween dirt cups made of?
They’re made from instant chocolate pudding, whipped topping, crushed chocolate cookies, and spooky decorations like gummy worms and tombstone cookies.
Can I make dirt cups the night before?
Yes! Prepare the pudding and cookie layers, then refrigerate. Add decorations shortly before serving to keep them fresh.
What can I use instead of Oreos in dirt cups?
You can use gluten-free cookies, graham crackers, or chocolate wafer cookies as an alternative to Oreos.
Are dirt cups safe for toddlers?
They can be, but avoid small or hard decorations that pose choking risks. Use soft candies and omit sprinkles.
How do you write on cookie tombstones?
Use black decorating gel, melted chocolate, or edible markers to write “RIP” and spooky messages on flat cookies like Milanos.
Can I make Halloween dirt cups without pudding?
Yes! Substitute pudding with chocolate mousse, Greek yogurt, or a vegan pudding for dietary needs or flavor preference.


