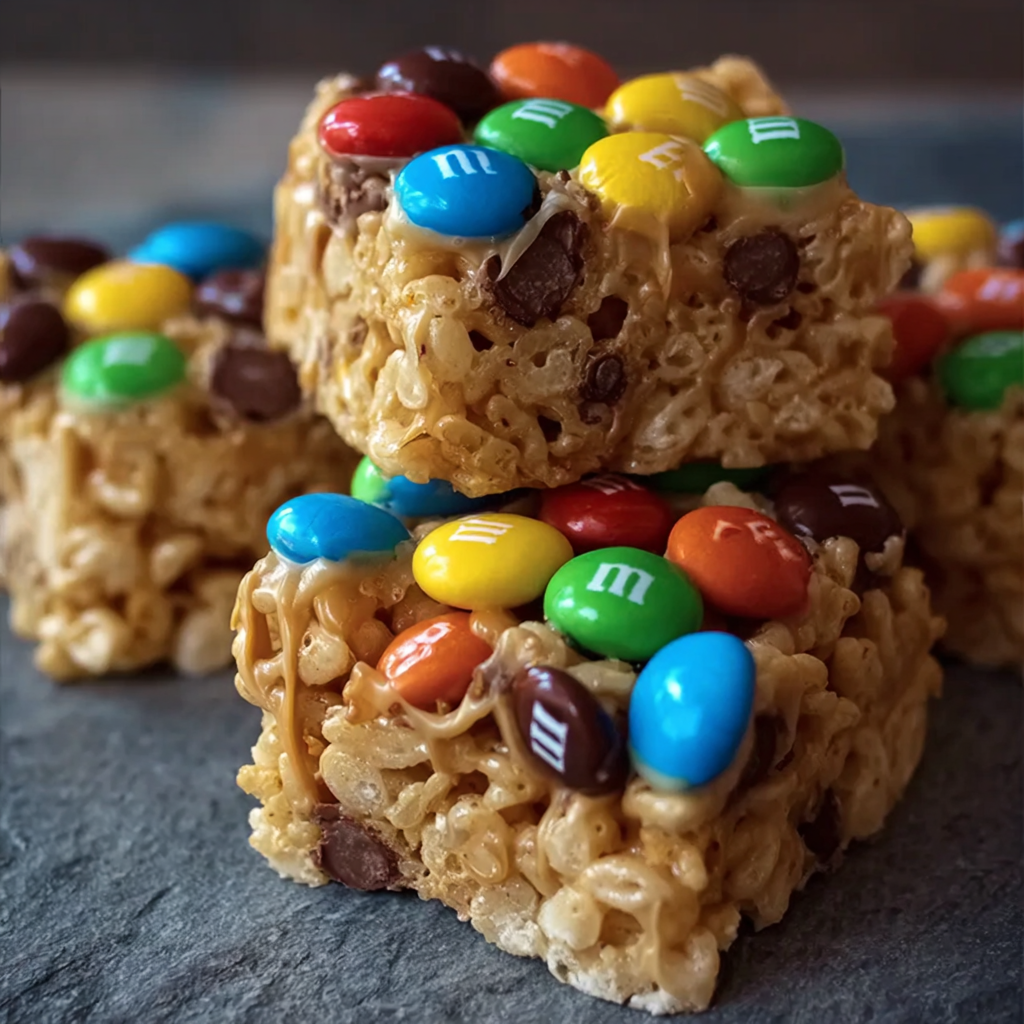
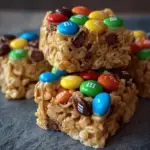
There’s something timeless about a chewy, sweet, and slightly salty no-bake dessert bar. These Peanut Butter Rice Krispie Treats with M&Ms and Chocolate Chips deliver exactly that—a satisfying crunch, gooey marshmallow texture, and colorful bursts of chocolate candy, all layered into one easy-to-make square. Whether you’re planning a last-minute potluck, prepping a weeknight treat, or packing a lunchbox surprise, this simple five-ingredient dessert is a go-to recipe worth bookmarking.
Made with classic Rice Krispies cereal (learn more about its history on Wikipedia), creamy peanut butter, and melty mini marshmallows, these bars come together with minimal effort. Their irresistible sweetness is perfectly balanced with the salty depth of peanut butter, creating a nostalgic bite that both kids and adults love. And best of all? They’re completely no-bake, so there’s no need to turn on the oven.
If you’re looking for more fun no-bake treat inspiration, Pinterest is full of clever dessert bar ideas that build on this easy formula. For a closer look at the key ingredients—like how different types of marshmallows affect texture—check out this guide on marshmallows.
The combination of chocolate chips, mini M&Ms, and buttery cereal in each bite is more than just delicious—it’s a textural dream. These bars are thick, satisfying, and slice cleanly for serving at parties or storing for later. Perfect for bake sales, holiday trays, or late-night snacking, they’ve earned their place as a modern classic in no-bake desserts.
Why You’ll Love These Peanut Butter Rice Krispie Treats
These Peanut Butter Rice Krispie Treats stand out because they combine ease, flavor, and flexibility in one foolproof recipe. You don’t need baking skills, special equipment, or extra time, making them ideal for busy schedules. The sweet and salty balance from creamy peanut butter, chocolate chips, and M&Ms creates a crowd-pleasing flavor everyone recognizes. They’re sturdy enough for potlucks, yet soft enough for kids to enjoy. Best of all, this no-bake dessert bar is endlessly customizable, letting you swap candies, cereals, or nut butters without compromising texture or taste. It also stores well and stays fresh for several days easily
Ingredients Breakdown
Pantry Staples You Already Have
This recipe comes together using basic pantry staples that you likely already have on hand:
-
¼ cup unsalted butter – Adds richness and helps melt the marshmallows smoothly.
-
1 bag (10 oz) mini marshmallows – The base for the gooey, chewy texture. You can explore the science of marshmallows on Wikipedia.
-
½ cup creamy peanut butter – Brings a salty, nutty balance to the sweetness.
-
6 cups Rice Krispies cereal – Provides the crispy, crunchy structure of the bars. Learn more about Rice Krispies cereal.
-
½ cup mini M&M’s – Adds color and a pop of chocolate. See how M&M’s candy became a popular baking addition.
-
½ cup mini chocolate chips – Melts slightly into the warm mixture for added sweetness.
These six ingredients are all it takes to create a rich, gooey, crunchy dessert that doesn’t require baking, refrigeration, or special tools. The use of mini marshmallows ensures even melting, and the Rice Krispies cereal offers just the right texture to hold everything together.
Ingredient Tips and Variations
-
Natural vs. processed peanut butter: Processed peanut butter like Jif or Skippy creates the most stable and cohesive bars. Natural peanut butter can separate and cause the bars to be crumbly or oily.
-
Candy swaps: You can use Reese’s Pieces, chopped peanut butter cups, or white chocolate chips for different flavor combos. Check out Pinterest boards on peanut butter desserts for creative ideas.
-
Cereal variations: Try Cocoa Krispies for a double chocolate version or Cornflakes for a slightly saltier finish.
-
Allergy-friendly options: Use sunflower seed butter or almond butter as alternatives to peanut butter, and dairy-free chocolate if needed.
These swaps keep the recipe flexible and inclusive, especially for families navigating allergies or food preferences. You can find more kid-friendly desserts that follow similar principles.
Step-by-Step Instructions with Tips
-
Prep the pan: Grease a 9×13-inch pan with nonstick spray or line it with parchment paper. This prevents sticking and helps with easy removal and cutting later.
-
Melt the butter: In a large saucepan over medium heat, melt ¼ cup of unsalted butter until fully liquid.
-
Add marshmallows: Pour in the 10 oz bag of mini marshmallows. Stir continuously until melted and smooth. Be patient—rushing this step can burn the mixture.
-
Stir in peanut butter: Remove the pan from heat and immediately stir in ½ cup of creamy peanut butter. Mix until smooth and fully incorporated.
-
Mix in cereal: Quickly add 6 cups of Rice Krispies cereal to the warm mixture. Use a greased spatula to fold it together, making sure all the cereal is evenly coated.
-
Cool slightly: Let the mixture sit for 1–2 minutes to cool slightly. If it’s too hot, the chocolate chips and M&Ms will melt too much.
-
Add chocolate and candy: Fold in most of the mini M&Ms and chocolate chips, saving a few for topping.
-
Press into the pan: Transfer the mixture into the prepared pan. Press it down firmly using wax paper or a greased spatula to get an even surface.
-
Decorate the top: Sprinkle the reserved M&Ms and chocolate chips on top. Gently press them into the surface to help them stick.
-
Cool and slice: Let the bars cool completely at room temperature before slicing into squares.
Pro Tip: If your kitchen is warm, let the bars cool in the refrigerator for 20 minutes to help them firm up faster. You can also browse no-bake treat inspiration for similar techniques.
Tools and Equipment Needed
-
Large saucepan – For melting the butter, marshmallows, and mixing everything together.
-
Heatproof spatula or spoon – A silicone spatula works best for scraping and folding.
-
9×13-inch pan – Standard size for dessert bars.
-
Parchment paper or nonstick spray – Helps release the bars easily.
-
Measuring cups – Essential for accuracy, especially with sticky ingredients like peanut butter.
-
Wax paper or a second spatula – Useful for pressing the mixture into the pan without sticking.
Using the right tools makes this process smooth and cleanup minimal. For more ideas on fun food for potlucks, browse Pinterest boards on potluck desserts.
Quick Storage Tips
These bars stay fresh for several days when stored properly:
-
Room temperature: Keep them in an airtight container at room temp for up to 4 days. Separate layers with parchment paper to avoid sticking.
-
Refrigeration: If your home is warm, refrigerate the bars to help them hold their shape. Let them come to room temperature before serving.
-
Freezing: You can freeze them for up to 1 month. Wrap individually in plastic wrap and store in a freezer-safe container. Thaw at room temperature before enjoying.
Proper storage ensures that the Rice Krispie treats don’t become too hard or lose their chewiness. Learn more about how chocolate behaves in storage in the chocolate chip guide.
Variations on the Classic Recipe
These bars are super customizable. Here are some ideas to change things up:
-
Nut-free version: Use sunflower seed butter or cookie butter instead of peanut butter.
-
Holiday-themed treats: Swap in red and green M&Ms for Christmas, pastel ones for Easter, or orange and black for Halloween.
-
Different cereals: Use Cocoa Krispies for a chocolaty base or Cheerios for a softer crunch.
-
More mix-ins: Try crushed pretzels, chopped nuts, or mini marshmallows folded in with the candy.
-
Chocolate drizzle: Melt white or dark chocolate and drizzle over the top for a fancier finish.
Check out easy dessert bar ideas for creative twists using seasonal ingredients or themed decorations.
Troubleshooting Common Problems
If your Peanut Butter Rice Krispie Treats don’t turn out as expected, here’s how to fix them:
-
Too hard: You may have cooked the marshmallows too long or at too high a temperature. Always melt slowly over medium heat.
-
Falling apart: Not pressing the mixture firmly enough into the pan can cause loose bars. Be sure to pack them down tightly.
-
Candy melting: Add the M&Ms and chocolate chips only after the mixture has cooled slightly, or they’ll melt into the bars.
-
Not chewy enough: Use fresh marshmallows and avoid overmixing once the cereal is added.
-
Sticky spatula: Lightly spray your spatula or hands with nonstick spray to make pressing easier.
If you’re trying other variations, take a look at peanut butter dessert recipes for tips on making each batch work with different ingredients.
Kid-Friendly & Fun Presentation Ideas
Make this recipe even more appealing by switching up the presentation:
-
Shape them: Use cookie cutters to shape them into stars, hearts, or seasonal shapes.
-
Roll into balls: After mixing, roll the mixture into bite-sized balls instead of pressing into a pan.
-
Add colorful sprinkles: Press sprinkles on top for an extra pop of fun.
-
Wrap them up: Wrap individual squares in plastic wrap or decorative bags for party favors.
-
Layer with chocolate: Add a thin chocolate layer on the bottom or top for a more indulgent treat.
These presentation ideas make the treats perfect for birthdays, bake sales, or as DIY gifts. You can find even more kid-friendly dessert ideas to inspire creative serving options.
When and Where to Serve These Bars
These Peanut Butter Rice Krispie Treats are perfect for nearly every occasion:
-
Bake sales – A guaranteed bestseller with bright M&Ms and no messy frosting.
-
Potlucks – Easy to transport and serve.
-
Birthday parties – Especially great when shaped or decorated festively.
-
Lunchbox treats – Just the right size for a sweet afternoon surprise.
-
Movie nights – A great alternative to popcorn or candy.
Looking for more event-friendly desserts? Pinterest has tons of fun food ideas for potlucks that pair well with these treats.
FAQs
Can I use natural peanut butter in Rice Krispie treats?
Yes, but the consistency will change. Natural peanut butter is oilier and separates more easily, which can lead to greasy or crumbly bars. Stir it well and add a little extra cereal to balance the texture.
How do I keep Rice Krispie treats soft?
Store them in an airtight container and don’t overcook the marshmallow mixture. Use fresh marshmallows and avoid pressing the bars too tightly into the pan.
Can I make Rice Krispie treats without marshmallows?
Yes, but they won’t have the same texture. Alternatives include honey and peanut butter mixtures or using melted marshmallow fluff. The marshmallow is key to the chewiness.
How long do homemade Rice Krispie treats last?
They last 3–4 days at room temperature in an airtight container. For longer storage, freeze them for up to a month.
Can you freeze Rice Krispie treats with chocolate?
Absolutely. Just wrap them individually and store in a freezer-safe container. Let them come to room temperature before eating to restore texture.
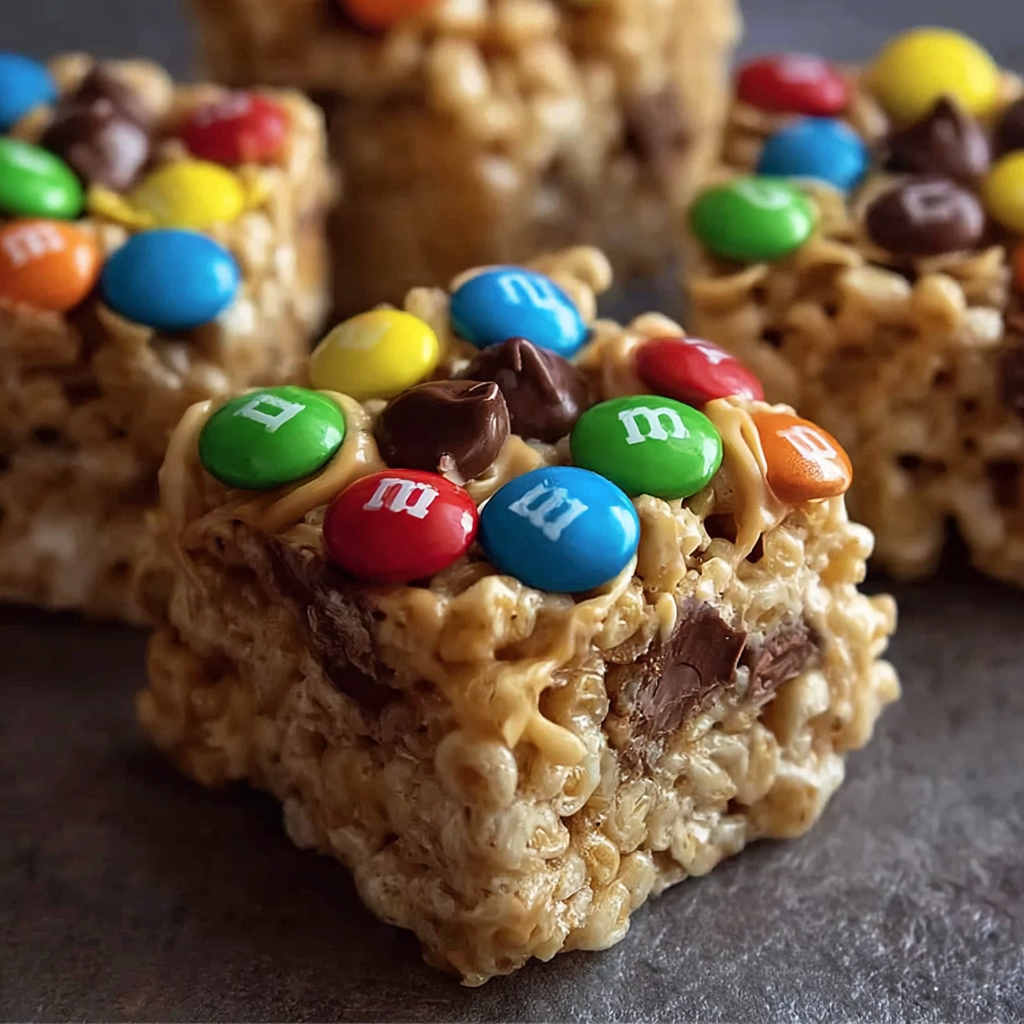
Peanut Butter Rice Krispie Treats with M&Ms and Chocolate Chip The Easy No Bake Dessert Bar
Peanut Butter Rice Krispie Treats with M&Ms and Chocolate Chips are chewy, crunchy, and colorful no-bake bars made with just five pantry staples. Loaded with sweet marshmallows, salty peanut butter, and studded with mini M&Ms and chocolate chips, they make the perfect dessert for busy families, holiday parties, or casual snacking.
- Author: Clara
Ingredients
- ¼ cup unsalted butter
- 1 bag (10 oz) mini marshmallows
- ½ cup creamy peanut butter
- 6 cups Rice Krispies cereal
- ½ cup mini M&M’s
- ½ cup mini chocolate chips
Instructions
Grease a 9×13-inch pan with nonstick spray or line with parchment paper.
In a large saucepan over medium heat, melt the butter.
Add the marshmallows and stir until completely melted and smooth.
Remove from heat and stir in the peanut butter until fully combined.
Quickly add the Rice Krispies cereal and mix until evenly coated.
Let the mixture cool slightly for 1–2 minutes, then gently fold in most of the mini M&M’s and chocolate chips, saving a few for the top.
Press the mixture evenly into the prepared pan using a greased spatula or wax paper.
Sprinkle the reserved M&M’s and chocolate chips on top and press them lightly into the surface.
Let cool completely at room temperature before slicing into squares and serving.
Notes
-
Use processed peanut butter for best results—natural types may cause separation.
-
Allow the mixture to cool for a couple of minutes before adding candy to avoid melting.
-
Press mixture firmly into the pan for clean, sturdy bars.
-
Customize with other candies, cereals, or add-ins to suit your taste.
-
Store in an airtight container to maintain freshness and softness.