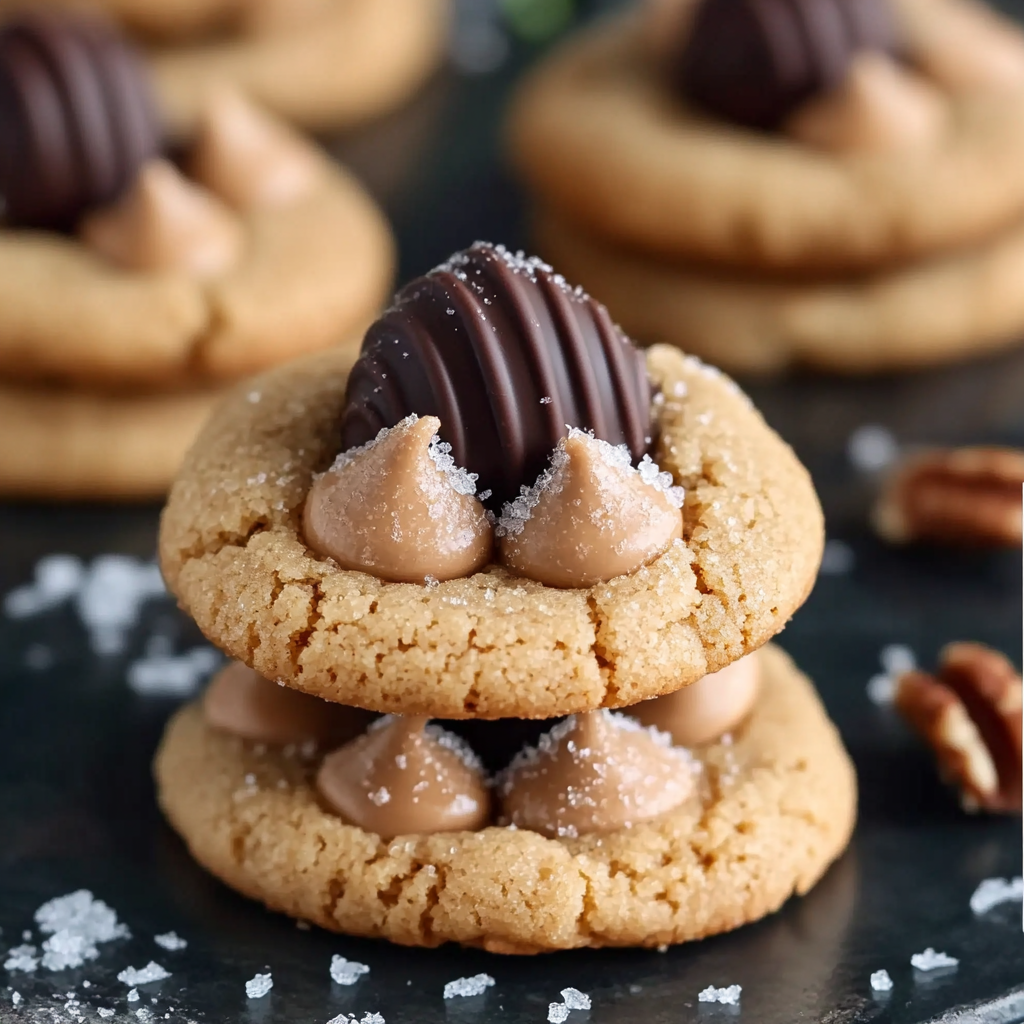
Peanut Butter Blossoms are a beloved classic cookie that combines the rich, nutty flavor of creamy peanut butter with the sweetness of a chocolate kiss pressed into the center. These cookies have been a staple at holiday gatherings, bake sales, and family events for decades. Their perfect balance of soft, chewy texture and melty chocolate center makes them irresistible.
Originally introduced in the 1950s, Peanut Butter Blossoms gained widespread popularity when they were submitted to the Pillsbury Bake-Off Contest. Despite not winning first place, the cookies quickly became a household favorite. Today, they are enjoyed worldwide, often appearing on Christmas cookie trays, at birthday parties, and even as a go-to treat for peanut butter lovers.
The magic of these cookies lies in their simple yet flavorful ingredients. A carefully balanced mixture of all-purpose flour, baking soda, butter, and peanut butter gives them their soft and slightly crumbly texture. The granulated sugar coating adds a slight crunch, while the chocolate kiss in the center melts just enough to create a smooth, creamy bite.
For those who love experimenting in the kitchen, Peanut Butter Blossoms can be easily customized. You can swap out the traditional chocolate kiss for dark chocolate, white chocolate, or caramel-filled kisses. Some even enjoy using almond or cashew butter for a nutty twist. Whether you stick to the classic recipe or try a fun variation, these cookies are guaranteed to be a hit.
Ingredients Breakdown
Creating the perfect batch of Peanut Butter Blossoms starts with using the right ingredients. Each component plays a crucial role in achieving the ideal texture, flavor, and consistency. Below is a detailed breakdown of what you’ll need and why each ingredient matters.
Dry Ingredients
- All-Purpose Flour (1 ¾ cups) – Flour forms the foundation of the cookie dough, providing structure and ensuring a soft yet slightly chewy bite. Using all-purpose flour gives the cookies a delicate balance between tenderness and stability. For those looking for alternatives, a gluten-free flour blend can be used, but adjustments to liquid ingredients may be necessary. Learn more about different types of flour in this Wikipedia guide.
- Baking Soda (1 teaspoon) – A crucial leavening agent, baking soda helps the cookies rise slightly, giving them a light and airy texture. Without it, the cookies would turn out too dense. If you ever run out, you can use baking powder, but the texture may differ slightly. To understand more about its role in baking, check out this Wikipedia page on baking soda.
- Salt (½ teaspoon) – Even though it’s a small ingredient, salt enhances the flavors of all the other ingredients. It balances out the sweetness and brings out the nutty depth of the peanut butter.
Wet Ingredients
- Unsalted Butter (½ cup, softened) – Butter adds richness, moisture, and a creamy texture to the cookies. Using unsalted butter allows for better control over the salt content. If you only have salted butter, simply reduce the additional salt in the recipe.
- Creamy Peanut Butter (½ cup) – The star ingredient! Peanut butter gives the cookies their signature flavor and texture. Using creamy peanut butter ensures a smooth consistency, while chunky peanut butter can be used for added texture. Natural peanut butter can be used, but since it tends to separate, the dough might require extra mixing. Read about the history of peanut butter in this Wikipedia article.
- Granulated Sugar (½ cup, plus extra for rolling) – Sugar is key to the sweetness and texture of the cookies. Rolling the dough in granulated sugar before baking gives the exterior a light crispness, adding contrast to the soft center.
- Brown Sugar (½ cup, packed) – Unlike granulated sugar, brown sugar contains molasses, which adds moisture and depth of flavor to the cookies. It also helps keep them soft and chewy.
- Large Egg (1) – Eggs act as a binding agent, holding all the ingredients together while also contributing to the cookie’s structure and chewiness. If you need an egg substitute, options like flax eggs or applesauce can work, though they may slightly alter the texture.
- Vanilla Extract (1 teaspoon) – This enhances the overall flavor of the cookies, giving them a warm, aromatic depth. Using pure vanilla extract instead of artificial varieties results in a more natural, rich taste.
- Milk (2 tablespoons) – A small but vital ingredient, milk helps to soften the dough and ensure it’s the right consistency. It also adds a slight tenderness to the final baked cookie.
Chocolate Element
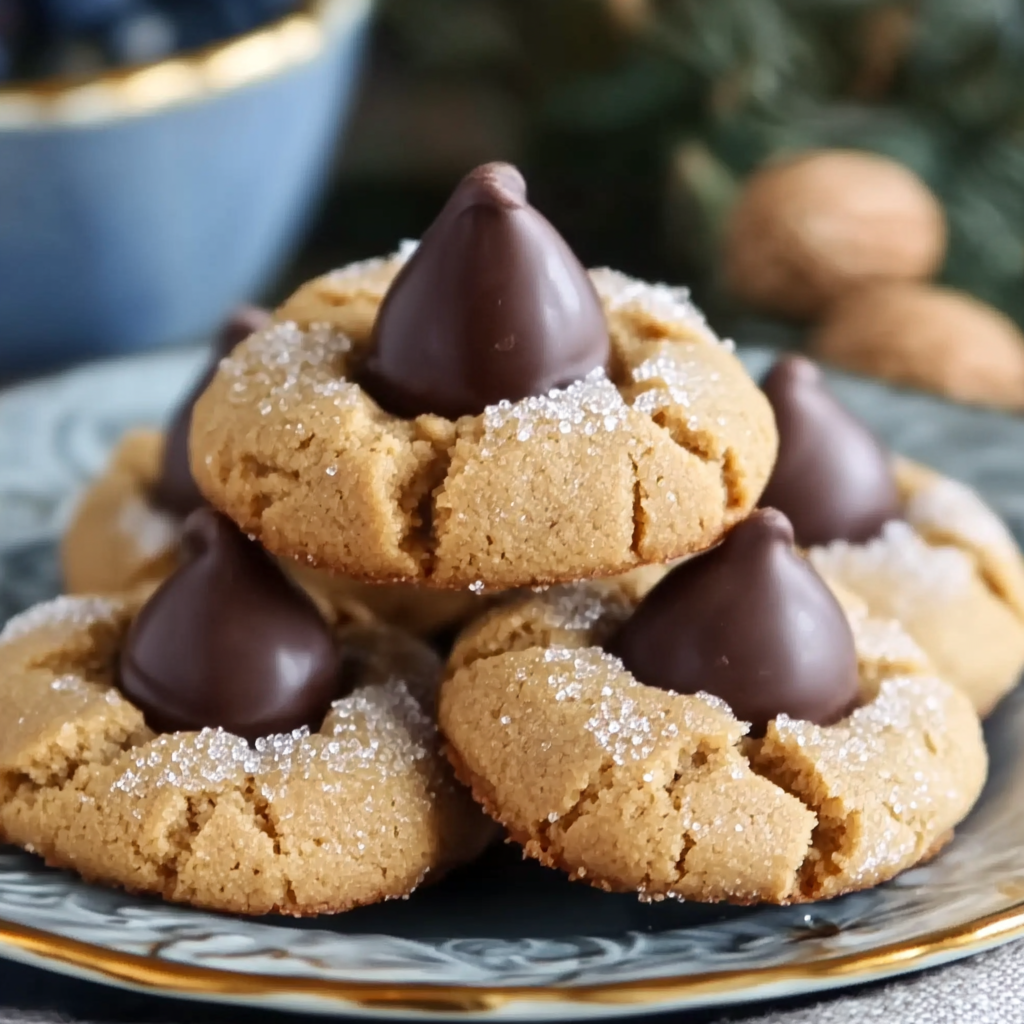
- Chocolate Kisses (36 pieces, unwrapped) – The final touch that makes these cookies iconic! Pressed into the warm cookies right after baking, chocolate kisses slightly soften, creating a melt-in-your-mouth experience. Dark chocolate, white chocolate, or even caramel-filled variations can be used for a different twist. Learn more about the science behind chocolate in this Wikipedia entry.
Each ingredient plays a specific role in achieving the perfect Peanut Butter Blossoms, ensuring they turn out soft, chewy, and deliciously chocolatey. Now that you know what goes into them, it’s time to move on to the step-by-step baking process!
Step-by-Step Baking Instructions
Baking Peanut Butter Blossoms is a straightforward process, but following each step carefully ensures the best results. From mixing the dough to adding the chocolate kiss, every step contributes to the perfect texture and flavor.
Preparing the Dough
- Preheat the Oven – Set your oven to 375°F (190°C) and line a baking sheet with parchment paper. This prevents the cookies from sticking and ensures even baking.
- Mix the Dry Ingredients – In a medium-sized bowl, whisk together the all-purpose flour, baking soda, and salt. This step ensures even distribution of the leavening agent and prevents clumping.
- Cream the Butter and Sugars – In a large mixing bowl, beat the softened butter, creamy peanut butter, granulated sugar, and brown sugar together using a hand or stand mixer. Mix until the texture becomes light and fluffy, which helps incorporate air into the dough for a softer cookie.
- Add the Egg, Vanilla, and Milk – Once the mixture is smooth, beat in the egg, vanilla extract, and milk. These ingredients add moisture, richness, and a hint of extra flavor.
- Combine the Dry and Wet Ingredients – Gradually add the flour mixture into the wet ingredients, stirring just until a soft dough forms. Over-mixing can lead to dense cookies, so mix only until combined.
Shaping and Baking the Cookies
- Scoop and Roll the Dough – Using a tablespoon or cookie scoop, measure out even portions of dough. Roll each portion into a smooth ball about 1 inch in diameter. This ensures uniform baking.
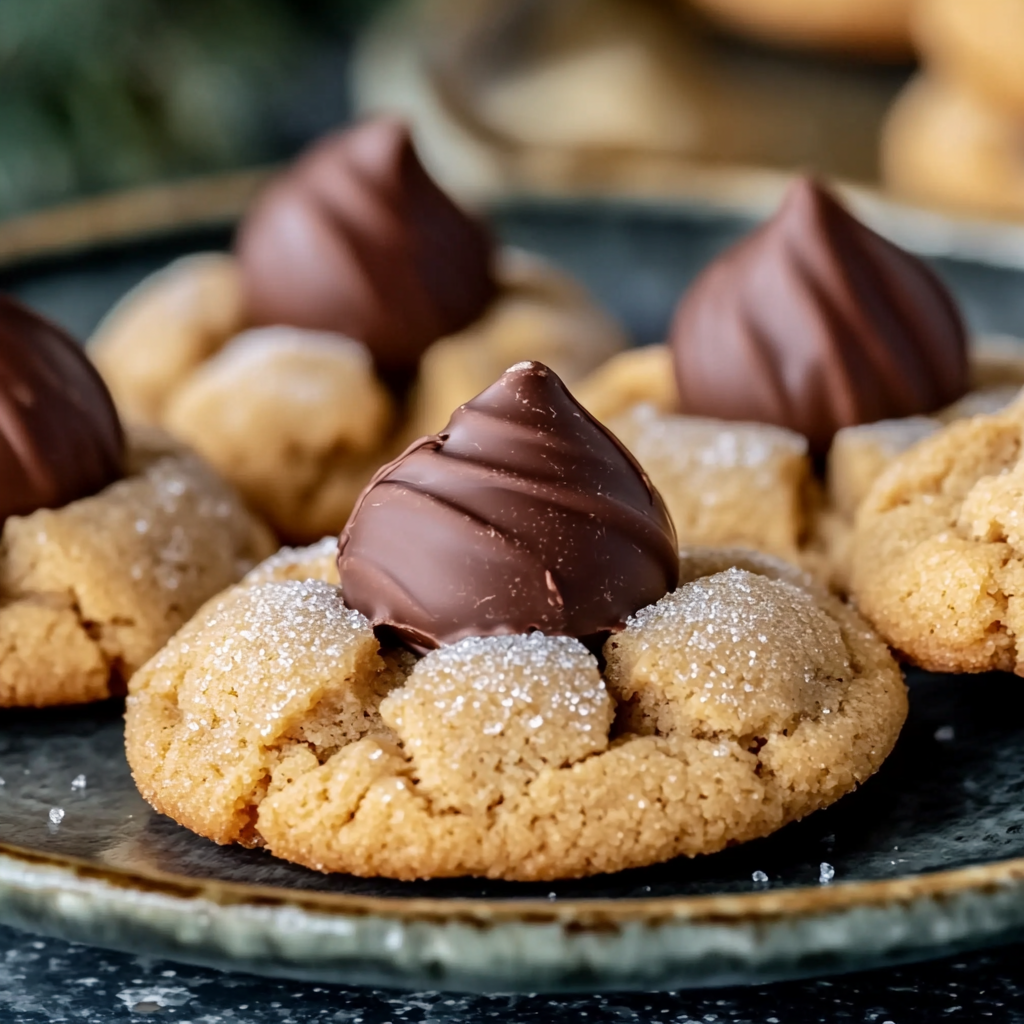
- Coat in Sugar – Roll each ball in granulated sugar before placing them on the prepared baking sheet. This adds a light crispness to the outside of the cookies.
- Arrange on the Baking Sheet – Place the dough balls 2 inches apart to allow room for spreading.
- Bake for 8-10 Minutes – The cookies should turn lightly golden around the edges but still look slightly soft in the center. Avoid overbaking, as this can lead to dry cookies.
Adding the Chocolate Kiss
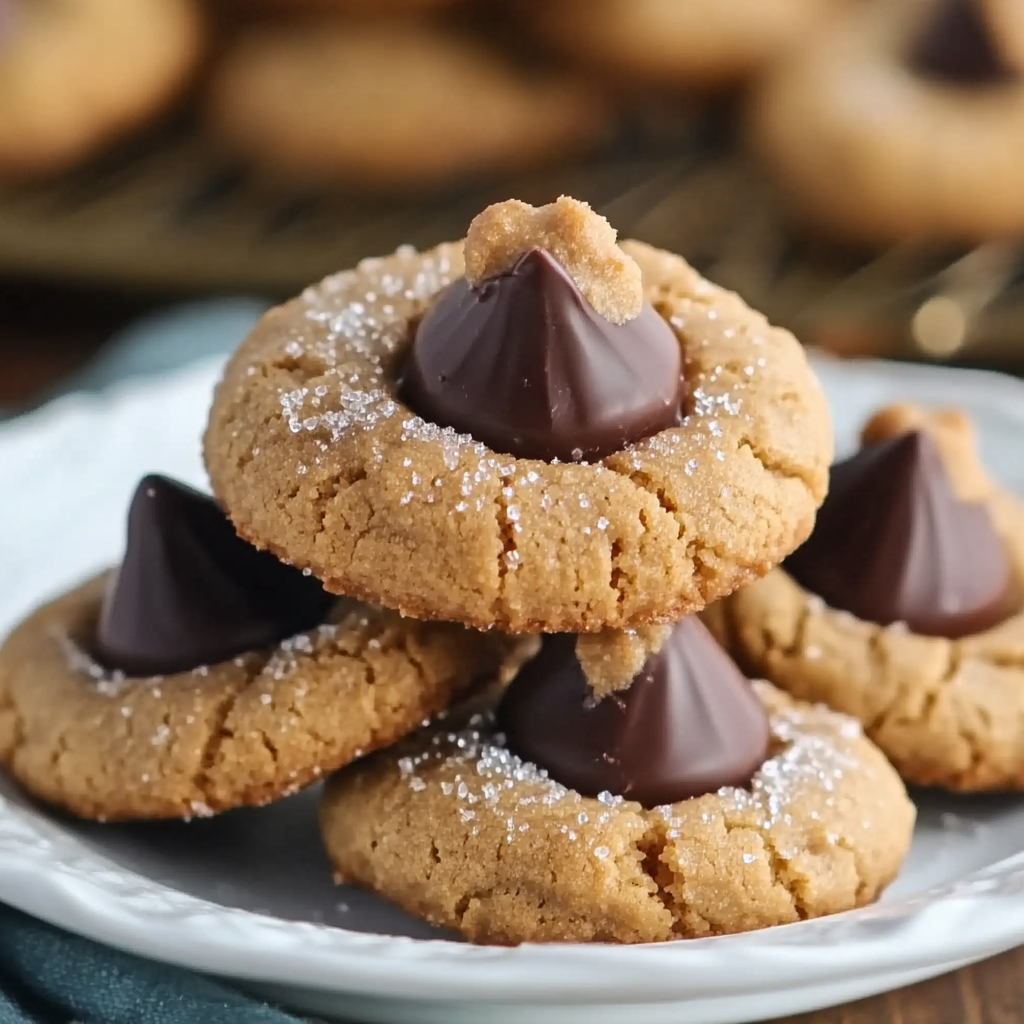
- Immediately Press a Chocolate Kiss into Each Cookie – As soon as the cookies come out of the oven, press a chocolate kiss into the center of each one. The residual heat will slightly melt the chocolate, helping it adhere to the cookie.
- Let the Cookies Cool on the Baking Sheet – Allow them to rest for about 5 minutes before transferring to a wire rack. This prevents them from breaking apart while still warm.
- Cool Completely – Let the cookies cool completely before storing them. This ensures the chocolate kiss firms up and sets properly.
Following these step-by-step instructions guarantees your Peanut Butter Blossoms turn out soft, chewy, and perfectly chocolatey every time. Next, we’ll dive into expert tips to ensure flawless results!
Expert Tips for Perfect Peanut Butter Blossoms
Even though Peanut Butter Blossoms are simple to make, a few expert tricks can take them from good to bakery-quality. Below are proven tips to help you achieve the best texture, flavor, and appearance.
Choosing the Right Peanut Butter
- Use creamy peanut butter – This ensures a smooth, even texture in the cookies. Brands like Jif and Skippy work best because they have a consistent fat-to-protein ratio.
- Avoid natural peanut butter – Since it separates easily, it can make the dough too oily or too dry, affecting the texture. If using natural peanut butter, stir it well before measuring and consider adding a teaspoon of cornstarch to maintain structure.
Preventing Cookies from Spreading Too Much
- Chill the dough – If your cookies spread too much, refrigerate the dough for 30 minutes before baking. This helps solidify the butter, preventing excess spreading.
- Measure flour correctly – Too little flour makes the dough too soft, while too much makes cookies dry. The best method is to spoon and level the flour rather than scooping directly from the bag.
Perfecting the Chocolate Kiss Placement
- Press the chocolate kiss in gently – Applying too much pressure can cause the cookies to crack excessively.
- Freeze the chocolate kisses before baking – This helps them retain their shape better when added to the hot cookies. If they start to melt too much, place the cookies in the fridge for a few minutes to set the chocolate.
Making Ahead and Freezing Tips
- To freeze the dough: Roll it into balls and place them on a baking sheet. Freeze until solid, then transfer to a freezer bag. When ready to bake, roll in sugar and bake directly from frozen, adding an extra 1-2 minutes to the baking time.
- To freeze baked cookies: Store them in an airtight container with parchment paper between layers to prevent sticking. Let them thaw at room temperature before serving.
By following these expert tips, you’ll ensure that your Peanut Butter Blossoms turn out soft, flavorful, and picture-perfect every time. Up next, let’s explore fun variations and customizations!
Variations & Customizations
While the classic Peanut Butter Blossoms are always a crowd favorite, there are plenty of ways to get creative with this recipe. Whether you want to switch up the flavor, make a dietary adjustment, or add a little extra texture, these variations will help you customize the cookies to your liking.
Chocolate Variations
- Dark Chocolate Kisses – For a richer, less sweet flavor, swap the classic milk chocolate kisses for dark chocolate kisses. The slightly bitter taste contrasts beautifully with the sweet peanut butter dough.
- White Chocolate Kisses – If you prefer a sweeter, creamier bite, try using white chocolate kisses or even cookies & crème Hershey’s kisses.
- Caramel-Filled Kisses – Want a gooey surprise? Use caramel-filled chocolate kisses to add an extra layer of indulgence.
Alternative Nut Butters
- Almond Butter – Swap out peanut butter for almond butter for a slightly different nutty flavor. Just ensure it’s not too oily, or the dough may be too soft.
- Cashew Butter – This option creates a milder, buttery flavor that pairs well with milk chocolate.
- Sunflower Butter – A great nut-free alternative for those with allergies! Sunflower butter works well, though it may cause cookies to turn slightly green due to a natural reaction with baking soda (this is harmless).
Adding Mix-Ins for Extra Texture
- Chopped Nuts – Stir in ¼ cup of chopped peanuts, almonds, or pecans for added crunch.
- Mini Chocolate Chips – Fold mini chocolate chips into the dough for extra chocolate in every bite.
- Toffee Bits – Toffee pieces add a sweet, buttery crunch that complements the peanut butter flavor perfectly.
Dietary Modifications
- Gluten-Free Version – Replace all-purpose flour with a 1:1 gluten-free flour blend. Brands like Bob’s Red Mill or King Arthur Baking work well.
- Vegan Option – Use vegan butter, a flax egg (1 tbsp flaxseed meal + 3 tbsp water), and dairy-free chocolate kisses to make a plant-based version.
- Lower Sugar – Reduce the sugar by ¼ cup or use a sugar substitute like monk fruit sweetener to make a lower-sugar version.
By experimenting with these fun variations, you can make Peanut Butter Blossoms your own! Next, let’s look at storage and serving suggestions to keep your cookies fresh and delicious.
Storage and Serving Suggestions
Once you’ve baked the perfect batch of Peanut Butter Blossoms, it’s important to store them correctly to maintain their soft texture and rich flavor. Here’s how to keep them fresh and ways to serve them for the best experience.
Storing Peanut Butter Blossoms
- Room Temperature Storage – Keep cookies in an airtight container at room temperature for up to 1 week. To prevent the chocolate kisses from smudging, place parchment paper between layers.
- Refrigeration – While not necessary, refrigerating can extend freshness for up to 2 weeks. However, cookies may become slightly firmer. Let them sit at room temperature before serving.
- Freezing Baked Cookies – Place cookies in a freezer-safe container with parchment paper between layers. They’ll stay fresh for up to 3 months. Thaw at room temperature before eating.
- Freezing Cookie Dough – To freeze unbaked dough, roll it into balls and freeze on a baking sheet. Once solid, transfer them to a freezer bag. Bake directly from frozen, adding 1-2 extra minutes to the baking time.
Best Ways to Serve Peanut Butter Blossoms
- Warm and Fresh – Slightly warm cookies in the microwave for 5-10 seconds to soften the chocolate and enhance the flavors.
- With a Glass of Milk – The classic way to enjoy these cookies is with cold milk, which complements the peanut butter and chocolate perfectly.
- Holiday Cookie Trays – Peanut Butter Blossoms are a staple in Christmas cookie assortments, often served alongside sugar cookies, snickerdoodles, and gingerbread cookies.
- Crumbled Over Ice Cream – For a fun dessert twist, crumble a cookie over a bowl of vanilla or chocolate ice cream for an extra indulgent treat.
By following these storage tips and serving ideas, you can keep your Peanut Butter Blossoms fresh and delicious for as long as possible. Up next, let’s answer some frequently asked questions about this classic cookie!
FAQs About Peanut Butter Blossoms
To help you troubleshoot common issues and perfect your baking, here are answers to some frequently asked questions about Peanut Butter Blossoms.
Can I use natural peanut butter instead of regular peanut butter?
Yes, but it may change the texture of the cookies. Natural peanut butter has a higher oil content, which can make the dough too wet or crumbly. If using natural peanut butter, stir it well and consider adding a teaspoon of cornstarch to maintain structure.
Why did my cookies turn out dry?
There are a few possible reasons:
- Too much flour – Make sure to measure flour correctly using the spoon-and-level method rather than scooping directly from the bag.
- Overbaking – Remove cookies when they are lightly golden around the edges. They will continue to set as they cool.
- Not enough moisture – Check that you added the milk and egg as they contribute to a soft texture.
How do I prevent the chocolate kiss from melting too much?
- Freeze the chocolate kisses before placing them on the warm cookies.
- Let the cookies cool slightly before pressing in the kiss to reduce residual heat.
- If the chocolate starts melting, place the cookies in the fridge for 5-10 minutes to help them set.
Can I make these cookies without eggs?
Yes! Replace the egg with a flax egg (1 tablespoon flaxseed meal + 3 tablespoons water) or ¼ cup unsweetened applesauce. This will keep the cookies soft while maintaining their structure.
What’s the best way to store Peanut Butter Blossoms to keep them soft?
- Store in an airtight container at room temperature with a slice of bread inside. The bread helps retain moisture, keeping the cookies soft for days.
- Avoid storing them in the refrigerator, as it can dry them out.


