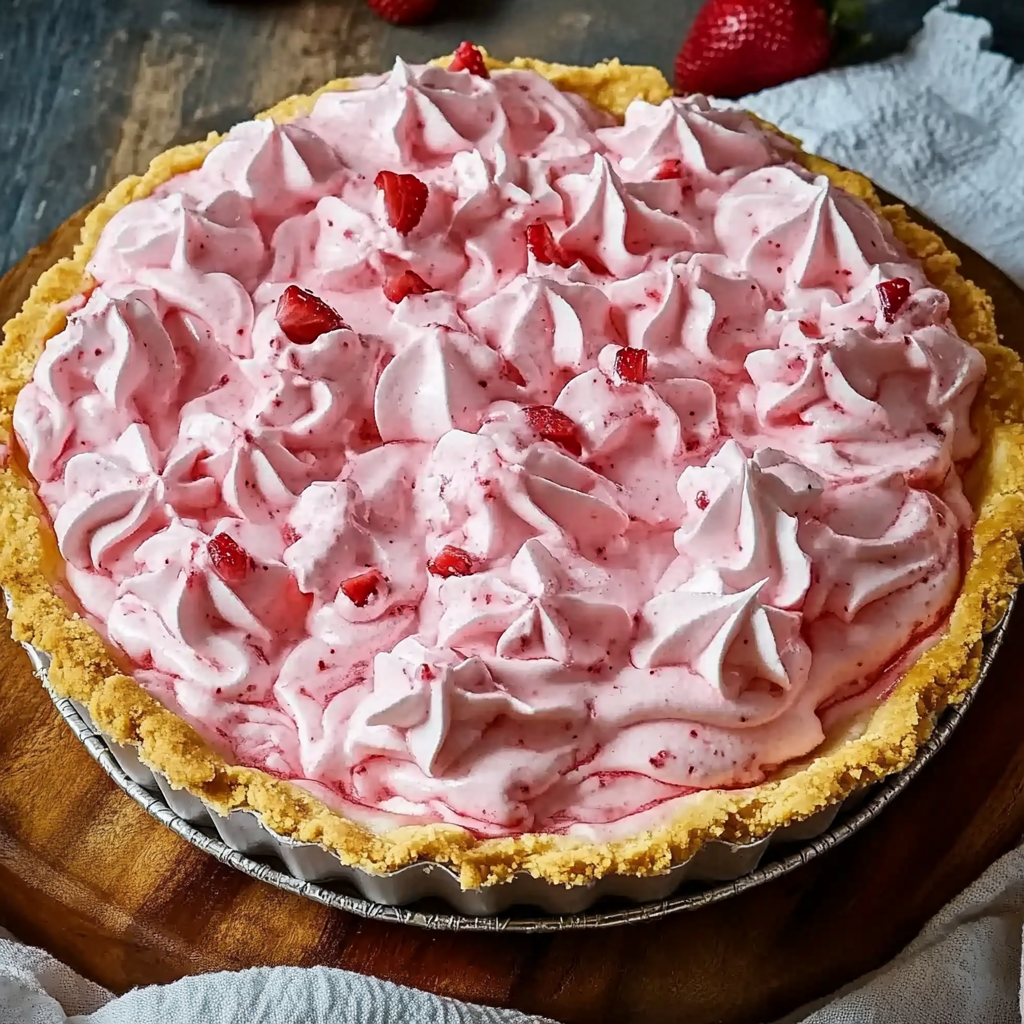
Nothing says summer quite like a chilled, creamy dessert bursting with the flavor of fresh strawberries. If you love quick, no-bake desserts, this No-Bake Strawberry Icebox Pie is the perfect treat. It combines a buttery graham cracker crust, a smooth and luscious strawberry filling, and a light, airy whipped topping. Plus, it’s easy to make—no oven required!
Icebox pies have been a staple of American kitchens for generations, originally designed to be stored in an icebox before modern refrigeration. They’re beloved for their simplicity and versatility, allowing for endless flavor variations. This particular recipe highlights the sweet, juicy essence of fresh strawberries, making it an irresistible summer dessert.
If you’re a fan of fruity desserts, you might also enjoy exploring other strawberry-based recipes like strawberry shortcake, which shares similar light and refreshing elements. And if you’re looking for inspiration, check out this collection of no-bake desserts on Pinterest for more delicious ideas!
What makes this pie stand out?
- No oven required – ideal for hot days.
- Minimal prep time – ready to chill in just 10 minutes.
- Perfectly creamy and fruity – a balance of sweet and tangy flavors.
- Great for gatherings – a guaranteed crowd-pleaser.
Stay tuned as we break down the ingredients and step-by-step instructions for creating the perfect No-Bake Strawberry Icebox Pie! 🍓
History of Icebox Pies
Icebox pies have a fascinating history rooted in the early days of refrigeration. Before modern refrigerators, people used iceboxes—insulated cabinets that stored large blocks of ice—to keep food fresh. This led to the creation of icebox desserts, which required minimal heat and could be set in the cold.
The concept of icebox pies became popular in the early 20th century, particularly in the southern United States. These pies were a solution for home cooks who wanted a refreshing dessert without the hassle of baking in a hot kitchen. Over time, different variations emerged, including chocolate, lemon, and strawberry versions. The combination of a graham cracker crust with a creamy, chilled filling became a classic, offering the perfect contrast of crunchy and smooth textures.
One of the most well-known variations is the icebox cake, which layers cookies and whipped cream to create a soft, cake-like texture. This method influenced modern icebox pies, which rely on refrigeration to firm up the filling. Today, these desserts remain a favorite, especially during warm months when lighter, no-bake treats are in high demand.
If you love easy and nostalgic desserts, you might also enjoy browsing this collection of summer desserts on Pinterest for more inspiration. Now, let’s explore why this strawberry icebox pie deserves a spot in your dessert lineup! 🍓
Why You’ll Love This Recipe
This No-Bake Strawberry Icebox Pie is more than just a dessert—it’s a refreshing, creamy, and effortless treat that’s perfect for any occasion. Whether you’re hosting a summer BBQ, celebrating a special event, or simply craving something sweet, this pie checks all the boxes.
Reasons to Try This Recipe:
- No oven required – Keep your kitchen cool by skipping the baking process.
- Quick and easy – Takes just 10 minutes to prep before chilling.
- Perfectly balanced flavors – The sweetness of strawberries pairs beautifully with the rich, tangy cream cheese filling.
- Customizable – Swap out the crust, adjust the sweetness, or add toppings to suit your taste.
- Make-ahead dessert – Prepare it in advance for stress-free entertaining.
This pie is a fantastic alternative to heavier baked desserts, making it ideal for warm-weather gatherings. If you’re a fan of creamy, fruit-based treats, you may also enjoy trying strawberry shortcake, another classic summer dessert. For even more ideas, check out these easy pie recipes on Pinterest to explore other variations of homemade pies.
Now, let’s dive into the essential ingredients that make this pie so irresistible! 🍓🥧
Ingredients Breakdown
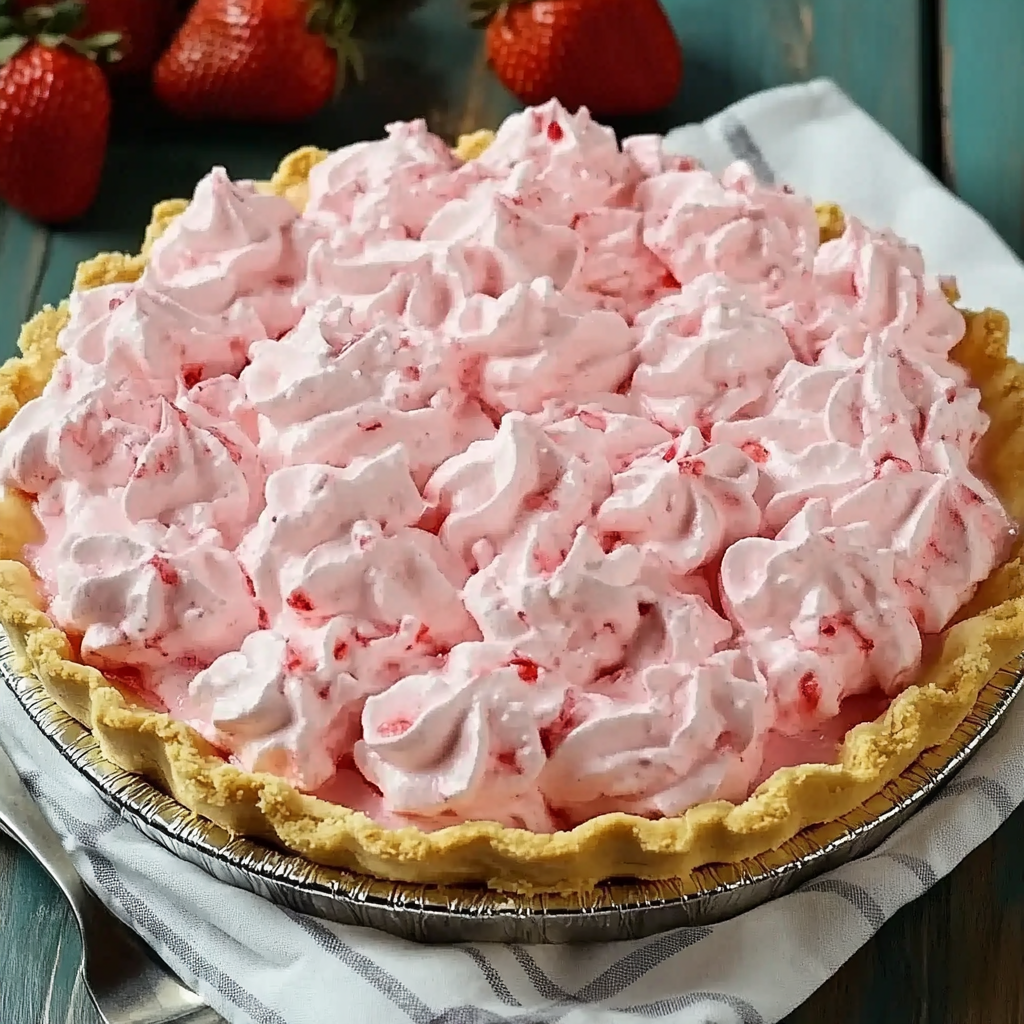
A great dessert starts with high-quality ingredients. This No-Bake Strawberry Icebox Pie combines a buttery graham cracker crust, a smooth and creamy strawberry filling, and a light, airy whipped topping. Let’s break down each component to understand its role in making this pie absolutely delicious.
For the Crust
The crust provides a firm base for the pie, adding a slightly crunchy texture that contrasts beautifully with the creamy filling.
- Graham cracker crumbs – The classic choice for icebox pies, offering a sweet and slightly nutty flavor. Learn more about graham crackers and their origins.
- Melted butter – Helps bind the crust together while adding richness.
- Granulated sugar – Enhances sweetness and balances the flavor.
Want to customize it? Try using chocolate cookie crumbs or vanilla wafers instead of graham crackers for a different twist!
For the Filling
The heart of this pie is its luscious strawberry filling, which is both light and creamy.
- Cream cheese – Adds a tangy, rich flavor and thickens the filling.
- Sweetened condensed milk – Provides the perfect level of sweetness while creating a smooth texture. Curious about its history? Check out the origins of condensed milk.
- Vanilla extract – Enhances the overall flavor profile.
- Fresh strawberries (pureed) – The star ingredient, bringing a natural fruity sweetness. If you’re a fan of strawberries, explore more strawberry recipes for additional dessert ideas.
- Lemon juice – Adds a touch of acidity to balance the sweetness.
- Heavy whipping cream (whipped) – Makes the filling light and airy.
For the Topping
A beautiful presentation makes this pie even more irresistible!
- Fresh sliced strawberries – Adds extra freshness and a pop of color.
- Whipped cream (optional) – For a decorative and creamy finish. Learn about whipped cream and its variations.
By combining these simple ingredients, you’ll create a smooth, creamy, and fruity dessert that everyone will love. Now that we have everything ready, let’s move on to the step-by-step instructions for making this delicious No-Bake Strawberry Icebox Pie! 🍓🥧
Step-by-Step Instructions
Now that we have all the ingredients ready, let’s go through the simple steps to create this No-Bake Strawberry Icebox Pie. From making the crust to assembling the pie, each step ensures a perfect balance of creamy, crunchy, and fruity flavors.
Making the Graham Cracker Crust
The foundation of any great icebox pie is a sturdy, flavorful crust.
- Crush the graham crackers – Use a food processor to pulse graham crackers into fine crumbs. If you don’t have a food processor, place them in a sealed bag and crush them with a rolling pin.
- Mix with butter and sugar – In a bowl, combine the graham cracker crumbs, melted butter, and sugar until the mixture resembles wet sand.
- Press into the pie pan – Firmly press the crust mixture into the bottom and sides of a 9-inch pie pan.
- Chill the crust – Refrigerate for at least 30 minutes to help it set before adding the filling.
For a variation, try using a chocolate cookie crust instead of graham crackers for a richer flavor. If you love experimenting with crusts, you might enjoy browsing easy baking ideas on Pinterest for more inspiration.
Preparing the Strawberry Filling
The filling is the star of this pie—light, creamy, and full of fresh strawberry flavor.
- Soften the cream cheese – Allow the cream cheese to come to room temperature before mixing to avoid lumps.
- Blend the ingredients – In a large mixing bowl, beat the softened cream cheese until smooth. Add the sweetened condensed milk, vanilla extract, strawberry puree, and lemon juice. Mix until fully combined.
- Whip the heavy cream – In a separate bowl, whip the heavy whipping cream until stiff peaks form. This creates a light, airy texture.
- Fold in the whipped cream – Gently fold the whipped cream into the strawberry mixture to keep the filling fluffy.
Looking for a dairy-free alternative? You can swap the heavy cream for coconut cream and use dairy-free condensed milk for a vegan version. To learn more about the role of whipped cream in desserts, check out this article on Wikipedia.
Assembling and Chilling the Pie
Now that both the crust and filling are ready, it’s time to put everything together!
- Pour the filling into the crust – Spread the strawberry mixture evenly over the chilled crust.
- Smooth the surface – Use a spatula to level out the filling for a clean finish.
- Chill the pie – Refrigerate for at least 4 hours or overnight for the best results.
Refrigeration is crucial for the pie to firm up properly. If you’re making this pie ahead of time, you can also freeze it for a firmer, almost ice cream-like texture! For more make-ahead dessert ideas, explore no-bake desserts on Pinterest.
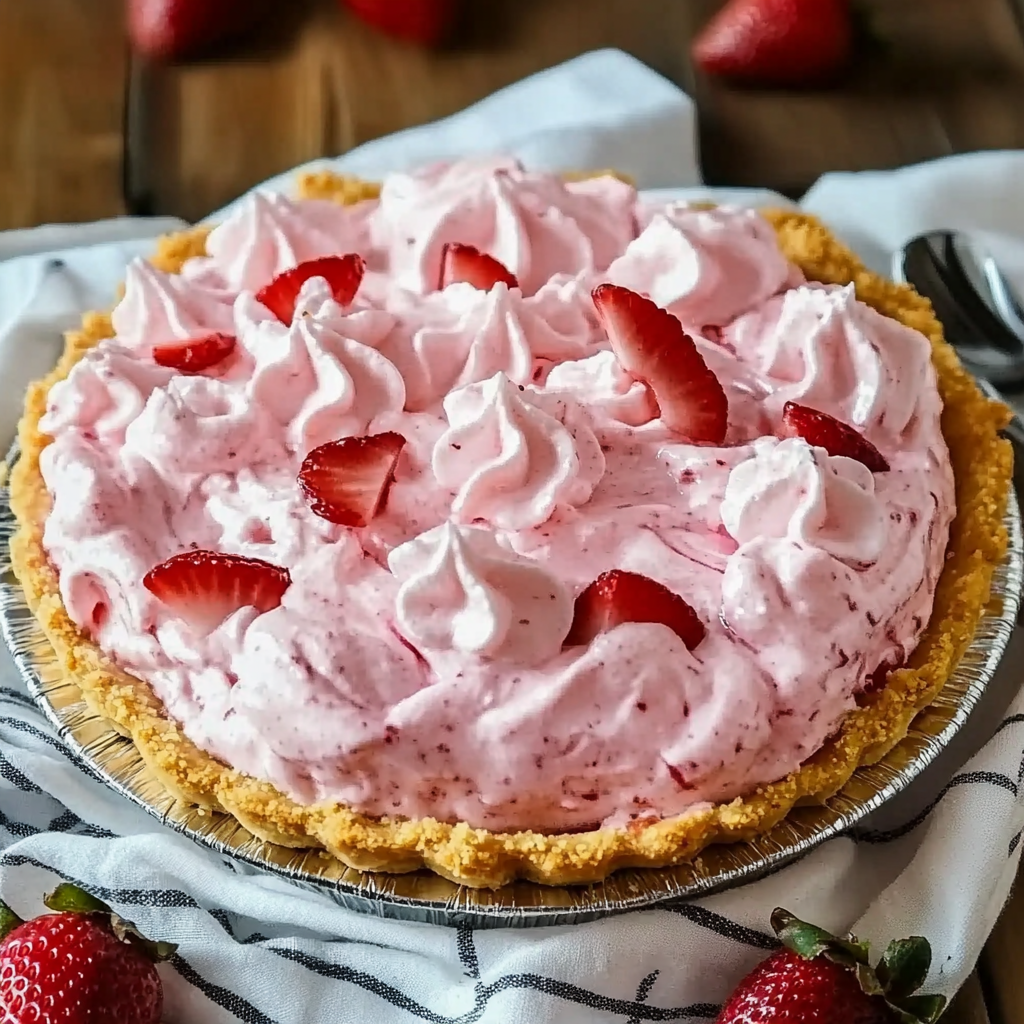
Adding the Final Touches
A beautifully decorated pie is just as delightful to look at as it is to eat!
- Arrange fresh strawberry slices – Right before serving, top the pie with sliced strawberries for a vibrant finish.
- Garnish with whipped cream (optional) – Add a dollop of whipped cream or pipe decorative swirls around the edges.
- Slice and serve – Use a sharp knife to cut clean slices, and enjoy this refreshing summer dessert!
With just a little effort and no baking required, you’ve created a light, fruity, and irresistible icebox pie! 🍓🥧 Now, let’s move on to some pro tips to make sure your pie turns out perfect every time.
Pro Tips for the Best Icebox Pie
Making a perfect No-Bake Strawberry Icebox Pie is easy, but a few expert tips can take it to the next level. From achieving the right consistency to customizing the flavors, these pro tips will ensure that your pie turns out creamy, firm, and delicious every time.
Use Fresh, Ripe Strawberries
For the best flavor, always choose fresh, ripe strawberries. They should be bright red, fragrant, and slightly soft to the touch. If fresh strawberries aren’t available, you can use frozen strawberries, but make sure to thaw and drain them first to prevent excess liquid from making the filling runny. For more information on strawberries and their nutritional benefits, check out this article on Wikipedia.
Prevent a Runny Filling
Nothing ruins an icebox pie faster than a filling that won’t set properly. Here’s how to avoid that problem:
- Use full-fat cream cheese – Lower-fat versions may lead to a softer texture.
- Don’t overmix the filling – Overbeating can cause the whipped cream to deflate, resulting in a runny consistency.
- Chill for at least 4 hours – The longer the pie sets in the refrigerator, the firmer it will be. For the best results, let it chill overnight.
Experiment with Crust Options
While a graham cracker crust is classic, you can switch things up with different crusts:
- Chocolate cookie crust – Adds a rich, chocolatey contrast to the strawberry filling.
- Vanilla wafer crust – A sweeter, softer alternative.
- Oreo crust – Perfect for chocolate lovers!
For more creative crust ideas, browse easy baking ideas on Pinterest for inspiration.
How to Slice the Pie Cleanly
A messy slice can ruin the presentation, so here’s how to get perfect slices every time:
- Use a sharp knife and wipe it clean between cuts.
- Dip the knife in warm water before slicing for smooth, clean cuts.
- Let the pie sit at room temperature for 5 minutes before slicing if it’s too firm from the fridge.
With these expert tips, your No-Bake Strawberry Icebox Pie will come out perfect every time! Now, let’s explore some fun variations and customizations to make this dessert uniquely yours. 🍓🥧
Variations & Customizations
One of the best things about this No-Bake Strawberry Icebox Pie is how easily you can customize it to suit your tastes. Whether you want to add a chocolate twist, make it tangier, or create a healthier version, there are plenty of ways to modify this recipe.
Chocolate Strawberry Icebox Pie
Love the combination of chocolate and strawberries? Try these variations:
- Chocolate cookie crust – Swap the graham cracker crust for a crushed Oreo or chocolate wafer crust for a richer flavor.
- Cocoa powder in the filling – Add a tablespoon of cocoa powder to the cream cheese mixture for a hint of chocolate.
- Chocolate drizzle topping – Melt some dark or milk chocolate and drizzle it over the pie before serving.
For more strawberry and chocolate dessert ideas, check out this collection of chocolate-strawberry recipes on Pinterest.
Strawberry-Lemon Icebox Pie
If you prefer a slightly tangy twist, amp up the lemon flavor!
- Add extra lemon juice – Increase the lemon juice in the filling to 2 tablespoons for a brighter taste.
- Lemon zest topping – Sprinkle freshly grated lemon zest over the pie for an added citrusy punch.
- Use a lemon cookie crust – Instead of graham crackers, use crushed lemon cookies for a fresh, citrusy flavor.
Vegan/Dairy-Free Version
Want to make this icebox pie dairy-free? No problem! Here’s how:
- Use dairy-free cream cheese – Brands like Tofutti or Daiya work well.
- Swap sweetened condensed milk – Use coconut condensed milk for a creamy, plant-based alternative.
- Replace heavy cream – Coconut cream (chilled and whipped) is a great substitute.
For more vegan dessert inspiration, check out these no-bake dessert ideas on Pinterest.
Low-Sugar Alternative
If you’re watching your sugar intake, try these simple swaps:
- Use sugar-free graham crackers or a nut-based crust.
- Opt for sugar-free condensed milk to reduce sweetness.
- Sweeten with monk fruit or stevia instead of granulated sugar.
With these fun variations, you can enjoy this refreshing dessert in a way that suits your taste and dietary needs. Now, let’s discuss how to store and serve this delicious pie! 🍓🥧
How to Store & Serve
Proper storage ensures that your No-Bake Strawberry Icebox Pie stays fresh, creamy, and delicious for days. Whether you’re making it ahead for an event or saving leftovers, here’s how to keep your pie at its best.
Refrigeration
- Keep the pie covered in the refrigerator to prevent it from absorbing any unwanted odors.
- Store it in the fridge for up to 3 days for the best texture and flavor.
- If the pie starts to soften, chill it for an extra hour before serving to firm it up again.
Freezing for Longer Storage
Want to store your pie for an extended period? Freezing is a great option!
- Wrap the pie tightly with plastic wrap and then cover it with aluminum foil to prevent freezer burn.
- Freeze for up to 1 month for the best taste and texture.
- To serve, let the pie thaw in the fridge for 4–6 hours or at room temperature for 30 minutes before slicing.
Serving Tips for the Perfect Slice
- Use a sharp knife and wipe it clean between slices for neat cuts.
- Chill your serving plates for a cool, refreshing experience.
- Pair it with a scoop of vanilla ice cream or a drizzle of chocolate sauce for an extra indulgent treat.
With these storage and serving tips, your No-Bake Strawberry Icebox Pie will stay just as delicious and refreshing as when you first made it! 🍓🥧 Now, let’s address some of the most common questions people have about this recipe.
FAQs
Here are some of the most common questions about making the perfect No-Bake Strawberry Icebox Pie.
1. Can I use frozen strawberries instead of fresh?
Yes! If fresh strawberries aren’t available, you can use frozen strawberries. Just be sure to thaw and drain them well to remove excess moisture. This prevents the filling from becoming too runny. If you’re interested in learning more about strawberries, check out this article on Wikipedia.
2. How do I make the pie firmer?
For a firmer texture:
- Make sure to chill the pie for at least 4 hours, preferably overnight.
- Use full-fat cream cheese for better structure.
- If the filling is still too soft, place the pie in the freezer for 30 minutes before serving.
3. Can I use a store-bought crust?
Absolutely! A pre-made graham cracker crust is a great time-saver. If you want to try different crust ideas, check out easy pie recipes on Pinterest for more inspiration.
4. How long does the pie take to set?
The pie needs at least 4 hours in the refrigerator to firm up, but chilling it overnight ensures the best texture.
5. Can I add other fruits to this recipe?
Yes! While strawberries are the star ingredient, you can also mix in blueberries, raspberries, or mango puree for a unique twist.
6. Is this pie gluten-free?
The filling is naturally gluten-free, but the crust is not. To make it gluten-free, simply use gluten-free graham crackers or substitute with a nut-based crust.
With these helpful answers, you’re now fully equipped to make the perfect No-Bake Strawberry Icebox Pie! 🍓🥧


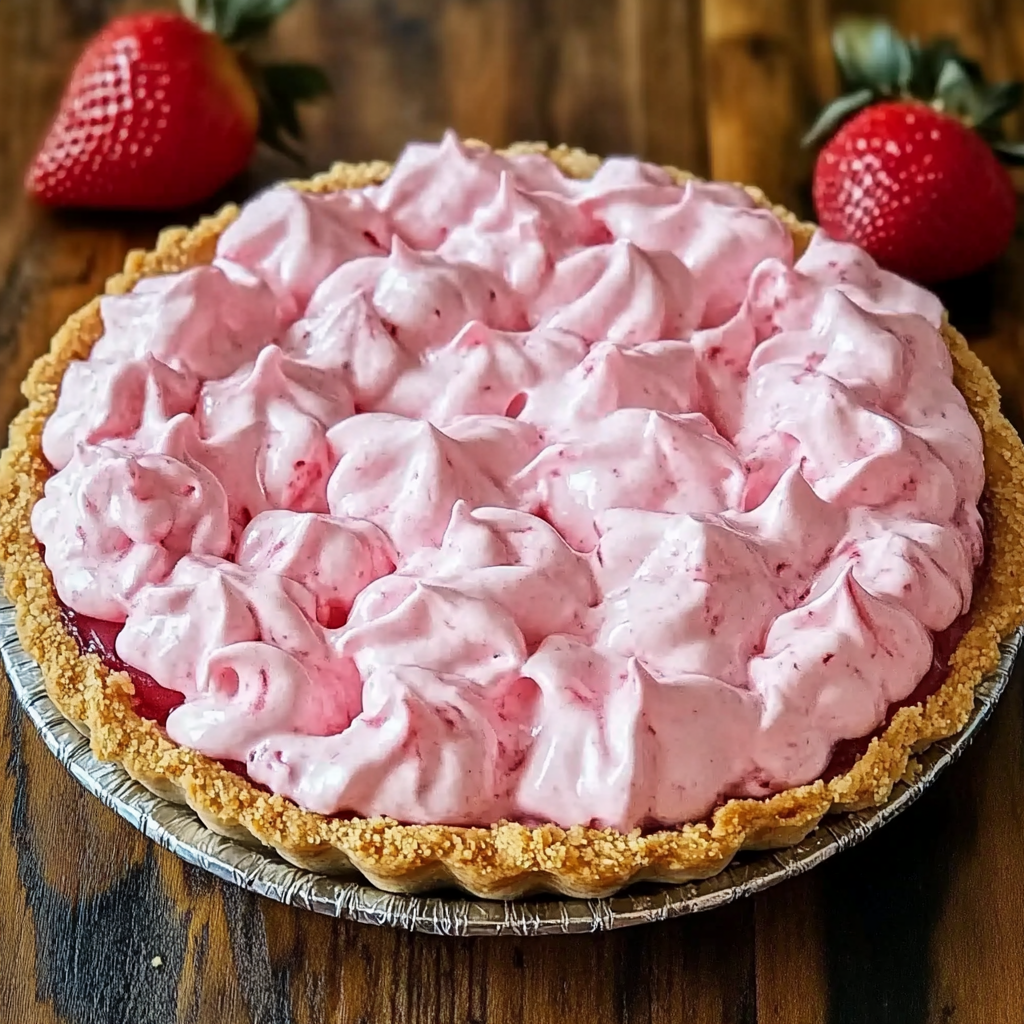
Do you just blend the strawberries or make actual puree?
Did you add strawberries to the whipped cream to create the swirled topping