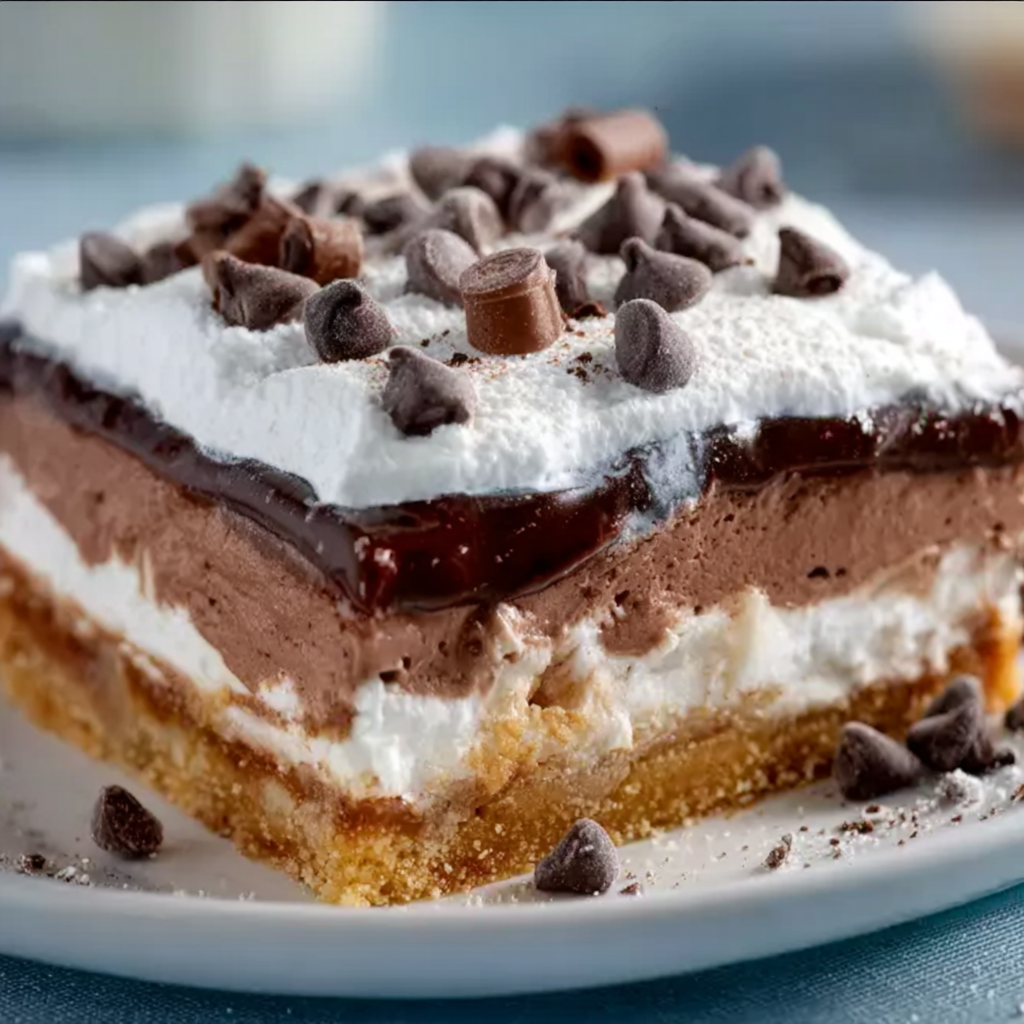
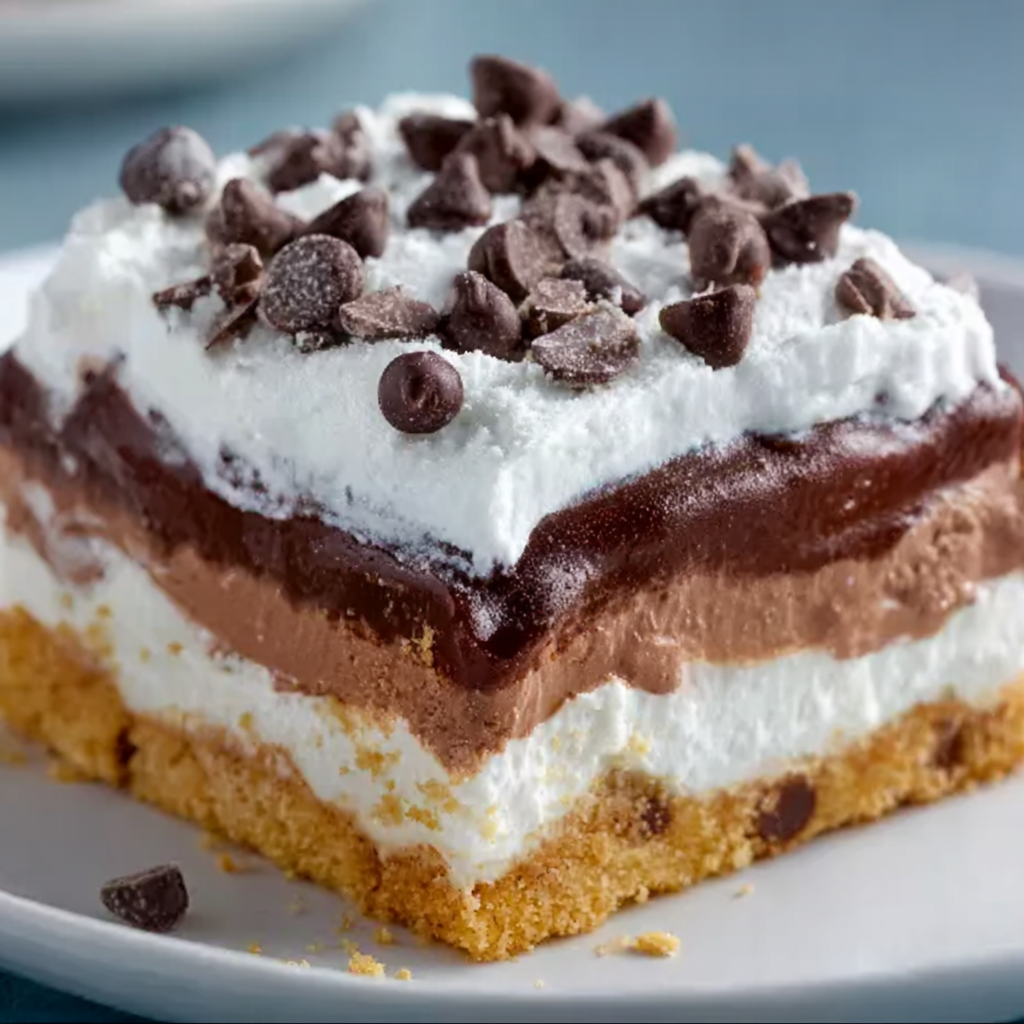
Looking for a whimsical and kid-friendly dessert that brings smiles and satisfies sweet cravings? No-bake Monster Cookie Bars offer a delicious, colorful, and playful option that’s perfect for birthdays, after-school treats, or weekend fun. Inspired by the beloved Cookie Monster character from Sesame Street, these treats combine the joy of cookies with the ease of no-bake preparation. Unlike traditional baked desserts, these bars require no oven—just a handful of pantry staples and a refrigerator.
These treats aren’t just visually fun; they’re designed for convenience and accessibility. With ingredients like instant pudding, whipped cream, and chocolate sandwich cookies, they deliver a delightful texture and flavor combo that appeals to kids and adults alike. You’ll find vibrant blue layers, crunchy cookie crumbles, and eye-catching candy features that make snack time feel like a party-worthy event.
What makes these no-bake bars even more special is how easily they can be customized. Whether you’re planning a Cookie Monster-themed party, participating in a bake sale, or creating a dessert station, these versatile bars serve as a creative centerpiece. For more playful inspiration, check out this Pinterest board featuring Cookie Monster dessert ideas. The versatility of no-bake cookie desserts also makes them ideal for time-pressed parents or educators looking to add fun to classroom celebrations—without turning on the oven. As Wikipedia’s article on no-bake cookies notes, these types of sweets are beloved for their simplicity and adaptability.
These easy desserts are not just about looks—they also offer a fun way to introduce kids to kitchen tasks like layering, decorating, and stirring. By encouraging children to help in the process, parents and guardians can turn dessert-making into an engaging bonding activity. Whether scooping, mixing, or sprinkling on those signature candy eyes, little hands will love helping create these Cookie Monster-inspired treats.
2. What Are Monster Cookie Bars?
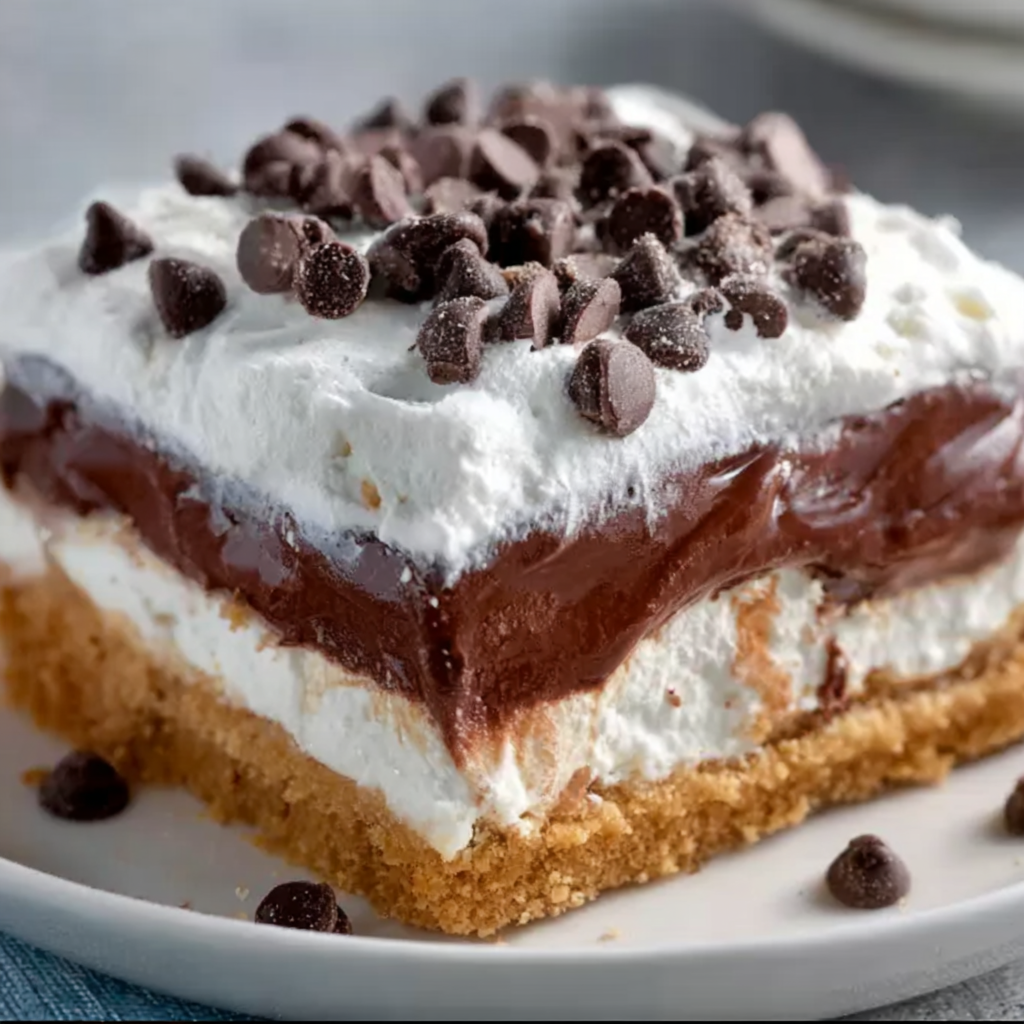
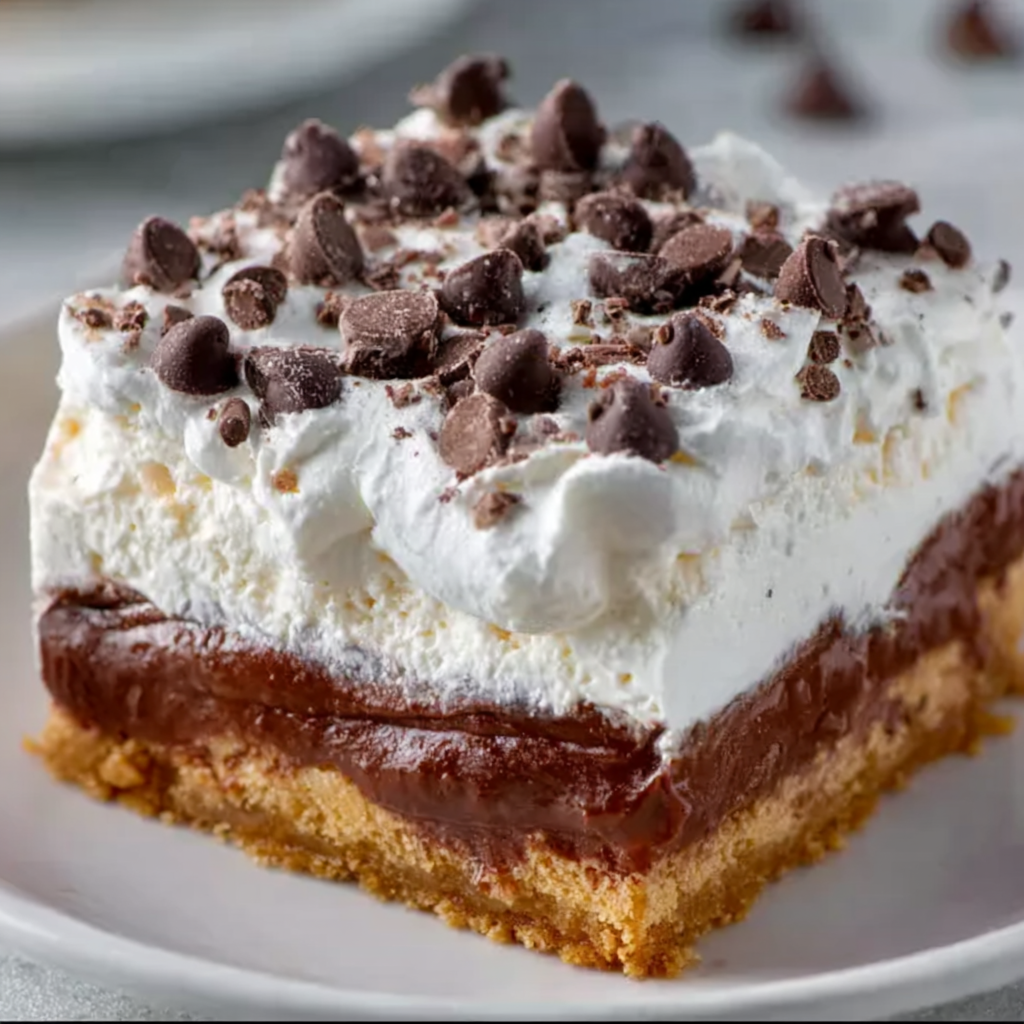
Monster Cookie Bars are a whimsical spin-off of the classic monster cookie, known for its chunky combination of oats, peanut butter, chocolate chips, and candy-coated chocolates. These bars, however, strip away the need for baking and replace the traditional elements with more kid-friendly, visually vibrant ingredients—like crushed cookies, pudding, and whipped cream. The result? A layered, dessert-bar-style treat that’s soft, sweet, and playfully messy in the best way possible.
Their popularity has surged thanks to their striking appearance and simple preparation. Typically featuring a bright blue hue—a nod to the beloved Cookie Monster—these bars stand out on any dessert table. Often topped with edible googly eyes and sprinkles, they bring a dose of character and fun to every bite. Many parents find them perfect for introducing kids to themed desserts, like those featured in Pinterest’s kid-friendly dessert recipes, especially when planning birthday parties or classroom events.
What makes these bars different from other cookie-based treats is their layered construction. Most recipes begin with a crushed cookie base—similar in concept to a no-bake cheesecake crust—and are followed by layers of pudding, whipped cream, and mix-ins like mini chocolate chips, cookie pieces, and sometimes even sprinkles or candy bits. This no-bake approach makes the dessert accessible to young chefs, offering a tactile, creative experience without heat hazards.
Additionally, since no oven is involved, Monster Cookie Bars are ideal for warm-weather events. You can keep prep cool and minimal while still delivering a standout sweet. The playful elements—like bright blue food coloring and candy toppings—make them a natural fit for party spreads, much like those featured in monster-themed birthday ideas on Pinterest. Want to learn more about the blue coloring that brings these desserts to life? Explore the details in Wikipedia’s article on food coloring, including safe options for kids.
Whether you’re going all out with themed decorations or just looking for a quick, satisfying treat, no-bake Monster Cookie Bars combine fun, flavor, and ease in one unforgettable package. They’re a playful way to celebrate everything kids love about sweets—bright colors, fun shapes, and cookie-packed goodness—all without the wait time of baking.
3. Why No-Bake Desserts Are Great for Families
No-bake desserts have carved out a special place in the hearts of busy families, and for good reason. When time is tight and the kitchen is already bustling with activity, no-bake cookie bars offer a stress-free way to create something delicious, fun, and memorable. Whether you’re planning a last-minute playdate snack or getting the kids involved in cooking, these chilled treats deliver flavor and joy without turning on the oven.
Benefits of No-Bake Treats
One of the most appealing aspects of no-bake desserts is safety. Because they don’t require heat, kids can safely assist in almost every step—mixing, layering, decorating, and tasting. For families with young children, this turns snack prep into a hands-on, confidence-building experience. Resources like Pinterest’s collection of no-bake treats for kids showcase the many ways you can turn simple ingredients into fun, layered masterpieces.
Convenience is another huge perk. With no need to preheat, bake, or cool, you can whip up a Cookie Monster dessert in under 20 minutes—ideal for school events, weekend projects, or impromptu celebrations. Plus, most no-bake desserts require just a handful of pantry staples, like pudding mix, cookies, and food coloring. For a deeper understanding of pudding and its role in dessert structures, explore this Wikipedia page on pudding, which explains the science behind its texture and versatility.
Perfect for Warm Weather and Quick Prep
During hot summer months, the last thing most families want to do is heat up the kitchen. No-bake Monster Cookie Bars solve that problem by staying cool from start to finish. Once assembled, they simply need to chill in the fridge for a couple of hours—a step that actually enhances their layered flavor and texture.
And when it comes to involving kids, these desserts are tailor-made for engagement. Scooping whipped cream, sprinkling chocolate chips, or adding Cookie Monster’s signature googly eyes all become fun ways to bond and create together. For an overview of how to properly handle whipped cream and achieve the right consistency, Wikipedia’s whipped cream guide offers tips on using heavy cream for optimal peaks and stability.
In short, no-bake desserts combine speed, safety, and simplicity—all while opening the door to creativity. Whether you’re making mini parfaits or a shareable dessert tray, they offer a way to craft exciting sweets with zero stress. Plus, their flexibility means you can adjust flavors, textures, and toppings to suit any event, making them a go-to favorite for families year-round.
4. Featured Recipe: No-Bake Cookie Monster Cookie Dough Dessert
Whip up a playful, Cookie Monster-inspired dessert that’s as fun to make as it is to eat. This no-bake recipe brings together creamy layers, crunchy cookies, and eye-catching blue hues into a kid-approved treat that’s perfect for parties or after-school snacks. Follow this simple step-by-step guide to build your own delicious Monster Cookie Dough Dessert—no oven required.
4.1 Ingredients Breakdown
This recipe uses familiar, accessible ingredients that blend into an indulgent layered treat. Here’s what you’ll need:
-
2 cups vanilla instant pudding mix
Creates the creamy base; learn more about its texture role in Wikipedia’s pudding article. -
2 cups cold milk
Activates the pudding mix and helps it set. -
Blue gel food coloring
Adds the signature Cookie Monster blue. For safety tips, see food coloring on Wikipedia. -
12 chocolate sandwich cookies, crushed
Forms the base and adds crunch. -
2 tbsp unsalted butter, melted
Binds the crushed cookies into a crust-like layer. -
1 cup heavy whipping cream
For homemade whipped topping. More on techniques at whipped cream preparation. -
2 tbsp powdered sugar + ½ tsp vanilla extract
Sweetens and flavors the whipped cream. -
½ cup mini chocolate chips
Adds texture and chocolatey richness. -
4 whole sandwich cookies, halved
For decoration on top. -
2 tbsp rainbow sprinkles (optional)
For added color and fun.
Ingredient Substitutions & Tips:
-
For dairy-free alternatives, use almond milk and coconut whipped topping.
-
Gluten-free sandwich cookies can be swapped in easily.
-
Use natural food coloring for a clean-label version.
Need visual inspiration? Browse Pinterest’s Cookie Monster dessert ideas for presentation styles and creative toppings.
4.2 Step-by-Step Instructions
-
Make the Pudding Layer:
Whisk pudding mix and cold milk in a medium bowl until thickened (about 2 minutes). Add blue gel food coloring until a vibrant color is achieved. Set aside. -
Prepare Cookie Crust:
In a separate bowl, mix the crushed sandwich cookies with melted butter. Press half into the base of a 9×9” dish or 4 serving glasses. -
Layer the Pudding:
Spoon half of the blue pudding over the cookie base. Smooth the top with a spatula. -
Whip the Cream:
In a chilled bowl, beat the whipping cream with powdered sugar and vanilla extract until medium-stiff peaks form. -
Add Cream and Chips:
Layer half of the whipped cream over the pudding, followed by a sprinkle of mini chocolate chips. -
Repeat the Layers:
Add the remaining cookie crumble, then pudding, whipped cream, and finish with more mini chips. -
Decorate:
Stand cookie halves upright on top and add rainbow sprinkles. For a fun twist, you can also add candy eyes, like those seen in cookie decorating ideas for kids. -
Chill:
Cover and refrigerate for at least 2 hours to let the layers set.
4.3 Tips for Success
Creating the perfect no-bake Cookie Monster dessert is easy, but a few expert tips can elevate it from good to unforgettable. Whether you’re prepping for a party or a playful night in with the kids, use these insights to ensure smooth layers, vibrant colors, and perfect textures.
-
Use gel-based food coloring instead of liquid. Gel delivers deeper, more vibrant blues with less product and won’t water down the pudding. For safe and edible options, Wikipedia’s food coloring guide outlines different types, including natural alternatives.
-
Chill your mixing bowl and beaters before whipping the cream. This ensures it reaches a stable, fluffy consistency. Check whipped cream techniques to learn why temperature matters for air incorporation.
-
Crush cookies evenly for the base. Large chunks can make the crust unstable, while finely crushed cookies with melted butter create a solid, sliceable foundation.
-
Layer carefully for clean visual separation. Using a spoon or piping bag makes it easier to build neat layers, especially in clear serving glasses.
-
Use high-quality pudding mix. Cheaper mixes may not set properly or may separate during chilling, affecting texture and presentation. If you’re curious about the science behind pudding textures, pudding on Wikipedia offers a helpful overview.
-
Add sprinkles just before serving to maintain their vibrant color and texture, especially if using soft gel-based decorations that may dissolve in moist layers.
These tips ensure your Cookie Monster dessert holds its shape, keeps its color, and impresses visually—whether it’s a treat for a birthday or a feature at a themed dessert table like those on Pinterest’s monster-themed party ideas.
4.4 Storage and Make-Ahead Instructions
Proper storage ensures your no-bake Cookie Monster bars maintain their structure, taste, and texture. Here’s how to make the most of every bite—even days after assembling.
-
Refrigeration: Cover tightly with plastic wrap or an airtight lid. Store in the fridge for up to 3 days. This helps preserve the pudding and whipped cream layers without them drying out.
-
Make-Ahead Tip: Assemble the dessert a day before your event. This allows flavors to meld and layers to fully set—especially helpful if you’re creating individual servings for a party or lunchbox treat.
-
Freezing: Not recommended. Freezing may cause pudding to separate and the whipped cream to lose its texture upon thawing. For a dessert that’s freezer-friendly, consider adapting the recipe into a frozen layered pie using a firm crust like graham crackers.
-
Transporting Tips: If you’re bringing your dessert to an event, use a chilled cooler or insulated bag. Choose sturdy containers to prevent sliding or spilling.
Whether prepping ahead or storing leftovers, proper handling makes your kid-friendly Cookie Monster dessert just as delightful the next day. For even more presentation inspiration, check out Pinterest’s no-bake treats for kids—a great source for container and packaging ideas.
5. More Kid-Friendly Cookie Monster Desserts
The joy of Cookie Monster-themed desserts goes beyond bars. These blue, googly-eyed treats are not only fun to make but offer endless possibilities for playful baking. Whether you’re planning a birthday bash or a themed playdate, here are more creative and kid-friendly dessert ideas inspired by everyone’s favorite cookie-loving monster.
5.1 Cookie Monster Cupcakes
-
Start with any cupcake base (vanilla, chocolate, or funfetti).
-
Top with blue-tinted frosting, using a piping tip to create textured “fur.”
-
Add candy eyes and half a mini cookie sticking out as a “mouth.”
-
For extra fun, fill the center with crushed cookies or cookie dough.
These are perfect for themed parties and can be found in abundance on Pinterest’s Cookie Monster dessert ideas.
5.2 Cookie Monster Truffles
-
Blend cream cheese, crushed chocolate sandwich cookies, and blue food coloring.
-
Roll into balls and chill.
-
Dip in blue candy melts and top with mini chocolate chips or candy eyes.
They resemble cookie dough bites and are great for bite-sized treats.
5.3 Cookie Monster Milkshakes
-
Blend vanilla ice cream, blue food coloring, crushed cookies, and milk.
-
Top with whipped cream, more cookies, and candy eyes.
-
Serve in clear glasses to show off the blue swirl.
5.4 Cookie Monster Ice Cream Sandwiches
-
Use large, chewy cookies.
-
Fill with blue ice cream or dyed whipped topping.
-
Roll the edges in mini chocolate chips or sprinkles.
5.5 Monster Snack Mix
-
Combine cereal, mini cookies, marshmallows, blue candies, and pretzels.
-
Toss with a white chocolate drizzle dyed blue.
-
Serve in themed bags for classroom-friendly treats.
For more variations and party-perfect additions, Pinterest’s kid-friendly dessert recipes provide dozens of ideas.
6. Creative Presentation Ideas for Cookie Monster Treats
Eye-catching presentation elevates your Cookie Monster desserts from simple sweets to centerpieces. Whether you’re prepping for a party or packing school lunches, here are fun ways to present your creations.
-
Themed Cups or Jars: Use clear plastic cups to layer pudding, cream, and cookies. Add a monster face with stickers or markers.
-
Cupcake Liners with Eyes: Bake or serve your cupcakes in blue liners. Glue googly eyes to the outside for full effect.
-
Dessert Shooters: For individual servings, use mini dessert shot glasses with blue layers and edible cookie toppers.
-
Bento-Style Trays: Separate cookies, blue pudding, and sprinkles in individual compartments for a build-your-own dessert.
-
Plush Decor Integration: Surround desserts with Cookie Monster plush toys and confetti, as seen in monster-themed party boards on Pinterest.
7. Fun Add-Ons and Variations
Take your Cookie Monster dessert game to the next level with these customizable add-ins:
-
Peanut Butter or Nutella: Swirl into pudding layers or drizzle on top.
-
Graham Cracker Crusts: Replace sandwich cookies with a graham base for a s’mores-style twist.
-
Marshmallows: Add mini marshmallows between layers for gooey texture.
-
M&Ms or Cereal: Fold in colorful add-ins to boost crunch and appeal.
These fun mix-ins also pair well with recipes featured in Pinterest’s cookie decorating for kids, helping children express creativity.
8. Cookie Monster-Inspired Dessert Table for Parties
Crafting a dessert table can be the highlight of your party setup. Here’s how to design a spread worthy of Cookie Monster himself:
-
Color Scheme: Stick to blues, whites, and browns. Use themed backdrops, tablecloths, and confetti.
-
Labeling: Create cute labels like “Monster Munch” or “Cookie Crumbs Parfait.”
-
Edible Decor: Use extra cookies and mini cupcakes as edible decorations.
-
Props: Add Cookie Monster plushies, printable faces, and cookie-shaped balloons.
Find setup ideas on Pinterest’s monster-themed party collection to inspire your own layout.
9. Safety & Allergy Tips for Kid-Friendly Desserts
When feeding kids, it’s essential to consider common food sensitivities and allergies. Follow these safety tips:
-
Food Coloring Sensitivity: Choose natural food dyes like spirulina or beet-based options. See more about ingredients in Wikipedia’s food coloring guide.
-
Dairy Alternatives: Swap dairy milk for oat, almond, or soy milk. Use coconut whipped cream for non-dairy topping.
-
Nut-Free Prep: Avoid peanut butter and cross-contamination. Use certified nut-free cookies and chocolate chips.
-
Gluten-Free Options: Use gluten-free cookies for crust and mix-ins.
Always read labels and prepare in an allergen-aware environment—especially for school events.
10. FAQ Section
Q1: Can I freeze no-bake Monster cookie bars?
Freezing is not ideal. The pudding and whipped cream layers may become watery when thawed, ruining the texture. Stick to refrigeration for up to 3 days.
Q2: How long do no-bake desserts last in the fridge?
Most no-bake desserts, including this one, stay fresh for about 3 days when stored in airtight containers.
Q3: What kind of food coloring is safe for kids?
Use gel-based or natural food coloring derived from fruits or vegetables. Wikipedia’s article on food coloring includes an overview of food-safe options.
Q4: Can kids make these desserts by themselves?
Yes! This recipe involves no heat, so kids can help with mixing, layering, and decorating—perfect for beginner chefs under adult supervision.
Q5: What can I use instead of instant pudding mix?
Use homemade pudding or Greek yogurt as a substitute, though the consistency may differ slightly. Make sure your alternative sets well for layering.
No-Bake Monster Cookie Bars: Easy Desserts Inspired by Cookie Monster
Bring out the joy of dessert time with this No-Bake Cookie Monster Cookie Dough Dessert—a creamy, crunchy, and colorful treat that’s perfect for kids and themed parties. With layers of vibrant blue pudding, whipped cream, and chocolate sandwich cookie crumble, this no-bake creation is both delicious and visually fun. Whether served in cups or cut into bars, it delivers a playful homage to Cookie Monster himself, complete with cookie eyes and sprinkles on top.
- Author: Clara
Ingredients
- 2 cups (480 ml) vanilla instant pudding mix
- 2 cups (480 ml) cold milk
- Blue gel food coloring, as needed for vibrant color
- 12 chocolate sandwich cookies, roughly crushed
- 2 tbsp (30 g) unsalted butter, melted
- 1 cup (240 ml) heavy whipping cream
- 2 tbsp (16 g) powdered sugar
- ½ tsp vanilla extract
- ½ cup mini chocolate chips
- 4 whole chocolate sandwich cookies, halved
- 2 tbsp rainbow sprinkles (optional)
Instructions
In a medium bowl, whisk the pudding mix with cold milk until it thickens, then stir in enough blue food coloring to achieve a bright blue hue.
Toss the crushed sandwich cookies with melted butter until evenly coated, and press half of this mixture into the bottoms of four serving glasses or into the base of a 9×9″ baking dish.
Spoon half of the blue pudding over the cookie layer, smoothing the surface.
In a chilled bowl, beat the heavy cream with powdered sugar and vanilla extract on high speed until medium-stiff peaks form.
Layer half of the whipped cream on top of the pudding, then sprinkle half of the mini chocolate chips over the cream.
Repeat the layers by adding the remaining cookie crumble, followed by the blue pudding, the whipped cream, and the remaining mini chocolate chips. Arrange the cookie halves standing upright on top and add rainbow sprinkles if desired.
Cover the glasses or dish and refrigerate for at least two hours to allow the layers to set and the flavors to meld.
Serve chilled, making sure each spoonful includes a bit of pudding, cream, and cookie crumble.
Notes
-
Serving Suggestions: Serve in clear cups or sliceable trays to showcase the layers.
-
Make-Ahead Friendly: Best made a day in advance for firm layers and enhanced flavor.
-
Customization: Add mini M&Ms, cookie dough balls, or alternate with flavored puddings.
-
Storage Tip: Store covered in the fridge and consume within 3 days for best texture.
-
Dietary Modifications: Easily adapted to gluten-free and dairy-free versions with minimal swaps.
