1. Brownie Cheesecake Dessert Cups: A Bite-Sized Showstopper
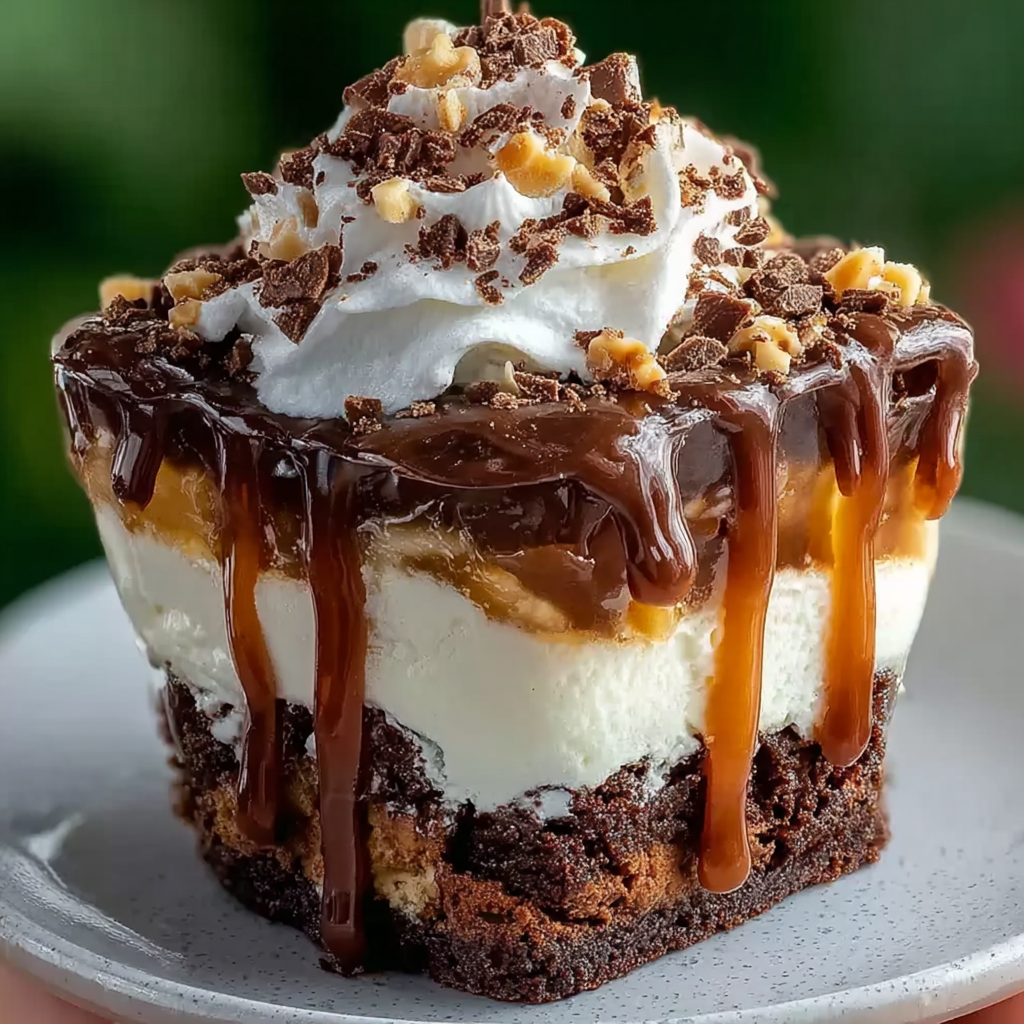
Looking to impress at your next celebration? Chocolate Ganache Topped Brownie Cheesecake Dessert Cups are the ultimate indulgence—combining three decadent layers into one elegant, handheld treat. Fudgy brownie bases, velvety cheesecake filling, and a smooth, glossy ganache topping come together in a rich and satisfying dessert that’s as beautiful as it is delicious.
These mini cups are perfect for entertaining. Whether you’re hosting a birthday bash, a baby shower, or a classy dessert buffet, their individual portions make serving effortless and mess-free. Their polished appearance ensures they’ll stand out on any dessert table. For creative display ideas, check out dessert table inspiration on Pinterest, where you’ll find layouts and garnish tips to elevate presentation.
Versatility is part of their charm. With a simple swap or addition—like a caramel drizzle, fruit garnish, or crushed cookie topping—you can tailor them to suit casual get-togethers or upscale events. Want to understand what gives cheesecake its creamy texture? Visit Wikipedia’s Cheesecake article. Curious about the science behind brownies? Explore this overview of brownies for insight into their rich, chewy foundation.
More than just another dessert, these brownie cheesecake cups are an experience—each bite delivering balance, contrast, and indulgence. Serve them at your next gathering and watch them disappear.

2. Why Everyone Loves Mini Dessert Cups
Mini dessert cups have taken the spotlight in the world of baking and entertaining—and it’s easy to see why. Their individual size offers built-in portion control, effortless serving, and an elegant presentation that eliminates the need for slicing or plating. Chocolate Ganache Topped Brownie Cheesecake Dessert Cups are a perfect example of how these compact treats deliver gourmet flair in a simple, approachable way.
One of the biggest draws? Endless customizability. From swapping the cheesecake layer for flavored mousse to adjusting brownie textures (cakey, fudgy, or flourless), these cups invite creativity. Toppings like crushed cookies, toasted nuts, fresh fruit, or edible glitter transform each cup into a unique treat tailored to your event’s theme or season. Explore Pinterest’s Mini Dessert Cup Ideas for visual inspiration and decorating techniques.
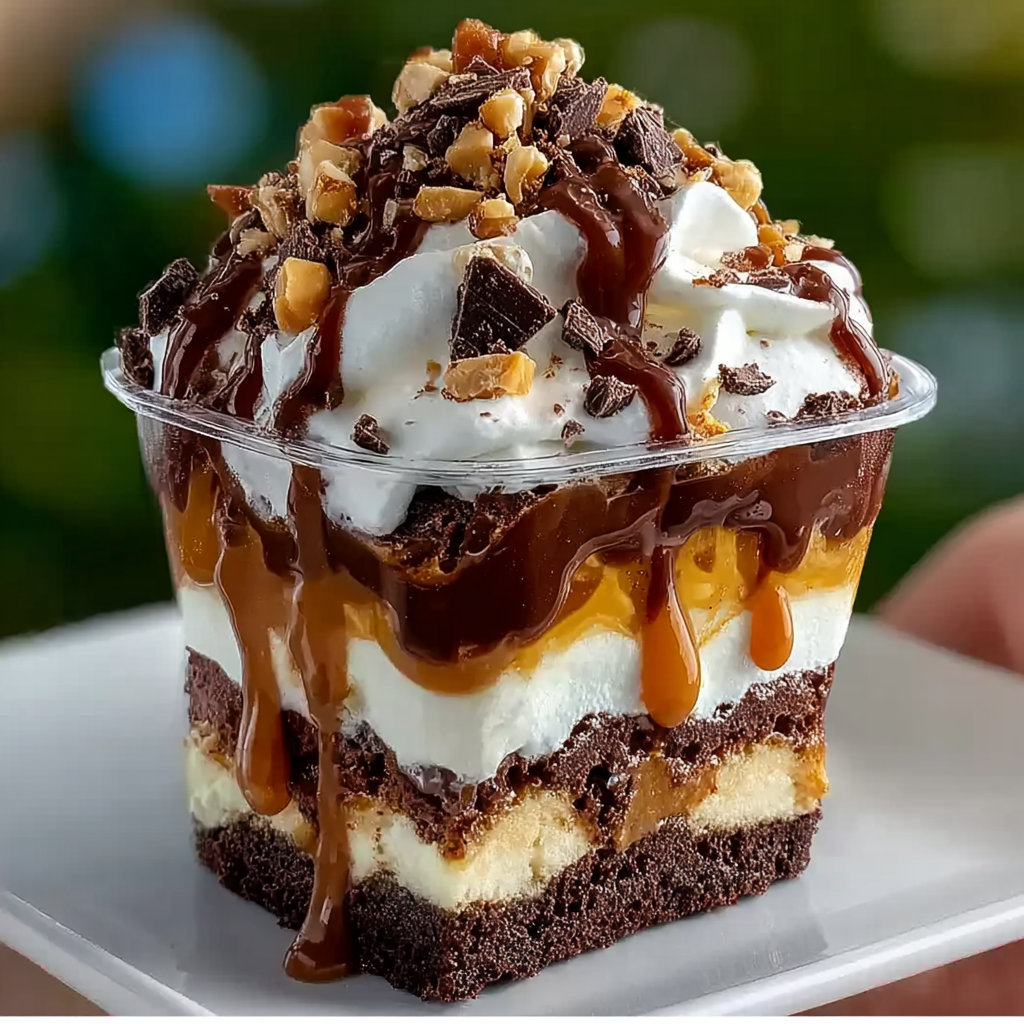
Mini desserts also shine when it comes to event planning and catering. They can be prepared in advance, stack neatly in the fridge, and present beautifully in clear cups that show off each layer—from the dense brownie base to the creamy cheesecake and shiny ganache topping. Their structure makes them both practical and photo-worthy.
For those who love chocolate-forward desserts, browse curated chocolate dessert recipes to find creative twists that can take your mini cups to the next level—like spiced ganache, infused cream cheese, or chocolate curls for garnish.
In short, mini dessert cups aren’t just trendy—they’re a smart, stylish solution for serving sweet treats at any occasion.
Ingredients Breakdown & Substitution Tips
For Chocolate Ganache Topped Brownie Cheesecake Dessert Cups
Creating layered mini desserts like these indulgent brownie cheesecake cups requires a thoughtful balance of flavor, texture, and structure. Here’s a complete breakdown of each component with smart substitutions to accommodate different preferences or pantry limitations.
Brownie Base Layer
Standard:
Use a boxed brownie mix—typically requiring eggs, oil, and water. Choose a fudgy variety over cakey for a denser, more structured base that holds its shape in a cup.
Homemade Option:
Prefer baking from scratch? A classic recipe using cocoa powder and melted chocolate works perfectly for a rich, deep cocoa flavor.
Substitutions:
-
Gluten-Free: Use a certified gluten-free brownie mix.
-
Egg-Free: Replace eggs with ¼ cup unsweetened applesauce or 1 flax egg (1 tbsp ground flaxseed + 3 tbsp water, rested for 5 minutes).
Want to explore the origins and types of brownies? Check out Brownie (dessert) on Wikipedia.
Cheesecake Filling
Core Ingredients:
-
Full-fat cream cheese
-
Powdered sugar
-
Vanilla extract
-
Whipped topping (e.g., Cool Whip)
Texture Tips:
-
Ensure cream cheese is fully softened for a smooth, lump-free texture.
-
Fold in whipped topping gently to preserve volume and avoid deflating the mixture.
Substitutions:
-
Homemade Whipped Cream: Replace store-bought topping with homemade whipped cream (1 cup heavy cream + 2–3 tbsp powdered sugar). For added stability, chill your bowl and beaters before whipping.
-
Lighten It Up: Use reduced-fat cream cheese, but note it may slightly reduce the richness.
Curious about the science of whipped cream? Visit the Whipped Cream article to learn more about its structure and aeration.
Ganache and Toppings
Ganache Basics:
Ganache is made with equal parts heavy cream and chopped chocolate (by weight). Warm the cream and pour it over the chocolate, let it sit for a minute, then stir until smooth and glossy.
Chocolate Options:
-
Semi-Sweet Chocolate: Best balance of sweetness and depth.
-
Dark Chocolate: Richer and more intense flavor.
-
Milk Chocolate: Sweeter and softer in texture—great for a lighter finish.
Creative Topping Ideas:
-
Mini chocolate chips
-
Crushed Oreos or chocolate sandwich cookies
-
Caramel drizzle or hot fudge
-
Chopped nuts (pecans, almonds, hazelnuts)
-
White chocolate curls or ganache
-
Festive sprinkles for holidays or events
Explore Ganache to dive deeper into its origins and uses. For drizzle inspiration, read more about Caramel and its variations
4. Step-by-Step Instructions with Tips
Bringing these Chocolate Ganache Topped Brownie Cheesecake Dessert Cups to life requires a few simple steps. Each stage builds on the next to create a beautifully layered dessert that’s both rich and impressive. Follow this detailed process for results that are smooth, flavorful, and visually appealing.
Step 1: Bake and Cool the Brownie Layer
-
Prepare the brownie mix as instructed on the package.
-
Pour the batter into a greased 9×13-inch pan and bake.
-
Let the brownies cool completely before cutting. This ensures clean edges and prevents them from falling apart when layered.
Pro Tip: For neat, even cubes, chill the baked brownies for 15–20 minutes before slicing.
Step 2: Make the Cheesecake Filling
-
In a medium mixing bowl, beat softened cream cheese with powdered sugar and vanilla extract until smooth.
-
Gently fold in the whipped topping using a spatula to keep the mixture light and airy.
Internal Link Tip: If you’re using homemade whipped cream instead of store-bought, make sure it’s stabilized so it holds its shape. See our homemade whipped cream tutorial for guidance.
Step 3: Assemble the Dessert Cups
-
Begin by placing a layer of brownie cubes at the bottom of each dessert cup or small jar.
-
Spoon or pipe a generous layer of the cheesecake filling over the brownie base.
-
Sprinkle a mix of mini chocolate chips and chopped sandwich cookies on top.
-
Drizzle with caramel and hot fudge sauce.
Tip: If using tall cups, you can repeat the layering process to create a more dramatic presentation.
Step 4: Add the Ganache Topping
-
Prepare a simple chocolate ganache by heating equal parts heavy cream and chopped chocolate until smooth and glossy.
-
Let it cool slightly, then pour a thin layer over the cheesecake filling.
-
Use the back of a spoon to gently spread the ganache to the edges for an even finish.
For more on this technique, check the Ganache page on Wikipedia.
Step 5: Final Garnishes and Chilling
-
Top with extra cookie crumbs, chocolate chips, or edible decorations.
-
Refrigerate the cups for at least 1 hour to allow the layers to set.
External Link Inspiration: Browse party dessert presentation on Pinterest to get creative with your topping choices.

5. Chocolate Ganache Finish: The Glossy Crown
The final ganache layer is what gives these dessert cups their professional, polished appearance. Not only does it add flavor depth, but it also seals in the creamy cheesecake layer underneath.
-
Ganache Ratio: Combine ½ cup of chopped chocolate with ½ cup of heavy cream. Microwave in 20-second bursts, stirring between each, until smooth.
-
Application: Let the ganache cool slightly before pouring to prevent melting the cheesecake layer.
-
Set Time: Once added, refrigerate immediately so the ganache firms up to a shiny, fudge-like layer.
Internal Link Tip: For a unique twist, try using a white chocolate ganache and swirl with dark chocolate for a marble effect. Check out our chocolate swirl technique guide for styling ideas.
6. Creative Serving Ideas & Presentation Tips
Serving mini desserts is as much about presentation as it is flavor. The following tips will ensure your brownie cheesecake cups look as good as they taste.
-
Serving Vessels:
-
Mini mason jars
-
Clear plastic dessert cups
-
Glass shot glasses
-
-
Decorative Toppings:
-
Crushed peppermints for holidays
-
Fresh berries for a summery touch
-
Edible gold flakes for formal events
-
-
Display Tips:
-
Place on tiered dessert stands for height
-
Label with cute tags or chalkboard signs
-
Explore more mini dessert styling on this Pinterest board of mini dessert cup ideas.
7. Make-Ahead & Storage Instructions
These dessert cups are perfect for prepping in advance:
-
Refrigerator: Assemble up to 48 hours ahead. Store covered in the fridge to keep fresh.
-
Freezing: Freeze only the brownie and cheesecake layers (without toppings) for up to one month. Thaw and add ganache and toppings just before serving.
-
Transport Tips: Place cups in a deep tray and cover tightly with plastic wrap to avoid movement and condensation.
Internal Link Tip: Learn more about proper cheesecake storage in our refrigerated dessert care guide.
8. Flavor Variations to Try
Customize your dessert cups with these creative twists:
-
Peanut Butter: Add a swirl of creamy peanut butter to the cheesecake layer.
-
Mocha Brownie: Add a shot of espresso to your brownie batter for a mocha vibe.
-
Fruit Infusion: Fold chopped strawberries or raspberries into the cheesecake filling.
-
Holiday Flavors: Use peppermint extract in the ganache or red velvet brownie base for festive versions.
Find additional ideas on holiday desserts and themed flavors to match your event.
9. Common Mistakes and How to Avoid Them
Making these mini desserts is simple, but here are pitfalls to avoid:
-
Overmixing the cream cheese creates a dense filling—mix until just combined.
-
Undercooked brownies will become gooey instead of holding shape—use the toothpick test.
-
Runny ganache can flood the cup—cool slightly before pouring.
-
Overfilling cups makes them messy and hard to serve—leave a little space at the top.
Stay mindful of each layer’s texture and thickness for best results.
10. Ideal Occasions for Serving These Dessert Cups
These mini desserts are versatile enough for nearly any celebration:
-
Birthday Parties – Easy for kids and adults to enjoy
-
Weddings & Showers – Elegant and mess-free
-
Holiday Gatherings – Customize with themed toppings
-
Office Potlucks – Easy to serve and store
They’re designed for both casual and formal occasions where handheld desserts shine.
11. Nutrition & Dietary Tweaks
While indulgent, these cups can be lightened slightly:
-
Calorie Estimate: Roughly 250–300 calories per cup, depending on ingredients.
-
Lighter Options:
-
Use low-fat cream cheese and whipped topping.
-
Substitute sugar-free chocolate and caramel sauces.
-
-
Gluten-Free: Choose a certified gluten-free brownie mix.
-
Dairy-Free: Use dairy-free cream cheese and coconut whipped cream.
Internal Resource: For dairy-free dessert swaps, visit our plant-based dessert substitutions guide.
FAQs: Brownie Cheesecake Dessert Cups
Q1. Can you make brownie cheesecake dessert cups ahead of time?
Yes. These dessert cups can be assembled up to 2 days in advance. Store them covered in the refrigerator to maintain freshness.
Q2. How long do mini cheesecake cups last in the fridge?
They’ll stay fresh for up to 4 days when refrigerated. Beyond that, the cheesecake layer may begin to soften or separate.
Q3. Can I use homemade brownies instead of a mix?
Absolutely! A dense, fudgy homemade brownie works best, as it holds its shape well and offers a rich base for the creamy cheesecake layer.
Q4. What type of chocolate is best for ganache topping?
Semi-sweet chocolate is ideal for a balanced flavor, but you can also use dark chocolate for a more intense taste or milk chocolate for added sweetness.
Q5. Can I freeze brownie cheesecake dessert cups?
Yes. Freeze the assembled cups without ganache or toppings. Thaw in the fridge, add the ganache topping just before serving, and enjoy fresh.


