Homemade candy is a delightful treat that allows you to experiment with flavors, colors, and textures to create something unique. One of the most exciting recipes to try is Kool Aid licorice. This fun and easy-to-make candy combines the bold flavors of Kool Aid with the chewy texture of licorice, resulting in a sweet, colorful snack that is both delicious and visually appealing.
What makes Kool Aid licorice stand out is its versatility. With a variety of Kool-Aid flavors available, you can customize the flavor of your licorice to suit your taste buds. Whether you’re a fan of classic cherry, tangy tropical punch, or even grape, the possibilities are endless. Moreover, the vibrant colors of the licorice add to its visual appeal, making it a great treat for parties, holidays, or simply to enjoy at home.
One of the benefits of making Kool Aid licorice at home is that it gives you control over the ingredients. Unlike store-bought candies, homemade licorice doesn’t contain artificial colors or preservatives, allowing you to enjoy a more natural and personalized treat. Plus, you can make it as chewy or firm as you prefer, depending on your desired texture.
What Makes Kool Aid Licorice Special?
The combination of Kool Aid and licorice creates a candy that is bursting with flavor and color. Kool Aid, known for its vibrant hues and bold, fruity flavors, is the perfect base for a homemade licorice recipe. When paired with the chewy texture of licorice, it produces a candy that is not only fun to eat but also fun to make. This recipe is simple, quick, and requires only a few ingredients.
Unlike traditional store-bought licorice, which often comes in limited flavors, homemade Kool Aid licorice offers endless possibilities. You can mix and match different Kool Aid flavors to create custom blends. Want to try a blue raspberry and grape combination for a fun twist? Or perhaps watermelon with a lemonade flavor for a tangy surprise? The beauty of making your own licorice is that you can tailor it to your preferences.
This DIY treat also allows you to control the sweetness. Some people prefer their licorice on the sweeter side, while others may want a less sugary version. By adjusting the amount of granulated sugar or experimenting with sugar substitutes, you can create the ideal balance for your taste.
The Appeal of DIY Treats
Making candy at home is an enjoyable activity that appeals to both kids and adults alike. It’s a great way to spend time together in the kitchen and create something tasty from scratch. For children, it can be a fun, hands-on experience where they can get creative with colors and flavors. For adults, it’s an opportunity to revisit childhood memories while enjoying the satisfaction of crafting your own candy.
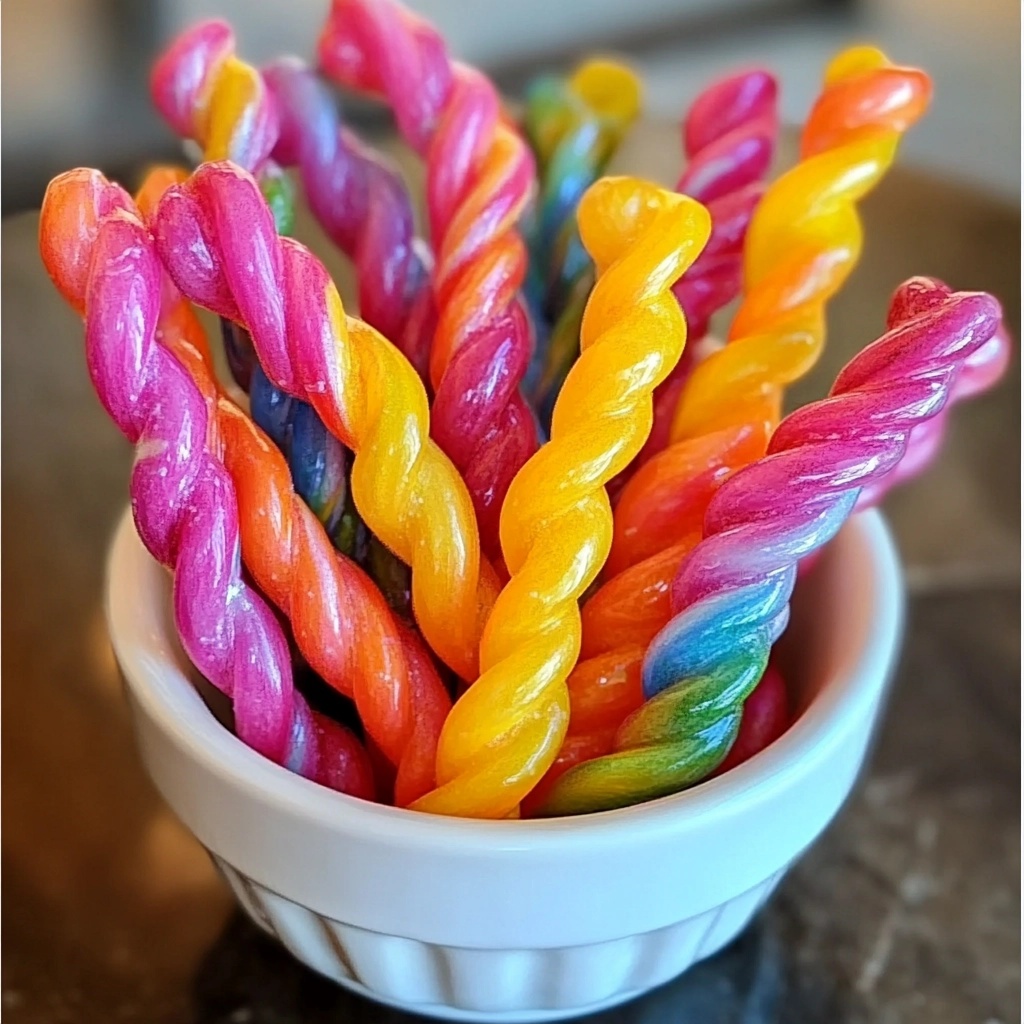
Not only is homemade candy a fantastic bonding activity, but it’s also an excellent way to show off your creativity at parties or events. Imagine presenting a bowl of vibrant Kool Aid licorice ropes at a birthday party, a holiday gathering, or a candy buffet. It’s a unique and visually appealing treat that’s sure to impress your guests.
Homemade treats, especially when made with Kool Aid, are also budget-friendly. Store-bought candies often come at a high price for a small amount, but with just a few ingredients, you can make a large batch of licorice for a fraction of the cost. Not only is it an affordable option, but it’s also customizable. You can experiment with different ingredients to suit dietary restrictions or preferences. For example, if you’re looking for a sugar-free version, consider replacing granulated sugar with a sugar substitute like Stevia or Erythritol.
By making Kool Aid licorice at home, you can also personalize your treats for special occasions, making them a thoughtful and unique gift. Whether for a birthday, a holiday, or just because, homemade licorice adds a personal touch that store-bought candy simply can’t match.
External Links to Include:
-
Wikipedia – Licorice
-
Wikipedia – Kool-Aid
-
Pinterest – Homemade Candy Recipes

Ingredients and Tools for Making Kool Aid Licorice
Making homemade Kool Aid licorice is simple and requires just a few ingredients that you might already have in your kitchen. With the right tools and ingredients, you can create a batch of chewy and flavorful licorice ropes in no time.
Essential Ingredients for Kool Aid Licorice
-
Kool Aid: The star ingredient in this recipe. Choose any flavor you like! Some popular options include cherry, grape, tropical punch, or even lemon-lime. Each flavor will add its own distinct color and taste to your licorice.
-
Granulated Sugar: Adds sweetness to the candy and helps balance the tartness of the Kool Aid.
-
Cornstarch: Acts as a thickening agent to give the licorice its chewy texture. Without cornstarch, the candy could end up too runny or sticky.
-
Water: Used to dissolve the dry ingredients and create the syrup base for the licorice.
-
Light Corn Syrup: Adds sweetness and helps achieve the smooth, elastic consistency needed for the licorice ropes. It also prevents the candy from crystallizing.
-
Vegetable Oil: Helps keep the candy smooth and prevents it from sticking to your hands or surface while rolling the licorice.
-
Salt: Just a small amount balances the sweetness and enhances the overall flavor.
These ingredients work together to create a soft, chewy candy that is both flavorful and fun to make. You can always experiment with different flavor combinations and adjust the sugar content to suit your preferences.
Tools and Equipment Needed
-
Medium Saucepan: The saucepan will be used to combine and cook the ingredients. It should be large enough to hold the mixture without overflowing while stirring.
-
Wooden Spoon or Whisk: You’ll need a utensil to stir the mixture as it cooks. A wooden spoon works well, as it helps prevent any sticking or burning. A whisk can also be used to ensure a smooth consistency.
-
Measuring Cups and Spoons: Precision is key in candy-making, so make sure you have accurate measurements for the ingredients. Using standard measuring cups and spoons will help you achieve the correct proportions.
-
Parchment Paper: Once your licorice is shaped into ropes, parchment paper is perfect for letting them cool without sticking. It also makes cleanup easier.
-
Rolling Pin (optional): If you prefer thinner licorice ropes, you can use a rolling pin to gently roll the candy mixture to your desired thickness before cutting into ropes.
Why These Ingredients and Tools Matter
Each ingredient in this recipe serves a specific purpose in the creation of Kool Aid licorice. The Kool Aid provides the flavor and color, while the cornstarch and corn syrup ensure the right texture. The vegetable oil helps make the candy pliable and easy to handle, and the salt brings out the sweetness without overpowering it.
The tools you use also play an important role in making the process efficient and ensuring your licorice turns out perfectly. For instance, a medium saucepan helps you cook the ingredients evenly without risking a boil-over, while measuring cups and spoons guarantee that each ingredient is used in the correct proportion for the best results.
External Links to Include:
-
Wikipedia – Cornstarch
-
Pinterest – DIY Candy Gifts
Step-by-Step Guide to Making Kool Aid Licorice
Now that you have all the ingredients and tools ready, it’s time to dive into the process of making Kool Aid licorice. This simple and fun recipe will guide you through each step, ensuring that your licorice turns out perfectly chewy and bursting with vibrant color and flavor.
Step 1: Mix Dry Ingredients
Start by combining the dry ingredients in a medium saucepan:
-
1 package (3 oz) Kool Aid (any flavor)
-
1 cup granulated sugar
-
2 tablespoons cornstarch
-
1/4 teaspoon salt
Stir these ingredients together until they are evenly mixed. The cornstarch is crucial at this stage because it will help thicken the mixture later on, giving your licorice its signature chewy texture. Make sure there are no lumps in the mixture before proceeding to the next step.
Step 2: Add Wet Ingredients
Next, pour in the wet ingredients to the dry mixture:
-
1/2 cup water
-
1/4 cup light corn syrup
Stir well to combine everything. The corn syrup helps the licorice achieve that smooth, elastic texture, while the water will dissolve the dry ingredients and make the mixture easy to cook. Ensure that the mixture is fully combined and smooth, without any lumps of cornstarch or Kool Aid powder.
Step 3: Cook the Mixture
Place the saucepan over medium heat and cook the mixture, stirring constantly. It’s important to stir continuously to prevent the mixture from burning or sticking to the bottom of the pan.
As the mixture heats up, it will begin to thicken after about 5 minutes. You’ll notice that the consistency changes from a liquid to a more syrupy texture. Keep stirring to ensure it thickens evenly. Be patient, as this step is crucial for achieving the right texture for your licorice ropes. If the mixture gets too thick too quickly, you can add a little more water to help it reach the right consistency.
Step 4: Add Vegetable Oil
Once the mixture has thickened, remove the saucepan from the heat. It’s time to add:
-
2 tablespoons vegetable oil
The oil will make the mixture smooth and easier to handle while rolling it into ropes. Stir the oil into the mixture thoroughly, ensuring that it’s fully incorporated. This step helps prevent the licorice from sticking to your hands and provides that glossy finish to the candy.
Step 5: Let the Mixture Cool
Allow the mixture to cool for a few minutes. It should be safe to handle once it has cooled slightly, but you don’t want it to be so hot that it’s difficult to work with. Let it cool just enough until it’s still pliable but not too runny. This is the perfect time to start rolling the licorice into ropes.
Step 6: Shape the Licorice
Take small portions of the mixture and roll them into ropes. Aim for a thickness of about 1/2 inch. You can make them thinner or thicker depending on your preference, but keep in mind that thinner ropes may harden faster.
To ensure uniformity, you can use your hands to roll the mixture, or if you prefer, lightly dust a surface with cornstarch to prevent sticking. Gently roll each portion into a smooth rope, making sure it’s evenly sized. This step is fun, and you can experiment with different lengths and shapes!
Step 7: Let the Licorice Cool Completely
Once you’ve shaped all your licorice ropes, place them on a sheet of parchment paper. Allow them to cool completely. The parchment paper helps prevent the licorice from sticking, and the cooling process will help the licorice set to its chewy, firm texture.
This cooling step is crucial for ensuring your licorice has the perfect consistency. It also gives the candy time to firm up so it won’t be too soft or sticky when you try to eat it.
External Links to Include:
-
Pinterest – Colorful Candy Ropes
-
Wikipedia – Corn Syrup
Creative Variations of Kool Aid Licorice
Once you’ve mastered the basic Kool Aid licorice recipe, it’s time to get creative! There are many ways you can customize the flavor, texture, and appearance of your homemade licorice to make it even more exciting. Here are some ideas to help you add your personal touch to this fun candy.
Flavor Variations
The best part about making Kool Aid licorice is the ability to experiment with different flavors. The variety of Kool-Aid flavors available allows you to create your own unique combinations. Some flavor ideas to try include:
-
Classic Cherry: A fan-favorite with a sweet, tangy flavor and a vibrant red color.
-
Tropical Punch: A tropical burst of fruity flavors that will remind you of summer.
-
Grape: A rich, bold flavor that adds a deep purple color to your licorice.
-
Watermelon: A juicy, refreshing flavor that’s perfect for hot days.
-
Lemonade: A tangy, citrusy option for those who love a tart twist.
You can even mix multiple flavors to create new combinations. For example, try mixing grape and cherry for a fruity blend, or combine blue raspberry with tropical punch for a colorful, tropical experience.
If you’re feeling adventurous, experiment with adding some extra flavoring like cinnamon or sour powder to create a unique spin on the classic recipe. By mixing flavors, you can tailor your licorice to your exact preferences and create a one-of-a-kind treat.
Color Customization
The fun doesn’t stop with flavor—Kool Aid licorice also offers an opportunity to get creative with colors. Kool Aid’s vivid hues can turn your licorice into a visually stunning candy. Here are a few ways to experiment with colors:
-
Single Color: Stick to one flavor for a bold, monochromatic licorice. For instance, a bright red licorice from cherry or a cool blue licorice from blue raspberry.
-
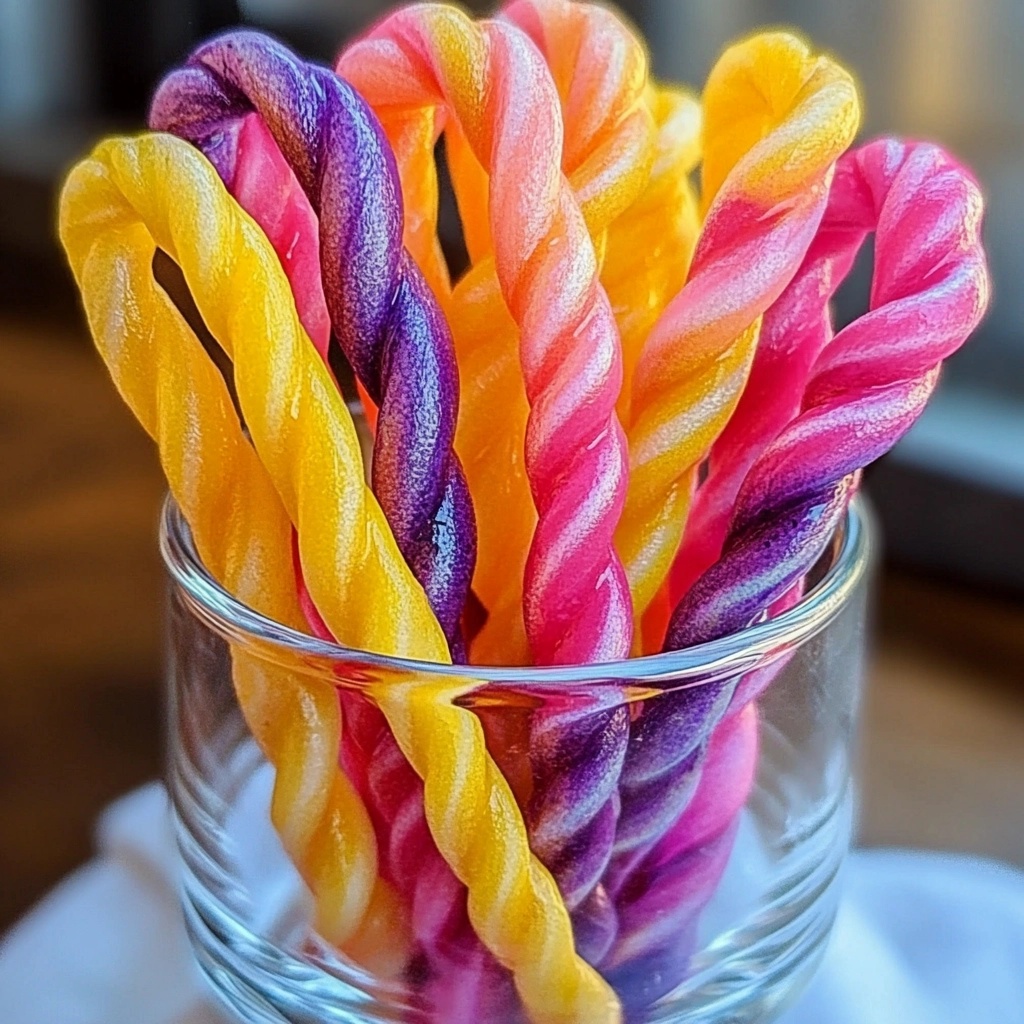
Multiple Colors: Use different flavors of Kool Aid to make multi-colored licorice ropes. Roll the mixture into ropes using different flavors and combine them into a fun, layered effect. This way, each bite can offer a colorful surprise!
-
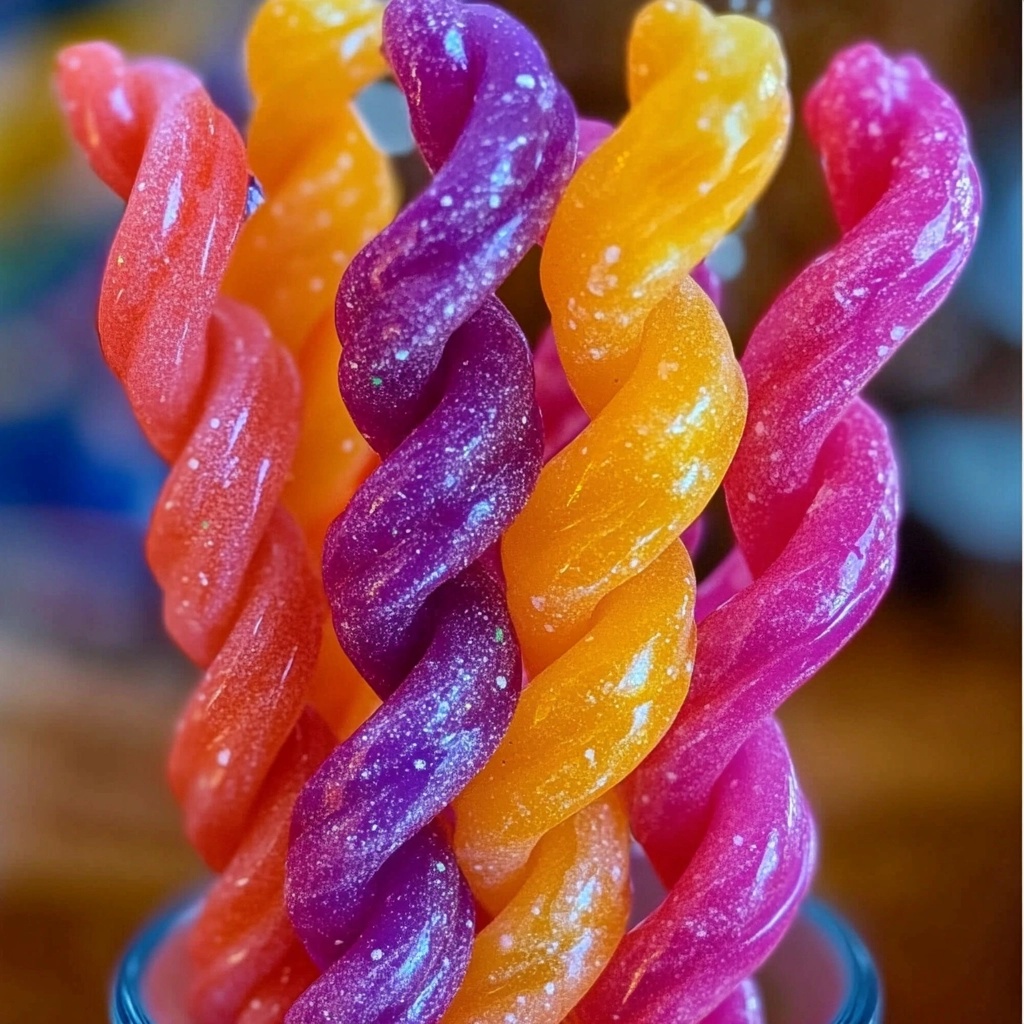
Swirled Ropes: If you want to make your licorice even more visually appealing, try twisting different colors together to create a swirl effect. The end result will look like a rainbow of flavors, making your homemade licorice not only a treat for your taste buds but also for your eyes.
You can also create themed licorice for special events like birthdays, holidays, or parties. For instance, green and red can be used for a festive Christmas treat, while orange and black are perfect for Halloween.
Texture and Thickness Adjustments
If you prefer your licorice to have a different texture, you can adjust the thickness of the ropes or tweak the cooking process. Here are some tips to achieve your desired texture:
-
Thicker Licorice: If you like your licorice ropes to have a more substantial chew, roll them thicker. This will result in a chewier, denser candy.
-
Thinner Licorice: For a more delicate, lighter texture, roll the ropes thinner. This can also help them cool and set more quickly.
-
Softer Licorice: If you prefer softer licorice, you can slightly reduce the amount of cornstarch or shorten the cooking time, making the mixture less firm when cooled.
-
Harder Licorice: To create a firmer licorice, increase the cooking time slightly, allowing the syrup to thicken more. You can also use a bit more cornstarch to ensure the ropes are more firm after cooling.
By adjusting the thickness and texture, you can create a licorice that matches your ideal chewy consistency, whether you like it soft and squishy or firm and elastic.
Fun Additions and Toppings
To elevate your Kool Aid licorice, consider adding fun toppings or extras. Some options include:
-
Sugar Coating: Roll the licorice ropes in granulated sugar or colored sugar for a sweet, crunchy coating. This can add extra flavor and a fun texture contrast to the chewy licorice.
-
Sprinkles: Add rainbow sprinkles or candy crystals for a festive look. This is especially fun for birthday parties or celebrations.
-
Sour Powder: For a sour kick, sprinkle some sour powder or citric acid on the licorice before it cools. This will create a tangy contrast that adds excitement to the flavor.
-
Chocolate Drizzle: If you’re a fan of chocolate, drizzle some melted chocolate over the licorice for a sweet and rich topping.
These additions allow you to further customize your licorice, making it even more appealing and fun to eat. You can experiment with different combinations to find the perfect finishing touch.
Troubleshooting Common Issues
Making Kool Aid licorice is a fun and rewarding experience, but like any homemade candy, there can be a few hiccups along the way. Here are some common issues you might encounter and how to resolve them, ensuring that your licorice turns out perfectly every time.
Mixture Too Runny
If your Kool Aid licorice mixture turns out too runny and doesn’t thicken properly, there are a few reasons this might happen:
-
Not enough cornstarch: The cornstarch is responsible for thickening the mixture and giving it the proper chewy texture. If you didn’t add enough, the licorice will remain too runny. Next time, ensure you measure the cornstarch accurately (2 tablespoons) and mix it well with the dry ingredients.
-
Not cooking long enough: Make sure you’re cooking the mixture long enough. It needs to cook over medium heat for about 5 minutes to thicken properly. If it’s still too runny after 5 minutes, cook it a bit longer while stirring constantly.
-
Solution: If you’ve already mixed everything together and it’s too runny, you can return it to the stove, add more cornstarch, and cook it longer.
Licorice Sticking to Hands
If the mixture sticks to your hands while rolling the licorice into ropes, it can be frustrating. This is usually caused by the mixture not cooling enough or being too sticky.
-
Solution: Ensure that the mixture cools down enough before you handle it. It should be pliable but not too hot. You can also coat your hands with a little vegetable oil to prevent sticking, or dust your work surface with cornstarch to make it easier to roll.
Licorice Too Hard or Too Soft
Sometimes your licorice can turn out either too hard or too soft, and it’s important to adjust the recipe to achieve the right texture.
-
Licorice Too Hard: This could be due to overcooking the mixture or using too much cornstarch. To fix this in future batches, reduce the cooking time slightly or use less cornstarch.
-
Licorice Too Soft: If your licorice is too soft and doesn’t hold its shape, you may need to cook it longer or add a little more cornstarch. Ensure the mixture thickens to the right consistency before removing it from the heat.
-
Solution: Adjusting the cooking time and cornstarch levels can help you get the perfect texture for your licorice.
Frequently Asked Questions (FAQs)
1. Can I use other types of drink mixes instead of Kool Aid?
Yes, you can experiment with other flavored drink mixes if you prefer. For example, you could use powdered drink mixes like Crystal Light, or even homemade fruit powders. However, Kool Aid is the most popular choice due to its vibrant colors and bold flavors.
2. Is there a way to make Kool Aid licorice without corn syrup?
While corn syrup helps to create the smooth texture, you can try replacing it with honey or maple syrup for a more natural alternative. Keep in mind that these substitutions may slightly alter the texture or flavor, but they should still work well in the recipe.
3. How can I make sugar-free Kool Aid licorice?
To make a sugar-free version of Kool Aid licorice, you can substitute granulated sugar with sugar alternatives like Stevia, Erythritol, or Monk Fruit Sweetener. Make sure to follow the manufacturer’s guidelines for equivalent sweetness levels and adjust the quantity accordingly.
4. Can I make Kool Aid licorice in advance for a party?
Yes, you can definitely make Kool Aid licorice in advance. After it has cooled and set, store the licorice in an airtight container at room temperature. It will keep for about 1-2 weeks, depending on the humidity and temperature of your storage area.
5. Why did my Kool Aid licorice come out too sticky?
Sticky licorice could be due to the mixture not cooling long enough or using too much corn syrup. Make sure to allow the licorice mixture to cool enough before handling it. If it’s too sticky, try adding a bit more cornstarch next time or adjust your cooking time for a firmer texture.


