There’s something magical about a dessert that comes together without ever turning on the oven. These No Bake Whatchamacallit Bars are the kind of treat you make on a warm afternoon when you crave something indulgent but don’t want to heat up the kitchen. They’re perfect for summer gatherings, after-school snacks, holiday trays, or late-night sweet cravings when time and simplicity matter most.
This recipe was inspired by nostalgic candy bar flavors—crispy, chewy, chocolatey, and rich with peanut butter. Growing up, those layered candy bars always felt like a special treat. I wanted to recreate that familiar combination at home, but in an easy, sliceable bar form that anyone can make with pantry staples. The result is a decadent no-bake dessert that tastes impressive but requires minimal effort.
Why You’ll Love These No Bake Whatchamacallit Bars
These bars are more than just easy—they’re dangerously delicious. Here’s why they stand out:
No oven required
Ready in under 30 minutes (plus chill time)
Made with simple, easy-to-find ingredients
Perfect balance of crunchy, chewy, and creamy
Ideal for parties, potlucks, and gifting
Kid-friendly and freezer-friendly
The layers combine crispy rice cereal, creamy peanut butter, rich chocolate, and a soft caramel-like base. Every bite offers texture and flavor in perfect harmony.
What Makes These Bars So Irresistible
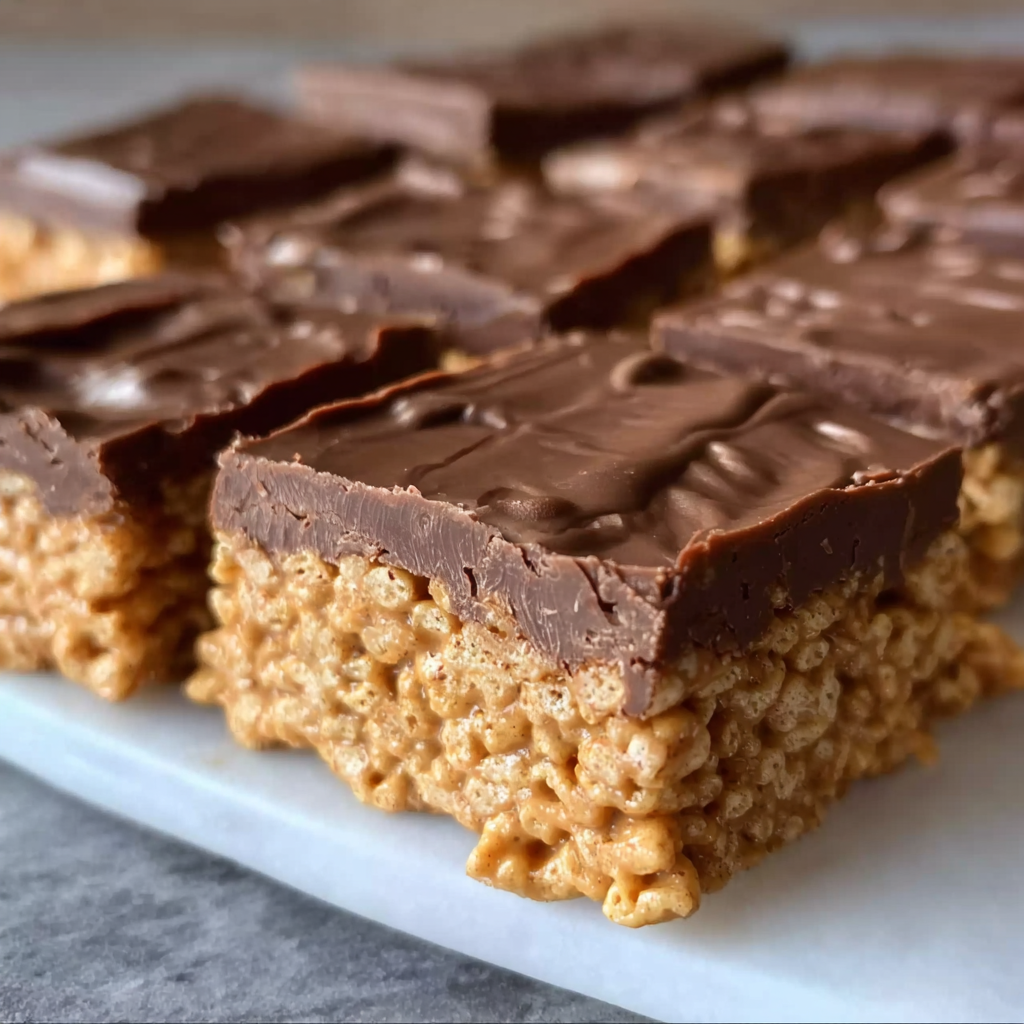
The secret to these bars lies in their layered structure:
A chewy peanut butter base that holds everything together
A crispy cereal layer for crunch
A smooth chocolate topping that sets beautifully
The contrast between the soft peanut butter mixture and the crisp cereal creates a texture similar to classic candy bars—but in a shareable form. Plus, the glossy chocolate top gives them a bakery-style finish that looks as good as it tastes.
Ingredients You’ll Need
Here’s everything required to make these no bake bars. All ingredients are listed with exact measurements for consistent results.
For the Peanut Butter Base:
1 cup (240 g) creamy peanut butter
1/2 cup (113 g) unsalted butter
1/2 cup (120 ml) light corn syrup
1 cup (200 g) granulated sugar
1 teaspoon (5 ml) vanilla extract
For the Crispy Layer:
3 cups (90 g) crispy rice cereal
For the Chocolate Topping:
1 1/2 cups (270 g) semi-sweet chocolate chips
1/4 cup (60 g) creamy peanut butter
Step-by-Step Instructions
1. Prepare Your Pan
Line a 9×9-inch (23×23 cm) baking pan with parchment paper, leaving overhang on the sides for easy removal.
2. Make the Peanut Butter Base
In a medium saucepan over medium heat, combine:
1/2 cup (113 g) unsalted butter
1/2 cup (120 ml) light corn syrup
1 cup (200 g) granulated sugar
Stir constantly until the mixture just begins to bubble. Do not let it boil vigorously—gentle heating keeps the texture soft.
Remove from heat and stir in:
1 cup (240 g) creamy peanut butter
1 teaspoon (5 ml) vanilla extract
Mix until smooth and fully combined.
3. Add the Crispy Cereal
Fold in:
3 cups (90 g) crispy rice cereal
Stir gently until evenly coated.
4. Press Into the Pan
Transfer the mixture to your prepared pan. Press firmly and evenly into the bottom using a spatula or parchment paper.
5. Prepare the Chocolate Layer
In a microwave-safe bowl, combine:
1 1/2 cups (270 g) semi-sweet chocolate chips
1/4 cup (60 g) creamy peanut butter
Microwave in 30-second intervals, stirring between each, until smooth and melted.
6. Spread and Chill
Pour the melted chocolate over the cereal layer. Spread evenly with a spatula.
Refrigerate for 1–2 hours, or until fully set.
7. Slice and Serve
Lift the bars out using the parchment overhang. Cut into 16 squares and enjoy.
Tips for Perfect No Bake Bars
Don’t Overheat the Sugar Mixture
If the sugar mixture boils too long, the bars may turn hard. Gentle heating is key to a chewy texture.
Use Fresh Cereal
Stale cereal will reduce the crunch. Make sure it’s crisp and fresh.
Chill Completely Before Cutting
Warm bars will crumble. Allow at least 1–2 hours of chilling for clean slices.
Use a Sharp Knife
For neat cuts, wipe the knife between slices.
Flavor Variations
These bars are versatile and easy to customize.
Add a Drizzle
Melt 1/4 cup (45 g) white chocolate chips and drizzle over the top for a decorative finish.
Add Crunch
Mix in 1/2 cup (60 g) chopped roasted peanuts for extra texture.
Make It Dark Chocolate
Swap semi-sweet chips for 1 1/2 cups (270 g) dark chocolate chips for a richer flavor.
Add a Pinch of Sea Salt
Sprinkle 1/4 teaspoon (1.5 g) flaky sea salt over the melted chocolate before chilling.
Storage Instructions
Refrigerator: Store in an airtight container for up to 7 days.
Freezer: Freeze for up to 3 months. Separate layers with parchment paper.
Room Temperature: Can sit out for several hours, but refrigeration keeps them firm.
Frequently Asked Questions
1. Can I make these bars without corn syrup?
Yes, you can substitute the 1/2 cup (120 ml) light corn syrup with 1/2 cup (170 g) honey or 1/2 cup (160 ml) brown rice syrup. However, the texture may vary slightly. Corn syrup helps create a smooth, chewy consistency without crystallization. Honey will add a subtle floral sweetness, while brown rice syrup will produce a slightly firmer result. If substituting, heat gently and avoid overcooking to maintain softness.
2. Why did my bars turn out hard?
Hard bars are usually caused by overheating the sugar mixture. When sugar is boiled too long, it reaches a higher temperature and creates a firmer, candy-like consistency once cooled. To prevent this, remove the saucepan from heat as soon as the mixture begins to bubble around the edges. Stir continuously and avoid letting it reach a rolling boil. Measuring ingredients accurately also plays a major role in achieving the right texture.
3. Can I use natural peanut butter?
Natural peanut butter can be used, but it may slightly alter the texture. Because natural peanut butter contains more oil separation and less stabilizer, the bars may be softer or slightly oily. If using natural peanut butter, stir it very well before measuring to ensure consistency. For best structural results, traditional creamy peanut butter provides a more reliable set.
4. How do I make clean, bakery-style cuts?
To get neat squares, chill the bars thoroughly for at least 1–2 hours. Use a sharp knife and wipe it clean between each cut. For even cleaner edges, run the knife under hot water, dry it completely, and then slice. This helps glide through the chocolate layer without cracking it. Cutting slowly and applying steady pressure also prevents crumbling.
Serving Ideas
These bars are perfect for:
Birthday party dessert tables
School bake sales
Holiday cookie trays
Homemade gift boxes
After-dinner treats
Potluck gatherings
You can even wrap individual squares in parchment paper and tie with string for a thoughtful homemade gift.
Final Thoughts
No Bake Whatchamacallit Bars are the ultimate combination of convenience and indulgence. They deliver the nostalgic flavor of classic candy bars in a simple, homemade format that anyone can master. With just a handful of pantry ingredients and minimal effort, you can create a dessert that tastes layered, rich, and bakery-worthy.
One of the most appealing aspects of this recipe is its flexibility. Whether you’re customizing with dark chocolate, adding extra crunch, or experimenting with toppings, these bars adapt beautifully to your preferences. They’re forgiving enough for beginner cooks yet impressive enough to serve at celebrations.
Because they require no baking, they’re especially ideal during warm months when turning on the oven feels overwhelming. They also make a fantastic make-ahead dessert since they store so well in both the refrigerator and freezer. Having a batch ready to slice means you’re always prepared for unexpected guests or sweet cravings.
If you’re looking for a dessert that’s quick, satisfying, and guaranteed to please a crowd, these no bake bars deserve a permanent spot in your recipe collection. Once you make them, you’ll find yourself coming back to this recipe again and again.