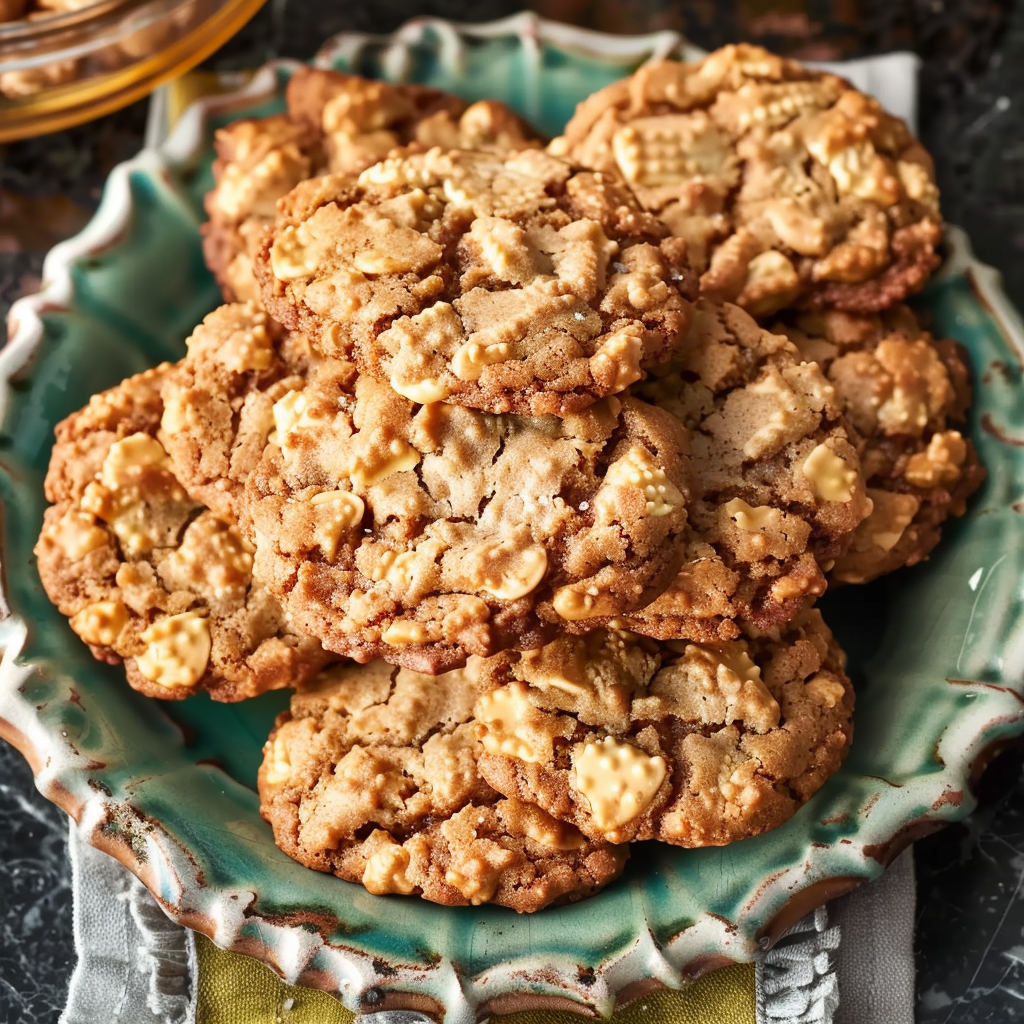
No Bake Cookies
No bake cookies are a timeless treat that combines simplicity, speed, and satisfaction. With no need for an oven, these cookies are perfect for beginners, busy parents, or anyone craving a quick dessert fix. They require only a few pantry staples and minimal cooking—just a stovetop boil and a bit of cooling time. The result? Deliciously chewy, fudgy cookies that are hard to resist.
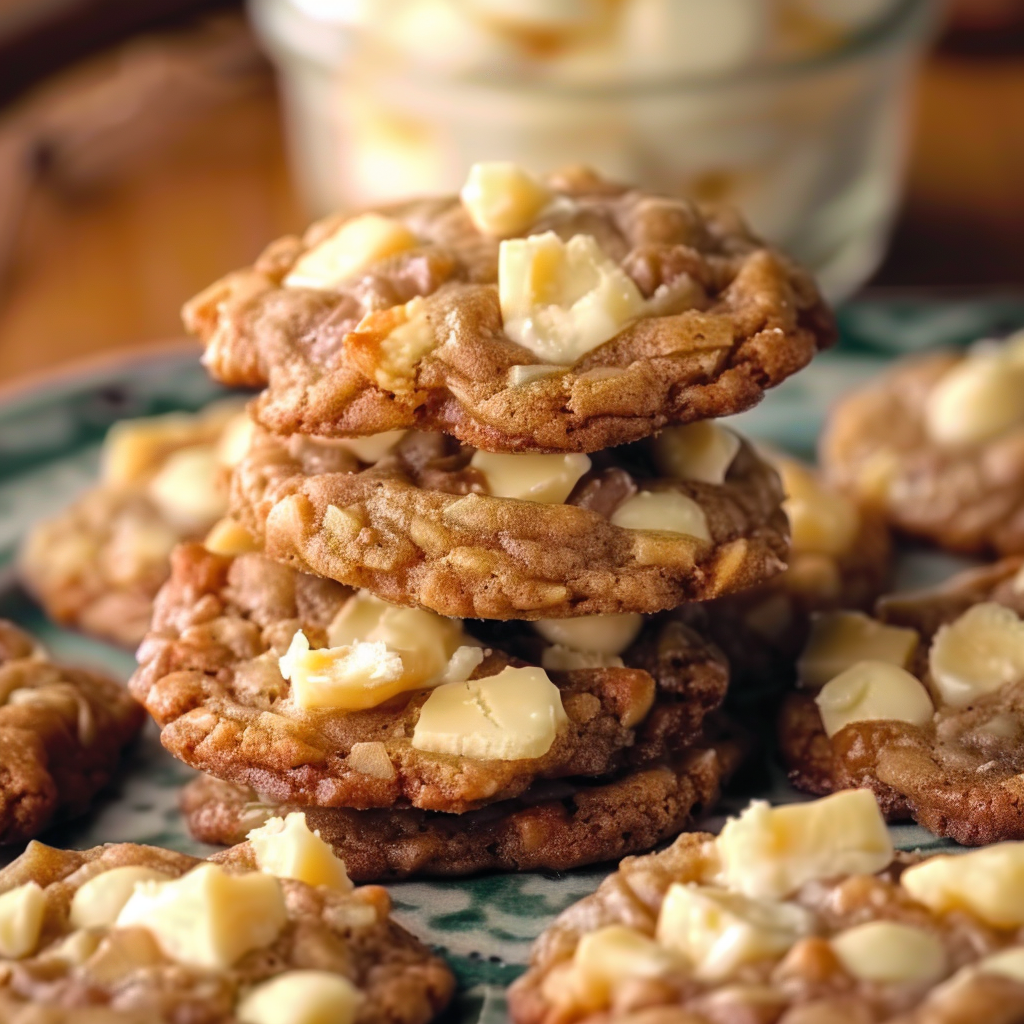
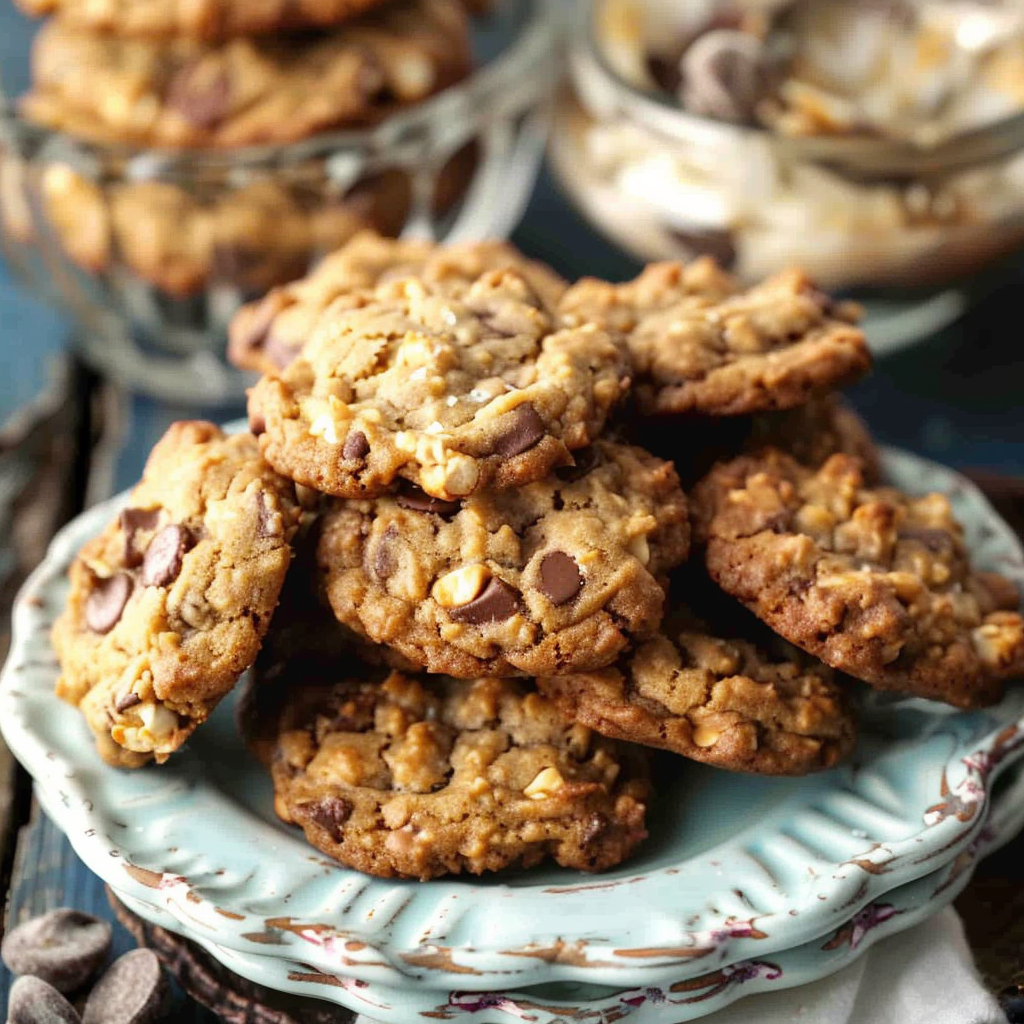
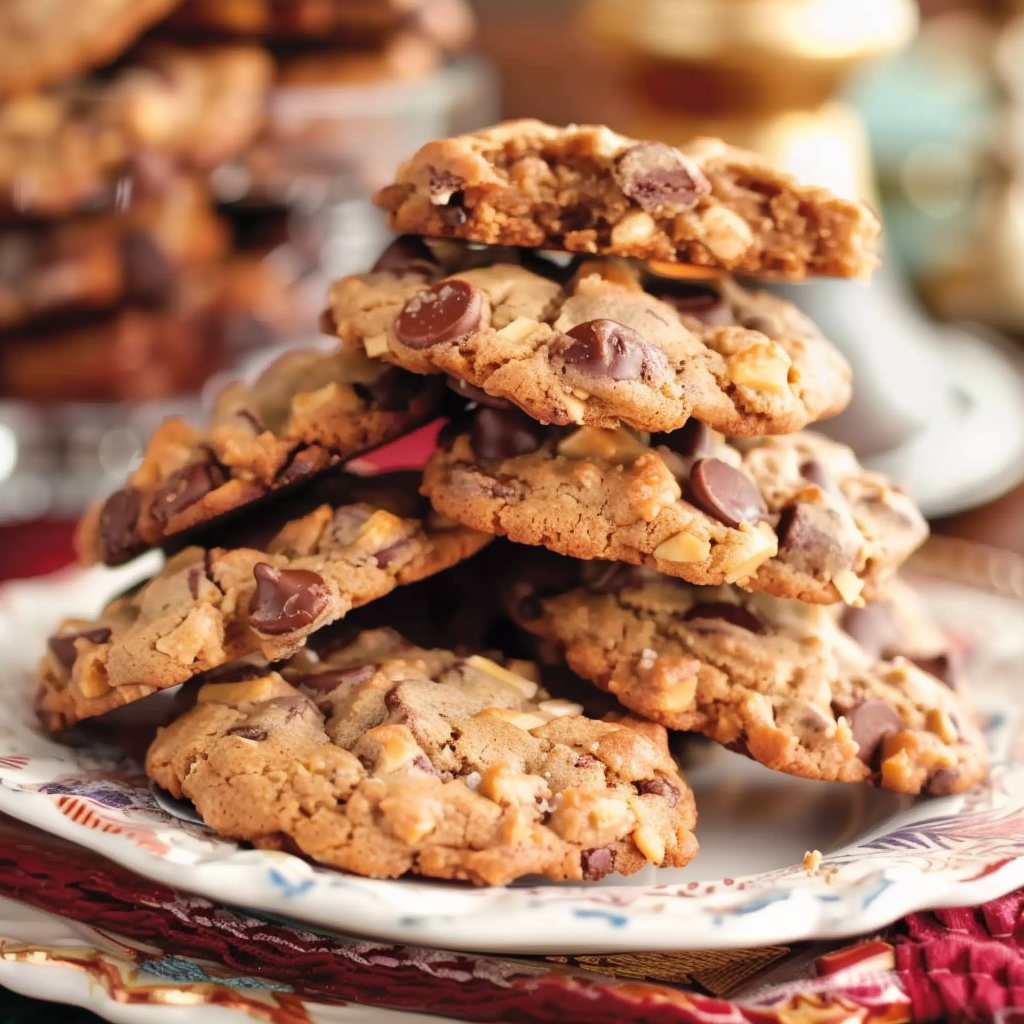
Among the various no bake cookie recipes, the chocolate oat peanut butter variation stands out as a true classic. This combination brings together rich cocoa, hearty oats, and creamy peanut butter into a treat that’s both indulgent and satisfying. The texture strikes a delicate balance between soft and firm, making them ideal for lunchboxes, bake sales, or late-night snacking. If you’re exploring easy no bake dessert ideas, this recipe should be your go-to choice.
No bake cookies have a rich history in American kitchens, especially during times when ovens were less accessible or when baking time was limited. Today, they remain a staple thanks to their adaptability. You can experiment with ingredients like almond butter or coconut, or make them gluten-free by using certified gluten-free oats. If you’re curious about the types of oats best used in these recipes, this Wikipedia article on oatmeal offers a helpful breakdown of options.
These cookies aren’t just quick—they’re also fun to make, especially with children. Teaching kids how to measure and mix can be a great introduction to kitchen skills. For guidance on safe kitchen practices with little helpers, check out this article on food safety. Whether you’re making a single batch or prepping a freezer-friendly snack, no bake cookies offer a foolproof way to satisfy your sweet tooth with minimal effort.
What Makes Chocolate Oat Peanut Butter No Bake Cookies Special
The chocolate oat peanut butter no bake cookie is a standout in the world of no bake desserts, and for good reason. It blends three of the most beloved ingredients—chocolate, oats, and peanut butter—into one indulgent yet approachable treat. The magic of these cookies lies in their ability to deliver maximum flavor and texture with minimal ingredients and effort.
This cookie’s chocolatey richness comes from unsweetened cocoa powder, which adds depth and a slight bitterness to balance the sweetness. If you’re curious about how cocoa contributes to flavor, this Wikipedia entry on cocoa solids explains its role in baked goods and confections. Combined with sugar and butter, the cocoa creates a fudgy base that binds the oats and peanut butter into a cohesive, chewy mixture.
The use of quick oats ensures that the cookies hold together without becoming dry or dense. Unlike old-fashioned oats, quick oats absorb the hot mixture rapidly, resulting in a soft but firm texture. For a deeper dive into oat varieties and their culinary uses, refer to the Wikipedia guide to oatmeal, which outlines how each type performs in recipes like this one.
Peanut butter plays both a functional and flavorful role. It not only enhances creaminess and flavor but also helps set the cookies. The fat and protein in peanut butter create a smooth texture that contrasts perfectly with the oats. If you’re curious about the backstory of this pantry staple, explore the history of peanut butter for a fascinating look at how it became a kitchen essential.
These cookies are more than just quick treats—they’re versatile and freezer-friendly. You can easily adapt the base recipe with ingredients like shredded coconut, chopped nuts, or even a spoonful of instant coffee for a mocha twist. If you’re exploring other no bake cookie variations, this Pinterest board is packed with creative and flavorful ideas.
Whether you’re making them as a nostalgic treat or introducing them to your family for the first time, these cookies check all the boxes: easy, satisfying, and endlessly customizable.
Ingredients Breakdown & Substitutions
The beauty of no bake cookies lies in their simplicity. Each ingredient in this chocolate oat peanut butter recipe plays a crucial role, working together to create the perfect chewy texture and rich flavor. Here’s a breakdown of the key components and how you can adapt them to fit your dietary needs or taste preferences.
-
Unsalted Butter (½ cup)
Butter provides moisture and richness, helping the mixture set properly. Unsalted butter allows you to control the salt content. For a dairy-free version, substitute with refined coconut oil or vegan butter. If you’re unfamiliar with butter measurements, this guide on measuring ingredients can help ensure accuracy. -
Granulated Sugar (2 cups)
Sugar gives the cookies structure and sweetness. If you want a less processed option, you can try coconut sugar or maple syrup, though the texture may vary slightly. Be cautious with liquid sweeteners as they can change the firmness of the final cookie. -
Milk (½ cup)
Milk helps dissolve the sugar and combines with butter to create a creamy base. Any type of milk will work, including almond, oat, or soy milk for a vegan version. For inspiration, browse Pinterest ideas for vegan no bake treats. -
Unsweetened Cocoa Powder (¼ cup)
Cocoa powder is essential for a deep chocolate flavor. Opt for unsweetened natural cocoa or Dutch-processed for a smoother, less acidic profile. Learn more about its culinary uses from this Wikipedia article on cocoa solids. -
Creamy Peanut Butter (½ cup)
Peanut butter provides fat, flavor, and binding power. Use natural peanut butter for a less processed option or swap with almond butter, cashew butter, or sunflower seed butter for a nut-free alternative. If you’re looking for a bit of crunch, try chunky peanut butter or add chopped nuts. -
Vanilla Extract (1 tsp)
This ingredient elevates the overall flavor and adds depth. Pure vanilla extract is preferred over imitation, but either will work. -
Quick Oats (3 cups)
Quick oats are ideal because they absorb the liquid quickly and create a uniform texture. Avoid steel-cut oats, which won’t soften properly. Curious about oat differences? This detailed guide breaks it down.
For those exploring healthier no bake desserts, consider replacing refined sugar with natural sweeteners or using gluten-free oats to accommodate dietary restrictions. Pinterest has a wealth of ideas on how to tweak ingredients for a healthier spin—check out this board for gluten-free inspiration.
Whether you’re sticking with the classic version or experimenting with alternatives, the flexibility of these ingredients makes this recipe a must-have in any dessert rotation.
Equipment You’ll Need
Making no bake cookies is refreshingly simple—and so is the equipment list. You don’t need any mixers, baking pans, or specialty tools. With just a few basic kitchen items, you’ll be ready to whip up a batch in no time. Here’s exactly what you need and why it matters.
-
Medium Saucepan
This is essential for boiling the butter, sugar, milk, and cocoa mixture. A heavy-bottomed pan is ideal to prevent scorching and promote even heating. Make sure it’s deep enough to allow for stirring without spills. -
Wooden Spoon or Silicone Spatula
Choose a sturdy utensil for stirring as the mixture thickens. A silicone spatula works well for scraping down the sides and folding in the oats and peanut butter. Wooden spoons offer durability and won’t react with the cocoa or sugar. -
Measuring Cups and Spoons
Precise measurement is key to achieving the perfect texture. Too much milk or too little sugar can affect the consistency. For help getting accurate measurements, refer to this Wikipedia article on measuring spoons. -
Parchment Paper
Line your baking sheet with parchment to prevent sticking and make cleanup a breeze. It also ensures the cookies maintain their shape while cooling. -
Baking Sheet
Though you won’t be using the oven, a flat surface is necessary for shaping and setting the cookies. Any cookie sheet or tray will work. -
Cookie Scoop or Spoon
A small scoop ensures uniform size and shape, which helps with even setting and storage. A regular tablespoon also works if a scoop isn’t available.
This basic setup makes the process fast and efficient—no need to haul out the mixer or preheat the oven. For more kitchen setup tips and quick cooking ideas, check out this helpful Pinterest pin. Whether you’re making a small batch or doubling the recipe, these tools make the job easy and mess-free.
Step-by-Step Instructions with Pro Tips
Making no bake cookies may seem straightforward, but mastering the technique ensures that every batch comes out perfectly chewy, firm, and flavorful. Follow this detailed, step-by-step guide to achieve consistent results every time.
Step 1: Prepare Your Baking Sheet
Before you begin cooking, line a baking sheet with parchment paper. This prevents sticking and helps the cookies maintain their shape while cooling. If you’re in a humid environment, prep a second tray and space them out for better air circulation during setting.
Step 2: Combine Wet Ingredients and Cocoa
In a medium saucepan over medium heat, add:
-
½ cup unsalted butter
-
2 cups granulated sugar
-
½ cup milk
-
¼ cup unsweetened cocoa powder
Stir constantly to prevent the sugar from burning and the cocoa from clumping. Use a wooden spoon or silicone spatula for even mixing. The mixture should slowly melt into a glossy, uniform liquid.
Step 3: Bring to a Rolling Boil
This step is crucial for getting the texture right. Once the mixture starts bubbling, let it reach a full rolling boil—meaning the bubbles do not stop when stirred. Set a timer for exactly 1 minute and keep it boiling without interruption.
Overboiling results in dry, crumbly cookies, while underboiling causes them not to set. If you’ve ever asked, “Why are my no bake cookies not setting?” this is likely the culprit.
Step 4: Remove from Heat and Mix in Flavor Additions
Immediately take the pan off the heat. Stir in:
-
½ cup creamy peanut butter
-
1 teaspoon vanilla extract
Mix quickly and thoroughly until smooth. This is where the cocoa and peanut butter combine into a rich, cohesive base.
Step 5: Add the Oats
Stir in:
-
3 cups quick oats
Mix until the oats are fully coated. The mixture should be thick but spoonable. If it feels too loose, you can add ¼ cup more oats. Avoid overmixing as it can make the cookies dense.
Step 6: Drop and Set
Using a spoon or cookie scoop, drop rounded tablespoons onto your prepared baking sheet. Leave space between each to allow for slight spreading. Let them cool at room temperature for 20–30 minutes or until firm.
If you’re in a rush, you can place the tray in the fridge to speed up the setting process. For ideas on how to freeze cookies the right way, check out this Pinterest guide.
These cookies will set with a glossy finish and a soft, chewy center. Store leftovers in an airtight container to keep them fresh for up to a week at room temperature.
Expert Tips for Perfect No Bake Cookies Every Time
Even a simple recipe has tricks that elevate it from good to great. Here are expert-approved tips to ensure success with every batch of chocolate oat peanut butter no bake cookies.
-
Timing is everything
The 1-minute rolling boil is the most important step. Use a timer to avoid guessing. Underboiling leads to sticky, unset cookies; overboiling makes them dry and crumbly. -
Use quick oats
Quick oats absorb liquid better and create a more consistent texture. If you only have old-fashioned oats, pulse them briefly in a food processor to mimic the quick-cut texture. Learn more about oat types from this Wikipedia guide. -
Don’t overmix the oats
Stir just until combined. Overworking the mixture can make the cookies tough. -
Cool completely before storing
Storing warm cookies in an airtight container traps steam and leads to sogginess. -
Avoid making these on humid days
High humidity can prevent the cookies from setting. If necessary, place them in the refrigerator for 10–15 minutes. -
For uniform cookies, use a cookie scoop
This ensures even size and faster, more consistent setting. It also makes the presentation cleaner. -
Prep everything ahead
The process moves fast once the mixture starts boiling. Have all your ingredients measured and your baking sheet lined before you start.
Want more clever kitchen shortcuts? Explore this Pinterest board on quick cooking tips to save time in the kitchen.
Flavor Variations to Try
One of the reasons no bake cookies are so popular is their flexibility. Once you master the base recipe, you can customize it in countless ways to suit your tastes or dietary needs. Here are some of the best variations to try:
-
Nut-Free
Swap peanut butter with sunflower seed butter or soy nut butter for an allergy-friendly version. Perfect for school-safe snacks. -
Vegan
Use plant-based butter and non-dairy milk like oat or almond. Be sure to choose a natural cocoa powder with no dairy additives. -
Double Chocolate
Stir in ½ cup of chocolate chips after removing the pan from heat. Let them melt slightly for pockets of chocolate in every bite. -
Mocha
Add 1 tsp of instant coffee or espresso powder during the boiling stage for a rich, grown-up twist. -
Coconut Delight
Mix in ½ cup shredded coconut for a chewy, tropical spin. -
Nutty Crunch
Stir in chopped almonds, pecans, or walnuts for texture and flavor. -
Healthier Version
Replace white sugar with honey or maple syrup. Use natural peanut butter and reduce the quantity slightly to keep the mixture thick.
Explore more ideas and Pinterest-worthy inspiration from this no bake variations board. The base recipe is forgiving, so don’t be afraid to experiment.
How to Store and Freeze No Bake Cookies
Proper storage helps maintain the chewy texture and fresh flavor of your cookies. Whether you’re making a batch for the week or prepping ahead, these storage tips will keep them in perfect shape.
-
Room Temperature
Store in an airtight container for up to 5–7 days. Keep them in a cool, dry place to avoid melting or softening. -
Refrigerator
For extended freshness, refrigerate the cookies. They’ll stay firm and fresh for up to 2 weeks. Place parchment between layers to prevent sticking. -
Freezer-Friendly
Lay cookies in a single layer on a tray and freeze for 1 hour. Once firm, transfer to a zip-top freezer bag or airtight container. Label with the date. -
How to Thaw
Let frozen cookies sit at room temperature for 15–20 minutes before eating. They also taste great cold, straight from the freezer.
If you’re new to freezing baked goods, this Pinterest guide to freezing cookies covers tips and tricks to preserve freshness and flavor.
Freezing a double batch makes these cookies perfect for grab-and-go snacks or surprise guests.
Common Problems and How to Fix Them
Even experienced bakers can run into issues when making no bake cookies. Here’s how to identify and fix the most common problems.
-
Cookies Too Soft or Sticky
Cause: Underboiling the sugar mixture.
Fix: Make sure to boil for a full 60 seconds at a rolling boil. Next time, use a timer for accuracy. -
Cookies Too Dry or Crumbly
Cause: Overboiling the mixture.
Fix: Reduce boiling time by a few seconds. Humidity can also impact texture, so adjust oats slightly if needed. -
Cookies Won’t Set
Cause: High humidity or undercooked mixture.
Fix: Place the tray in the fridge to help them firm up. -
Grainy Texture
Cause: Sugar not fully dissolved.
Fix: Stir well during the heating stage and don’t rush to boil. -
Too Runny or Thin
Cause: Too little oats or too much liquid.
Fix: Add ¼ cup more oats to absorb excess moisture. Make sure measurements are accurate by reviewing proper measuring techniques.
Addressing these issues ensures your cookies come out perfect every time—and once you get the timing right, it’s hard to go wrong.
FAQs – Based on “People Also Ask”
Why are my no bake cookies not setting?
The most common reason is underboiling the sugar mixture. Make sure it reaches a full rolling boil for exactly 1 minute. High humidity can also interfere with the setting process.
Can I use old-fashioned oats instead of quick oats?
Yes, but the texture will be chewier and less uniform. For best results, pulse them a few times in a food processor or check this Wikipedia page on oatmeal for the difference.
Do no bake cookies need to be refrigerated?
Not necessarily. They’ll last 5–7 days at room temperature but can be refrigerated for longer shelf life or firmer texture.
Can I make these cookies without peanut butter?
Absolutely. Substitute with almond butter, sunflower seed butter, or even cookie butter for a twist. Just make sure the texture is similar.
How long do no bake cookies last?
Up to 1 week at room temperature, 2 weeks in the fridge, and 3 months in the freezer. Proper storage matters, so check out this Pinterest pin on freezing.
Can you use coconut oil instead of butter?
Yes, use refined coconut oil to avoid a coconut flavor. It works well as a dairy-free alternative and adds a smooth, glossy texture.
Ultimate Guide to No Bake Cookies

Soft, chewy, and full of chocolatey peanut butter flavor, these no bake cookies are a fast and foolproof treat for any occasion. Made with quick oats, cocoa powder, and creamy peanut butter, they set into glossy, satisfying bites—no oven required. Perfect for lunchboxes, holiday platters, or make-ahead freezer snacks, this classic recipe is ready in minutes and endlessly customizable.
- Author: Clara
Ingredients
- ½ cup unsalted butter
- 2 cups granulated sugar
- ½ cup milk
- ¼ cup unsweetened cocoa powder
- ½ cup creamy peanut butter
- 1 teaspoon vanilla extract
- 3 cups quick oats
Instructions
Line a baking sheet with parchment paper.
In a medium saucepan over medium heat, combine butter, sugar, milk, and cocoa powder. Stir frequently until the mixture comes to a rolling boil.
Allow it to boil for 1 minute, then immediately remove from heat.
Stir in the peanut butter and vanilla extract until smooth.
Add the oats and mix until fully coated.
Drop spoonfuls of the mixture onto the prepared baking sheet.
Let cookies cool at room temperature until set, about 20–30 minutes.
Store in an airtight container at room temperature.
Notes
-
Boil Time Matters: Use a timer and boil the mixture exactly 1 minute for the ideal texture.
-
Quick Oats Only: Substituting with old-fashioned oats may alter consistency.
-
Nut-Free Options: Try sunflower seed butter for an allergy-friendly version.
-
Freezer-Friendly: Make a double batch and freeze half for up to 3 months.
-
Humidity Tip: If your cookies aren’t setting, pop them into the fridge to firm up.