Why Make Bread Without Yeast?
Making bread without yeast offers a hassle-free way to enjoy fresh, homemade bread without the wait. Traditional recipes often require time-consuming proofing and rising, which can be discouraging for busy cooks or beginners. This no-yeast bread recipe changes the game by delivering a quick and delicious loaf that’s ready in just 20 minutes. Whether you’re out of yeast, short on time, or simply want a simpler method, this recipe is a reliable go-to.
No-yeast bread has grown in popularity, especially among those seeking fast baking solutions or experimenting with simple bread recipes. In fact, similar styles like quick bread use alternative leavening agents such as baking powder instead of yeast. This shift aligns perfectly with modern kitchen trends favoring speed and simplicity.
Benefits of No-Yeast Bread
There are several benefits to making no-yeast bread, especially for beginner bakers:
-
No waiting time: Skip the rising process entirely.
-
Fewer ingredients: Basic pantry staples are all you need.
-
Beginner-friendly: The process is simple and forgiving.
-
Versatile: It can be adapted with savory or sweet flavors.
-
No special equipment required: A bowl, spoon, and oven are all you need.
For visual inspiration, check out this Pinterest board for no yeast bread ideas, which showcases a variety of shapes, flavors, and styles.
What Makes This a 20-Minute Recipe?
This bread stands out because of its speed and ease. There’s no kneading machine, no rest period, and no complicated steps. The secret lies in using baking powder instead of yeast. According to Wikipedia, baking powder is a chemical leavening agent that reacts instantly with liquid and heat, making it ideal for quick baking.
By combining ingredients like all-purpose flour, milk, and vegetable oil (see vegetable oil), the dough comes together in just minutes. After a brief shape and score, it goes straight into the oven. Want more recipe inspiration like this? Explore our quick recipe collection in our easy baking section.
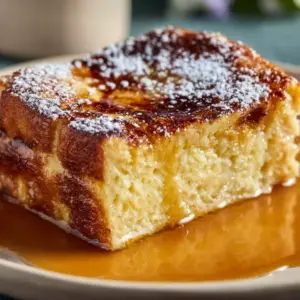
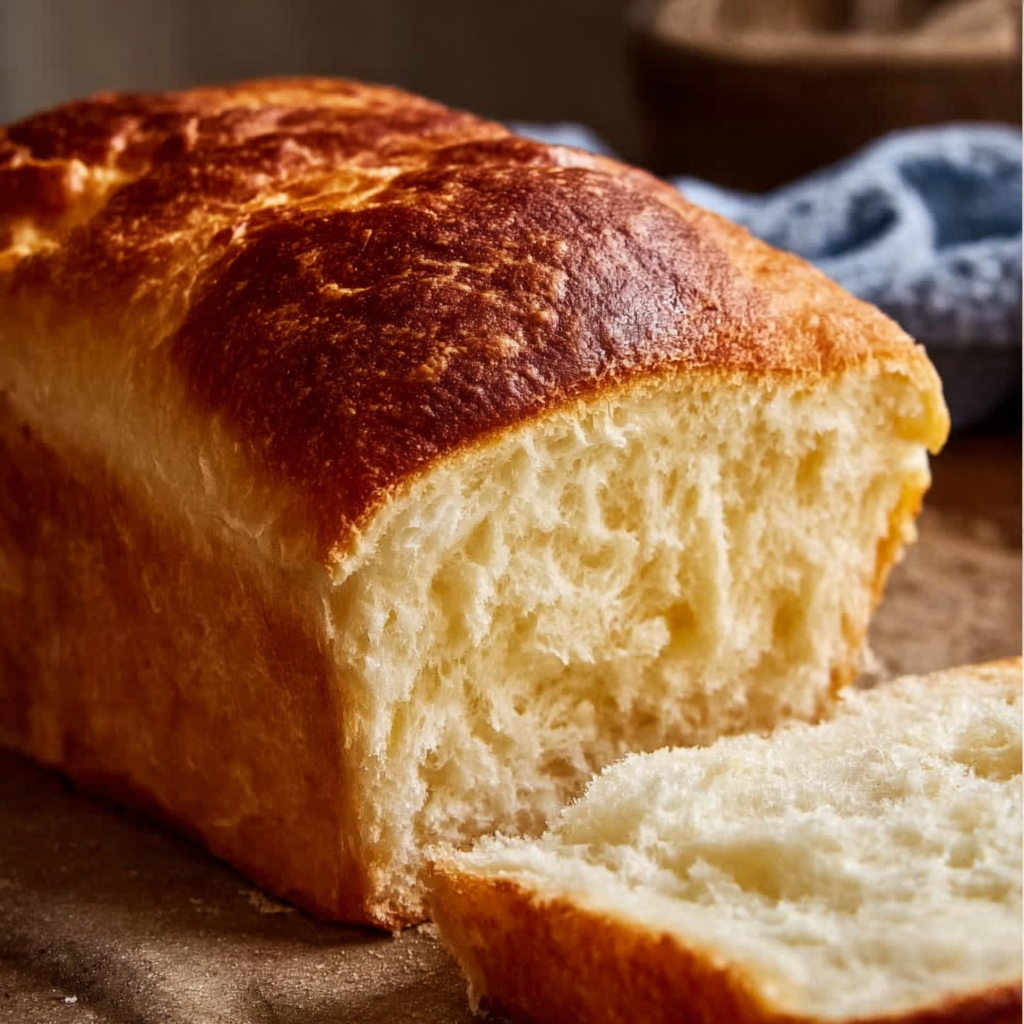
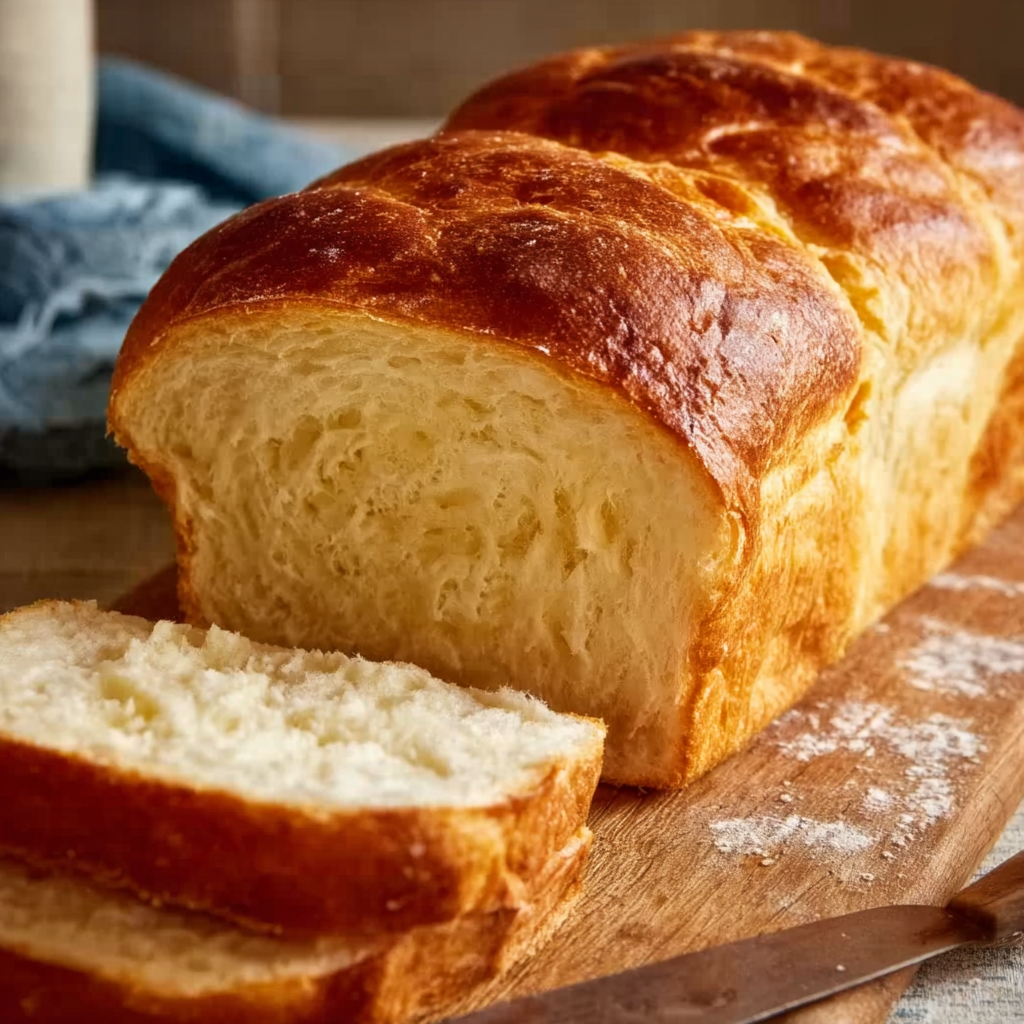
This quick method gives you a golden, crusty loaf with a soft, tender inside—perfect for sandwiches, soup dipping, or toasting.
Core Ingredients and Their Functions
Understanding each component in this quick homemade bread recipe helps you bake with confidence and make informed substitutions when needed. Every ingredient has a distinct role in achieving the right texture and flavor:
-
All-purpose flour: This is the base of the bread, providing structure. It balances elasticity and tenderness, making it ideal for no-yeast recipes. Learn more about all-purpose flour and how it compares to other types.
-
Baking powder: Acts as the leavening agent, helping the bread rise without yeast. It creates air pockets for a light, soft crumb. The science behind it is detailed in this Wikipedia article on baking powder.
-
Salt: Enhances the flavor and balances the sweetness. It also strengthens the dough structure slightly.
-
Sugar: Adds a hint of sweetness and helps with browning. It’s optional but recommended for balanced flavor.
-
Milk: Provides moisture, richness, and a soft crumb. It also contributes to the browning of the crust.
-
Vegetable oil or melted butter: Adds fat, which improves flavor and softness. Read more about vegetable oil for other healthy options.
The simplicity of these ingredients reflects the essence of quick bread recipes, which are designed to be efficient, beginner-friendly, and pantry-based.
Ingredient Swaps for Dietary Needs
Not only is this recipe fast, but it’s also flexible. Whether you’re out of an ingredient or adapting for a dietary need, here are smart substitutes:
-
Milk alternatives: Use almond, soy, or oat milk for a dairy-free version. These non-dairy options work well and add subtle flavor differences.
-
Whole wheat flour: Swap in up to 50% whole wheat flour for added fiber and nutrients. It will create a denser loaf with a nuttier taste.
-
Butter alternatives: Try olive oil or coconut oil for a richer, slightly different flavor. These work well with both savory and slightly sweet variations.
Explore more healthy bread inspiration through this Pinterest search on homemade bread, offering visual ideas for ingredient swaps and unique twists.
These ingredient tips align well with our internal article on healthy baking tips for beginners, ensuring that your bread turns out both delicious and aligned with your lifestyle.
Step-by-Step Instructions Explained
Prepping the Oven and Equipment
Start by preheating your oven to 425°F (220°C). A properly heated oven ensures your quick bread rises and bakes evenly. Line a baking sheet with parchment paper or lightly grease it to prevent sticking. Using a preheated oven is crucial, especially when baking with baking powder, which reacts immediately to heat. For more on how oven temperature affects baking, check out oven temperatures.
Gather your tools:
-
Large mixing bowl
-
Measuring cups and spoons
-
Mixing spoon or spatula
-
Sharp knife for scoring
-
Baking sheet
Having everything ready before you start mixing ensures a smoother and more efficient baking process.
Mixing the Dough – Tips for Success
In your mixing bowl, whisk together the all-purpose flour, baking powder, salt, and sugar. Dry ingredients should be well combined to avoid uneven distribution of leavening agents.
Next, add in the milk and vegetable oil or melted butter. Stir gently until everything is just combined. Do not overmix. Overworking the dough can lead to a dense, chewy texture instead of the soft, fluffy inside you want in a quick bread loaf.
The dough will be slightly sticky but manageable. If it seems too wet, add a tablespoon of flour at a time. If it’s too dry, add a splash of milk.
Kneading and Shaping the Dough
Transfer the dough to a lightly floured surface. Gently knead it for 1–2 minutes. You’re not building gluten like in yeast breads, so keep kneading light. The goal is to bring the dough together into a cohesive shape.
Shape the dough into a round or oval loaf. Press gently to flatten the top slightly. Uniform shaping helps the loaf bake evenly.
For more shaping tips and techniques, see kneading (dough) on Wikipedia.
Scoring the Bread – Why It Matters
Use a sharp knife to make shallow slashes across the top of the loaf. This is called scoring and helps control the direction the bread expands in the oven. It also gives your bread a rustic, bakery-style look.
This small step improves presentation and ensures a more even rise during baking, which is especially helpful in fast recipes like this one.
Baking to Perfection
Place the shaped and scored dough on your prepared baking sheet and bake for 15–20 minutes. The top should turn a rich golden brown. A toothpick inserted in the center should come out clean when done.
If you prefer a crustier top, you can turn on the broiler for the last 1–2 minutes of baking—just watch carefully to avoid burning.
Once out of the oven, let the loaf cool slightly before slicing. This helps set the crumb and makes slicing easier.
Want more quick ideas? Check our quick baking recipes for other fast, oven-friendly treats.
Serving Suggestions & Variations
How to Serve Quick Bread
This 20-minute bread is incredibly versatile. It can be served in a variety of ways, making it ideal for everyday meals:
-
Sandwiches: Slice and use for cold or grilled sandwiches.
-
Toast: Enjoy with butter, jam, or avocado.
-
Soups and stews: A perfect companion to hot meals.
-
Snacks: Cut into strips and dip in olive oil, hummus, or cheese sauces.
For more serving inspiration, check out these homemade bread presentation ideas.
Flavor Add-In Ideas
Elevate your basic loaf with flavorful add-ins:
-
Herbs: Add 1–2 tsp of dried rosemary, thyme, or Italian seasoning for savory flavor.
-
Cheese: Mix in shredded cheddar, parmesan, or feta for a richer loaf.
-
Spices: A pinch of garlic powder, onion powder, or paprika can enhance the flavor profile.
Feel free to experiment based on your preferences and what you have on hand.
Sweet Variations
You can also give this bread a sweeter twist:
-
Cinnamon-raisin: Add 1 tsp cinnamon and ¼ cup raisins.
-
Honey or maple syrup: Swap the sugar for natural sweeteners.
-
Vanilla extract: A dash of vanilla complements sweet versions nicely.
Explore more ideas for personalized loaves in our easy baking tips section.
Storage, Freezing & Reheating Tips
How to Store Leftover Bread
Store your cooled bread at room temperature in an airtight container or wrapped in foil. It stays fresh for about 2 days. Avoid the fridge—it can dry out the texture quickly.
To maintain softness, place a paper towel in the container to absorb any moisture.
Can You Freeze No-Yeast Bread?
Yes, this bread freezes well. Here’s how:
-
Wrap the loaf tightly in plastic wrap and place it in a freezer-safe bag.
-
Label and date the package for easy tracking.
-
Freeze for up to 2 months.
When ready to use, thaw at room temperature. You can reheat slices in the oven or toaster for that freshly baked feel. This makes it ideal for meal prepping or quick breakfasts.
Need more info on proper food storage? The Wikipedia page on quick breads includes helpful background on shelf life and preservation.
FAQs – People Also Ask
Can I make bread without yeast?
Yes. Instead of yeast, this recipe uses baking powder, which reacts with heat and moisture to create rise. This means no waiting, no proofing—just mix and bake. Learn more about how baking powder works as a leavening agent.
Is no-yeast bread the same as soda bread?
They’re similar but not identical. Soda bread uses baking soda and often buttermilk, while this version uses baking powder and milk. Both are types of quick bread that don’t require rising time. Explore our full guide to quick bread types for deeper insight.
How do I know if my quick bread is done?
The bread is ready when:
-
The top is golden brown
-
A toothpick comes out clean from the center
-
It sounds hollow when tapped on the bottom
Check your oven temperature using an oven thermometer to ensure accuracy—read more about oven calibration if unsure.
Can I double this recipe?
Yes, you can double the ingredients to make two loaves or one large one. If baking a larger loaf, increase the time slightly (up to 30 minutes), and test with a toothpick to ensure it’s cooked through.
Why is my bread dense or dry?
Common issues include:
-
Overmixing the dough
-
Incorrect flour measurement (scoop and level instead of packing)
-
Baking too long
For tips on fixing texture, explore our internal baking resource on easy baking tips.
PrintQuick 20-Minute Homemade Bread Recipe – No Yeast, No Fuss

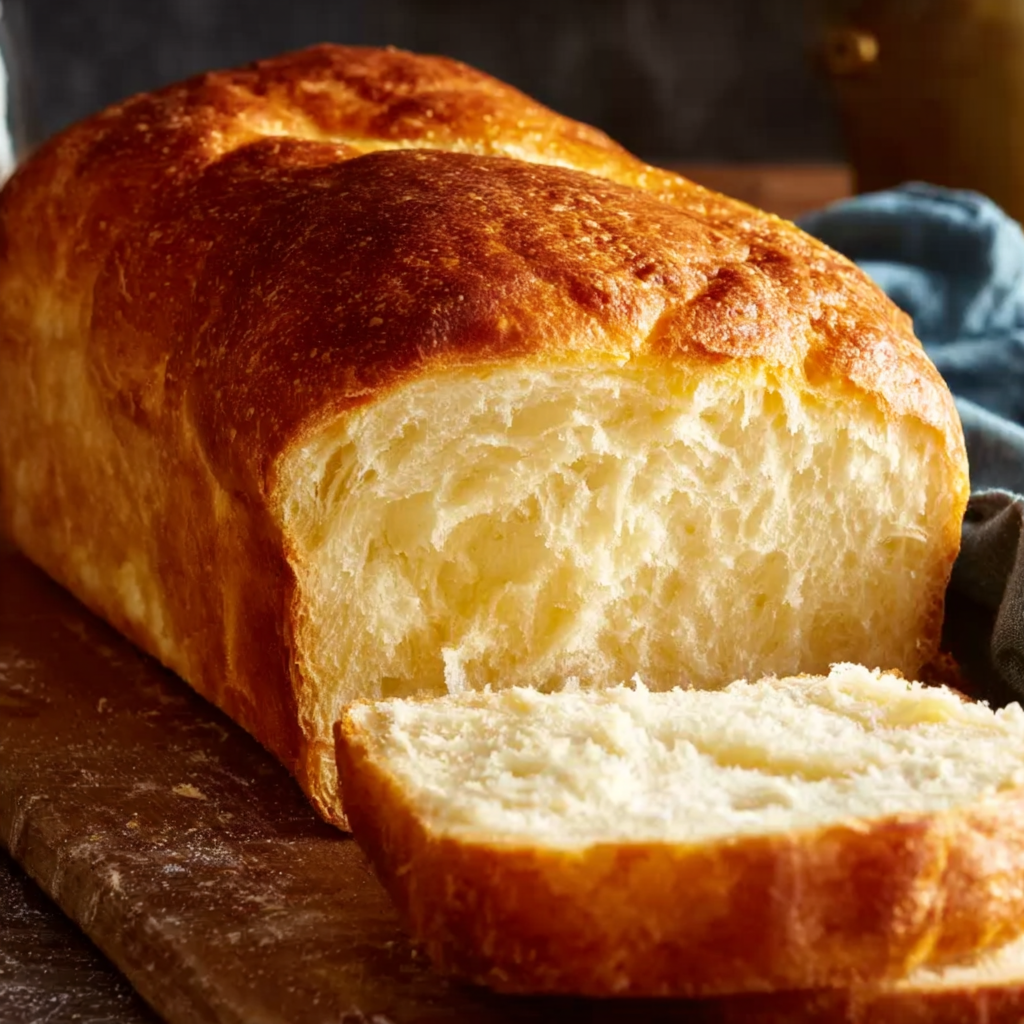
This quick 20-minute homemade bread recipe is perfect for beginners or anyone short on time. It’s a simple, yeast-free recipe that delivers a warm, crusty loaf with a soft interior using basic pantry staples. Whether you’re making sandwiches, dipping into soup, or enjoying with a spread, this loaf fits effortlessly into your meal plan. Customizable with herbs, cheese, or sweet additions, it’s a reliable recipe to keep in your kitchen toolkit.
- Author: Clara
Ingredients
- 2 cups all-purpose flour
- 1 tbsp baking powder
- 1 tsp salt
- 1 tbsp sugar
- 1 cup milk
- 2 tbsp vegetable oil or melted butter
Instructions
- Preheat the oven to 425°F (220°C) and lightly grease a baking sheet or line it with parchment paper.
In a large bowl, whisk together the flour, baking powder, salt, and sugar.
Add the milk and oil (or melted butter) to the dry ingredients and stir until just combined. Do not overmix.
Turn the dough out onto a lightly floured surface and knead gently for 1–2 minutes until it comes together.
Shape the dough into a round or oval loaf and place it on the prepared baking sheet.
Use a sharp knife to lightly score the top of the loaf.
Bake for 15–20 minutes, or until the top is golden and a toothpick inserted in the center comes out clean.
Let cool slightly before slicing and serving.
Notes
-
Do not overmix the dough—this helps keep the crumb tender.
-
Use room temperature ingredients for best results.
-
Score the top before baking to encourage even expansion.
-
If adding cheese or herbs, reduce salt slightly to balance flavor.
-
Store in an airtight container and freeze extras for future use.