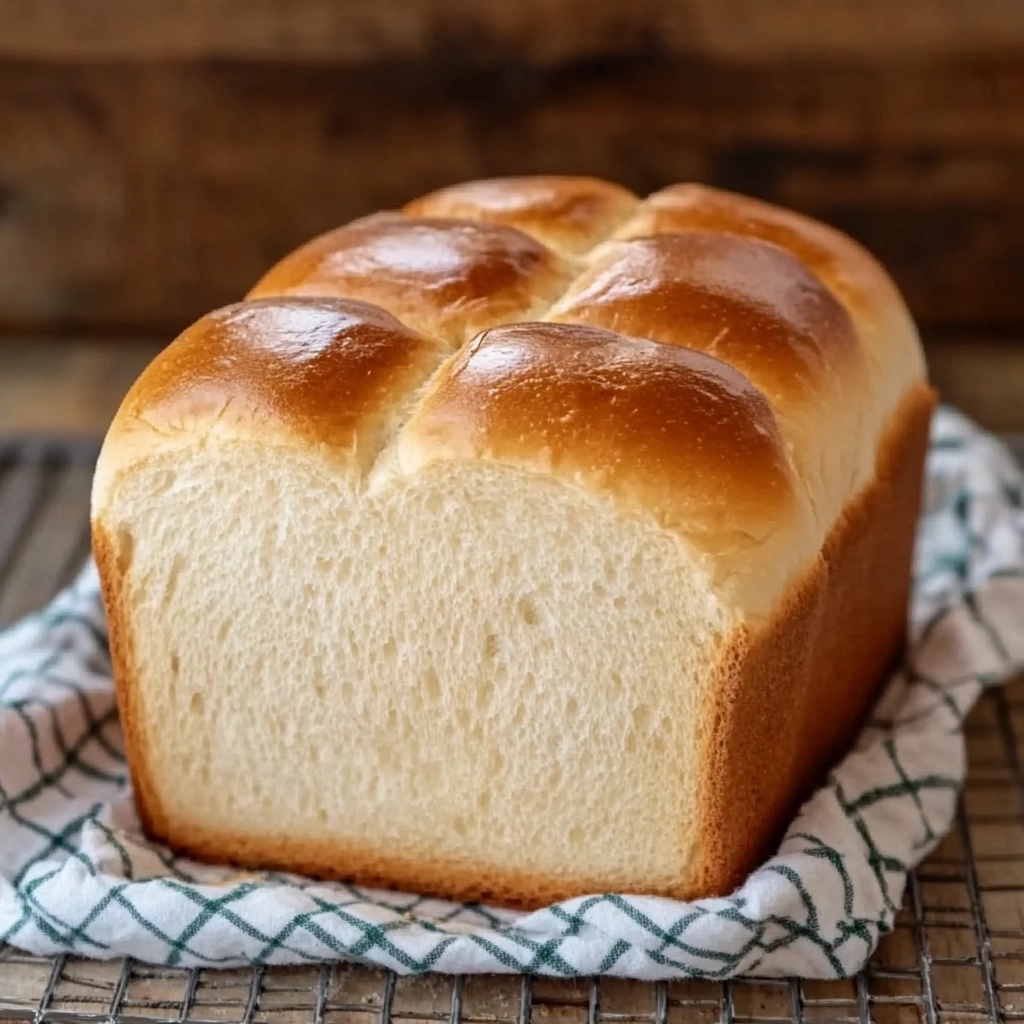
There’s something deeply satisfying about making your own bread at home. The smell of a loaf baking in the oven, the crackle of a crust as it cools on the counter—homemade bread isn’t just food, it’s an experience. And contrary to what many believe, it doesn’t have to be complicated. This easy no-knead bread recipe is a game-changer, especially for those who’ve always been intimidated by traditional baking techniques.
No-knead bread revolutionized home baking by stripping down the process to its most essential steps. With just four ingredients and zero kneading, you can make a loaf that’s crusty on the outside and chewy on the inside. This method, made popular by Jim Lahey, a renowned baker from New York, flips the script on everything you thought you needed to make artisanal bread at home. His no-knead approach became a sensation, with home bakers across the world recreating the method using a Dutch oven—a heavy, lidded pot known for its ability to trap steam and build a crispy crust. Learn more about Dutch ovens here.
One reason this recipe stands out is that it doesn’t require a mixer or special technique. It uses instant yeast, which simplifies the fermentation process and eliminates guesswork. If you’re unfamiliar with how this type of yeast works, you can get a quick overview of its benefits from this page about baker’s yeast.
It’s also an incredibly forgiving recipe, perfect for beginners and seasoned bakers alike. You don’t need to worry about over-kneading or proofing timing—just mix, let it rise, and bake. Pair that with pantry staples like all-purpose flour, which you can read more about here, and this recipe becomes your go-to solution for any day of the week.
Whether you’re making it for a cozy breakfast, a hearty soup dinner, or to impress guests, this crusty, chewy no-knead bread is about to become a staple in your kitchen. Stay tuned as we dive into the details behind why this recipe works so well.
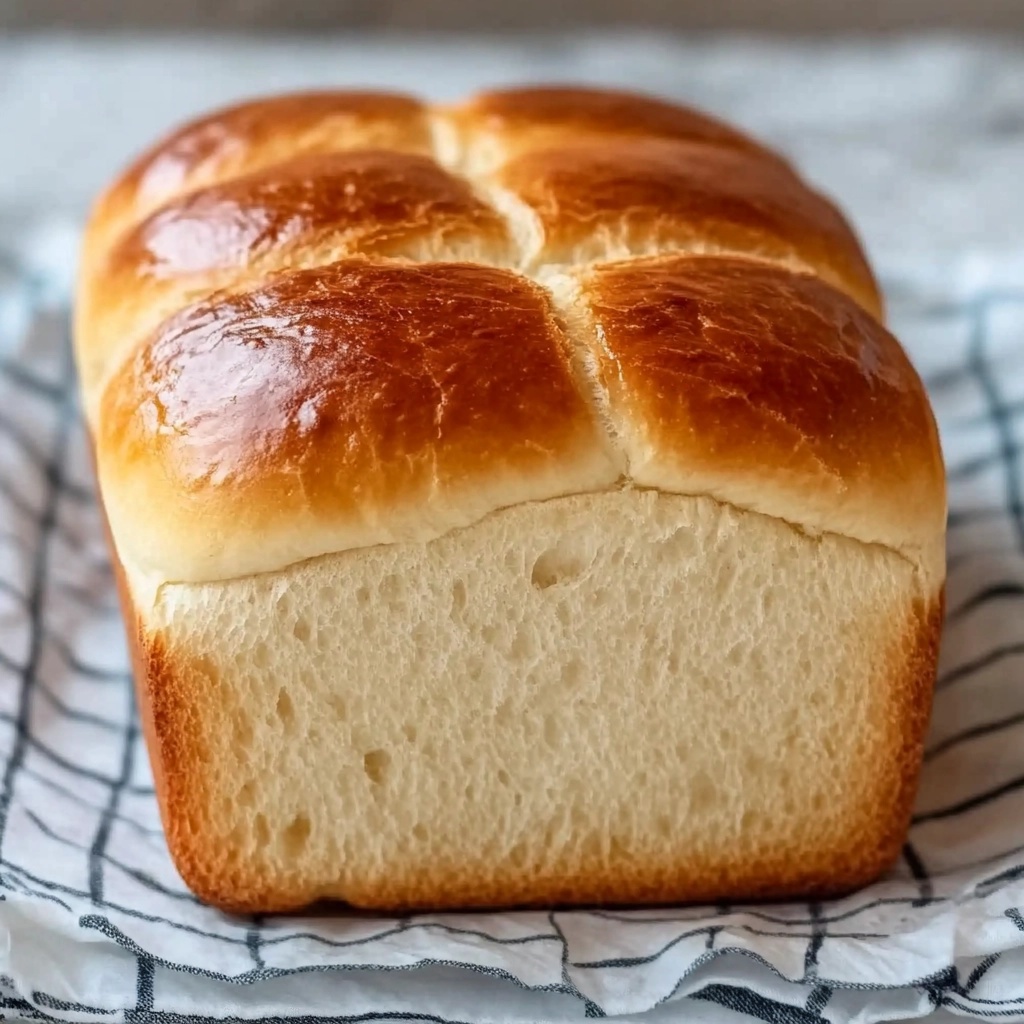
The Rise of No-Knead Bread Recipes
The no-knead bread method didn’t just quietly slip into kitchens—it ignited a full-on revolution in home baking. The surge in popularity can be traced back to 2006, when baker Jim Lahey introduced his radically simple method through a feature in The New York Times. The idea was groundbreaking: anyone, regardless of experience, could create bakery-quality bread with minimal effort. This easy, hands-off approach went viral, and it’s easy to see why.
At its core, this method relies on time instead of technique. While traditional bread recipes require significant kneading to develop gluten, the no-knead process uses extended fermentation—allowing the dough to rest over hours (or even overnight)—to achieve a similar chewy texture and complex flavor. This slower fermentation mimics the traditional artisan process and deepens the flavor naturally. Curious about how fermentation works in baking? Here’s a breakdown on fermentation in food processing.
The no-knead method found new waves of popularity during the COVID-19 lockdowns, when grocery store bread was scarce and people turned to home kitchens for comfort and sustenance. Pinterest searches for “easy no-knead bread” surged, with countless pins like this one showing step-by-step inspiration capturing the attention of first-time bakers. It wasn’t just a trend—it was a movement toward accessible baking, driven by necessity and joy.
This bread became a symbol of resilience and creativity. For many, it was their first successful attempt at baking, proving that making crusty homemade bread doesn’t have to be complicated. Plus, with no kneading involved, it felt more approachable and less labor-intensive. Using common pantry ingredients and basic kitchen tools, people began producing loaves with golden crusts and chewy interiors—without ever touching a dough hook.
Whether you’re here because you’re curious, craving fresh bread, or just want to try something new, you’re not alone. Millions have discovered the magic of no-knead bread, and it’s here to stay.
Why This Recipe Works
There’s a reason this easy no-knead bread recipe has won over so many home bakers. It’s not just simple—it’s smart. Each element of the process has a clear purpose, balancing science and simplicity to create a perfect loaf with minimal effort. Let’s break down why this particular recipe delivers such consistent, delicious results.
First, the use of instant yeast makes things effortless. Unlike active dry yeast, instant yeast doesn’t need to be dissolved in water first—it can be mixed right in with the flour. This eliminates a common point of error for beginners. You also need very little of it, since the long fermentation time allows the dough to rise slowly and develop flavor naturally. If you’re interested in what makes instant yeast so effective, check out this quick overview on baker’s yeast.
Then there’s the flour. This recipe uses all-purpose flour, which makes it more accessible and affordable than those requiring specialty bread flours. While bread flour has a higher protein content, all-purpose flour still produces an excellent crumb with the help of time and hydration. If you want to dive deeper into flour types and their baking uses, this flour guide from Wikipedia offers more insight.
The hydration level also plays a key role. The recipe calls for a higher ratio of water to flour than many traditional doughs, resulting in a wet, sticky dough. While it might seem challenging to handle at first, this moisture creates steam during baking, which is essential for achieving that chewy interior and crusty, golden exterior. That’s where the Dutch oven shines—it traps the steam inside, mimicking the professional steam-injection ovens used by artisan bakers. Here’s a bit more on Dutch ovens and their versatility.
Finally, there’s the “no-knead” aspect. Instead of using manual or machine kneading to develop gluten (the protein structure that gives bread its texture), this dough develops it naturally over time. Letting the dough rest allows the gluten strands to align slowly on their own, which means less work for you—and often better results. It’s a process that rewards patience, not labor.
When combined, these simple techniques deliver complex results: a light, airy crumb, a shatteringly crisp crust, and a flavor that rivals any bakery. This recipe works not just because it’s easy, but because it’s built on solid baking fundamentals that happen to be beginner-friendly.
Ingredients Breakdown
Understanding each ingredient’s role in this easy no-knead bread recipe helps you gain confidence as a home baker. With just a few pantry staples, each component works together to build structure, flavor, and texture. Below is a closer look at what makes this minimalist recipe so effective.
All-Purpose Flour vs. Bread Flour
The foundation of any bread is its flour. This recipe uses all-purpose flour, which is readily available and affordable. It contains a moderate amount of protein (about 10–12%), which helps develop enough gluten for structure while still creating a soft, chewy crumb. Bread flour, by contrast, has a higher protein content (12–14%), leading to more gluten development and a slightly chewier texture.
-
All-purpose flour is more forgiving and ideal for beginners.
-
Bread flour can be used as a substitute if you prefer more chew.
-
For a better understanding of different flour types, check this flour guide.
When choosing between them, consider your desired texture—but rest assured, both work well for no-knead methods.
Salt: More Than Flavor
Salt does more than add flavor—it also regulates yeast activity and strengthens gluten structure. In this recipe, a single teaspoon of salt balances the yeast fermentation and ensures the bread doesn’t taste flat.
-
Without enough salt, your bread can overproof and collapse.
-
Too much salt can inhibit yeast growth and reduce volume.
This balance is key to getting that flavorful, chewy interior and well-developed crust.
Instant Yeast: Why It’s Best for No-Knead Recipes
Instant yeast is the engine that drives this dough. Unlike active dry yeast, which needs to be dissolved first, instant yeast can be mixed directly with dry ingredients, simplifying the process. It’s reliable, fast-acting, and ideal for long fermentations like this.
-
Long rise times improve flavor and texture.
-
Small quantities go a long way—only 1 tsp is needed.
Because the dough rises slowly, it allows gluten to develop naturally, reducing the need for kneading.
Warm Water: Importance of Temperature
The water’s temperature matters more than you might think. For this dough, warm water (around 100°F–110°F) helps activate the yeast without killing it. Cold water will slow the rise, while hot water can destroy the yeast.
-
Use a kitchen thermometer for accuracy.
-
Lukewarm to the touch is usually safe.
-
High hydration gives you that open, airy crumb.
This recipe calls for 1¼ cups of water, which ensures a moist, high-hydration dough ideal for no-knead bread.
Olive Oil (Optional)
Though not necessary, olive oil adds a slight richness and can soften the crust a bit, depending on how much you use. It also imparts subtle flavor notes and may help prevent sticking when shaping the dough.
-
A drizzle adds complexity to flavor.
-
Optional for a slightly more tender bite.
-
To explore the uses of olive oil in cooking, check out this guide.
You can skip it for a more rustic finish or include it for added depth.
Step-by-Step Instructions
Making no-knead bread at home is as straightforward as it gets. With just a few steps, you’ll have a bakery-quality loaf that’s crisp on the outside and chewy on the inside. Here’s exactly how to do it:
Mixing the Dough
Start by combining the dry ingredients in a large mixing bowl:
-
3 cups all-purpose flour
-
1 tsp salt
-
1 tsp instant yeast
Then add:
-
1¼ cups warm water (about 100–110°F)
-
1 tbsp olive oil (optional)
Use a spoon or silicone spatula to mix until a sticky, shaggy dough forms. It should be wet and rough—don’t worry, that’s exactly what you want. No kneading required.
The First Rise
Cover the bowl with a clean towel or plastic wrap and let the dough rest at room temperature for 1–2 hours, or until it has doubled in size.
Tips:
-
Ideal room temp is around 70–75°F.
-
If your kitchen is cold, place the bowl inside a turned-off oven with the light on.
This long rest period allows the gluten structure to develop naturally, which gives the bread its chewy interior.
Shaping the Dough
Once risen, gently punch down the dough to release excess gas. Use floured hands to shape it into a ball. Since the dough is sticky, you can:
-
Sprinkle flour on your surface
-
Use a bench scraper or silicone mat for easier handling
-
Let it rest on parchment paper to avoid sticking
The shaping doesn’t have to be perfect—rustic is part of the charm.
Preheating the Dutch Oven
Place your Dutch oven (with the lid on) inside your oven, and preheat to 450°F (230°C). Let it heat for at least 30 minutes so the pot is scorching hot—this mimics the environment of a commercial bread oven.
If you don’t have a Dutch oven, a heavy lidded pot or even a baking stone with a pan of water underneath can also work.
Baking the Bread
Carefully remove the hot Dutch oven. Transfer the dough (with the parchment paper if used) into the pot. Cover and bake for 30 minutes.
After 30 minutes:
-
Remove the lid
-
Bake for another 10–15 minutes until golden brown
Your bread is done when:
-
It sounds hollow when tapped on the bottom
-
The crust is deep golden and crisp
Let it cool on a wire rack before slicing. Cutting too soon can affect the texture.
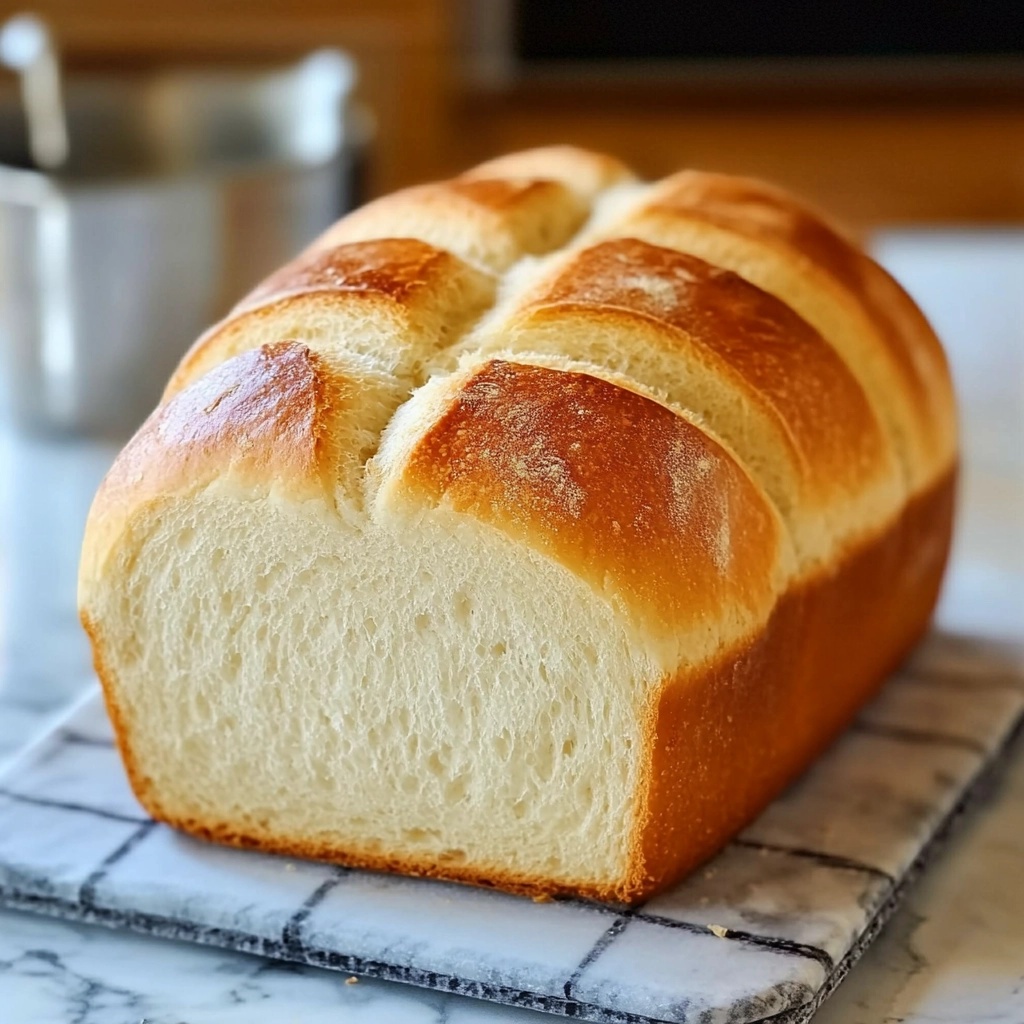
Expert Tips for Perfect No-Knead Bread
-
Use a digital scale for flour to prevent using too much (which leads to dense bread).
-
Don’t skip the preheat—a hot Dutch oven is crucial for crust development.
-
Let it cool completely before slicing to avoid gummy texture.
-
Store bread in a paper bag or wrapped in a towel to maintain crust; avoid plastic.
You can find more tips and inspiration for crust techniques on Pinterest here or browse other homemade bread ideas.
Bread Variations to Try
Once you master the basic version, you can customize this bread endlessly.
Add-Ins
-
Minced garlic and rosemary
-
Shredded cheese (cheddar, parmesan)
-
Seeds like sesame or sunflower
Whole Wheat or Gluten-Free
-
Swap in up to 50% whole wheat flour for a nuttier flavor.
-
For gluten-free, use a 1:1 GF flour blend with additional hydration.
Learn more about gluten-free options in this guide.
Sweet Variants
-
Cinnamon and raisin
-
Honey and oats
-
Dried cranberries and orange zest
These versions work well for breakfast or brunch spreads.
Common Mistakes and Troubleshooting
-
Bread didn’t rise? Your yeast may be expired or the environment too cold.
-
Too dense? Avoid over-flouring; use a kitchen scale.
-
Sticky dough? It’s normal—resist the urge to add too much flour.
-
Crust too pale? Make sure your oven is hot and give it more uncovered time.
Remember: rustic imperfections are part of the charm.
Serving Suggestions and Storage Tips
Fresh from the oven, this bread is perfect on its own or with simple toppings:
-
Butter, jam, or olive oil and balsamic
-
Toasted with eggs or avocado
-
Paired with soups and stews
Storage:
-
Wrap in a clean towel or store in a paper bag for 2–3 days
-
For longer storage, slice and freeze
Avoid plastic storage to maintain a crispy crust.
FAQs
Q1: Can I make no-knead bread without a Dutch oven?
Yes! You can use a cast-iron skillet, oven-safe pot with a lid, or even a baking sheet with a pan of water for steam.
Q2: How do I know when no-knead bread is done baking?
Tap the bottom—it should sound hollow. The crust should also be golden brown.
Q3: Can I let the dough rise overnight?
Absolutely. An overnight rise in the fridge enhances flavor. Just let it come to room temp before baking.
Q4: Why is my no-knead bread dense or gummy?
Too much flour or cutting the bread before it cools can lead to density. Let it rest fully after baking.
Q5: What’s the best flour to use for no-knead bread?
All-purpose flour works great, but bread flour gives more chew. Both are excellent.
Q6: Can I freeze the dough or baked bread?
Yes, baked bread freezes well. Dough can be frozen after the first rise—just thaw and shape before baking.
No Knead, No Yeast, No Problem: The Best Easy Bread Recipe You’ll Ever Try
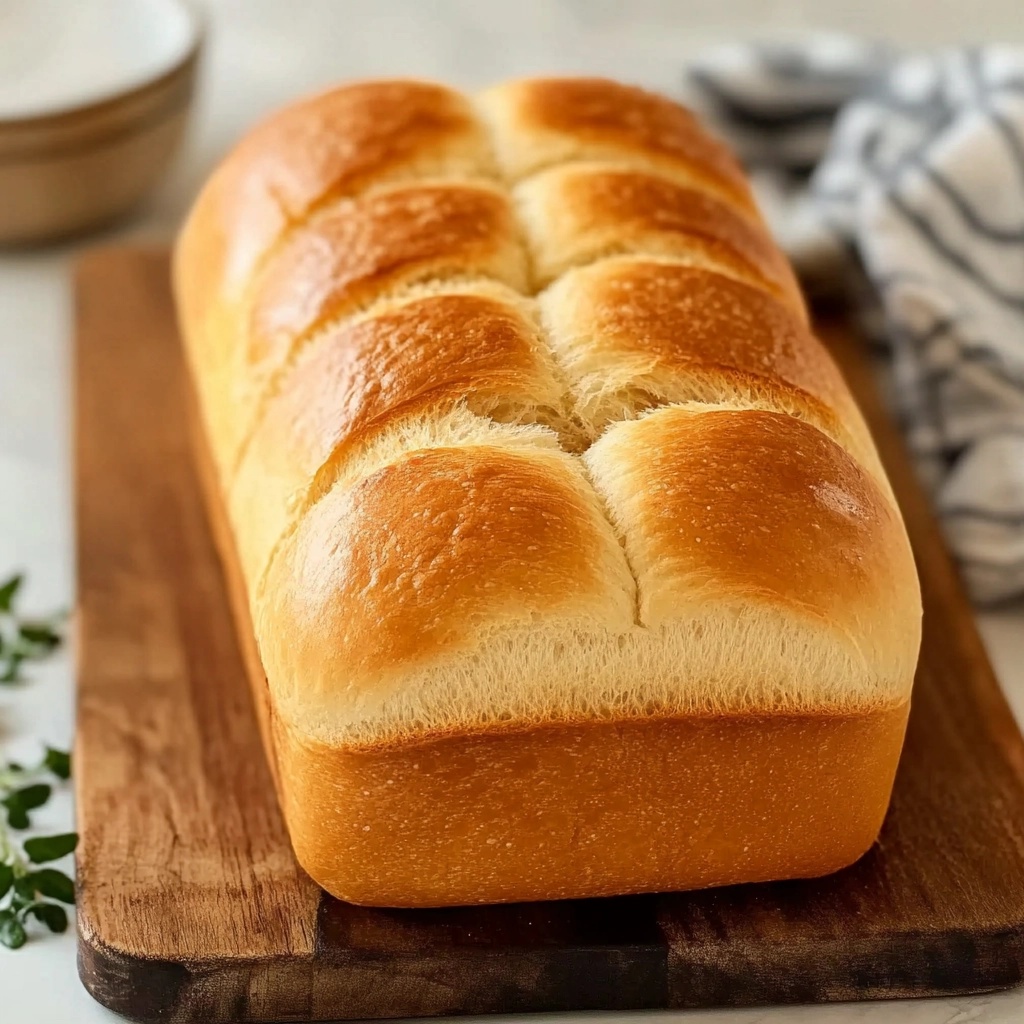
This easy no-knead bread recipe is perfect for beginners and seasoned bakers alike. With only four ingredients and no kneading required, you’ll get a crusty, golden loaf with a chewy interior that rivals any bakery. Baked in a Dutch oven for that artisan-style finish, it’s ideal for breakfast, sandwiches, or pairing with soups and stews.
- Author: Clara
Ingredients
- 3 cups all-purpose flour
- 1 tsp salt
- 1 tsp instant yeast
- 1 ¼ cups warm water
- 1 tbsp olive oil (optional)
Instructions
In a large bowl, combine the flour, salt, and instant yeast.
Add the warm water (and olive oil, if using) and stir until a sticky dough forms.
Cover the bowl with a clean kitchen towel or plastic wrap and let the dough rise for 1-2 hours, or until it has doubled in size.
Preheat your oven to 450°F (230°C). Place a Dutch oven or heavy oven-safe pot with a lid in the oven as it preheats.
Once the dough has risen, gently punch it down and shape it into a ball.
Carefully remove the preheated pot from the oven and transfer the dough into it. Cover with the lid.
Bake the bread for 30 minutes. After 30 minutes, remove the lid and bake for an additional 10-15 minutes, or until the bread is golden brown and sounds hollow when tapped on the bottom.
Let the bread cool on a wire rack before slicing and serving.
Notes
-
Yeast: Use instant yeast for best results. Check the expiration date before using.
-
Flour: Stick with all-purpose flour for simplicity, or experiment with bread or whole wheat.
-
Water: Make sure it’s warm—not hot—to activate the yeast properly.
-
Dutch Oven: Essential for creating that crisp crust; preheat it thoroughly before baking.
-
Customizations: Add cheese, herbs, seeds, or even dried fruits to create your own variation.
-
Storage: Best stored in paper or linen bags to preserve crust. Can be sliced and frozen.
