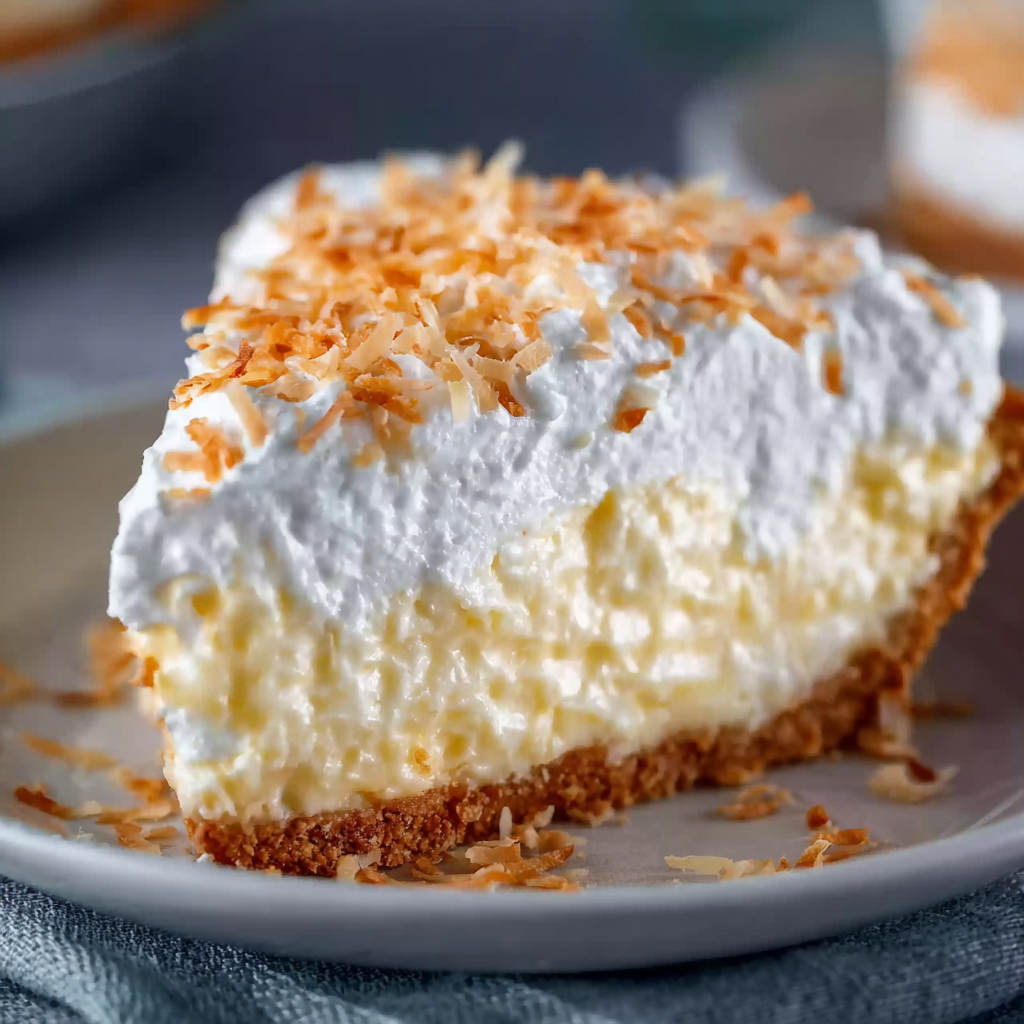
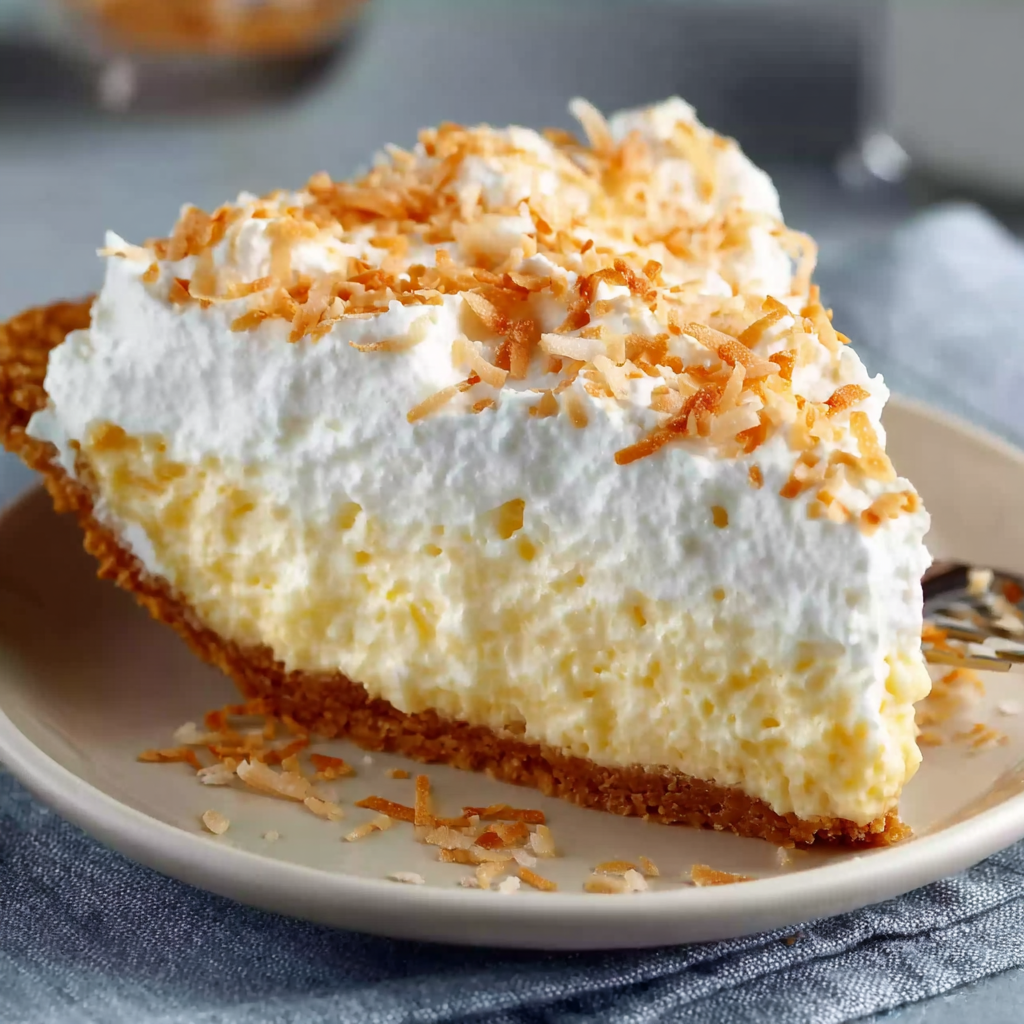
Dreaming of a creamy, tropical treat without heating the kitchen? This no-bake coconut cream pie delivers velvety layers of coconut milk and fluffy whipped cream in a buttery graham cracker crust. Its effortless assembly and refreshing tropical flavor make it a summer staple for busy home cooks.
Merging convenience with indulgence, it’s the ultimate no-oven dessert for summer entertaining or spontaneous gatherings. Explore No-bake coconut cream pie ideas and Quick coconut dessert recipes to spark creativity. Learn the chemistry behind creamy fillings through Instant pudding science and refine your base using Pie crust pressing tips. It pairs well with fresh berries.
In this guide, you’ll explore Key Ingredients & Substitutions and master Whipped cream techniques for flawless peaks. Learn secrets of Coconut milk overview, Coconut cream explained, and Graham cracker history. Plus, discover Best summer pie inspiration and Toasted coconut garnish ideas.
Why Choose a No-Bake Coconut Cream Pie?
Embrace the no–bake revolution with this pie: zero oven time, minimal steps, and maximum coconut flavor. Its effortless assembly and reliable results make it the go-to for hot afternoons, impromptu gatherings, and home kitchens.
Say goodbye to kitchen heat: this heat-free dessert pairs a buttery graham cracker crust with a creamy coconut layer. Explore ingredient swaps in Key Ingredients & Substitutions or deepen understanding via Instant pudding science.
Perfect for swift prep, it suits any occasion from picnics to potlucks. Learn how to achieve fluffy peaks by visiting Whipped cream techniques and master chilling tips in Building the Perfect Crust.
Key Ingredients & Substitutions
Master the crust and filling basics. For the crust, combine:
- 1½ cups graham cracker crumbs
- ¼ cup granulated sugar
- 6 tbsp melted butter
For the filling, you need:
- 1 package instant vanilla pudding mix
- 1 can chilled full-fat coconut milk
- 1 cup cold heavy cream
- ½ cup sweetened shredded coconut
- 1 tsp vanilla extract
This ingredient list yields a firm crust, silky filling.
Begin by whisking the pudding mix into coconut milk until it starts to thicken, a process detailed in Instant pudding science. Then whip the heavy cream to medium peaks using proven Whipped cream techniques. Fold the whipped cream into the pudding mixture as described in Crafting the Coconut Filling to maintain the airy texture of coconut filling. For deeper coconut flavor, review the Coconut milk overview.
You can adapt ingredients if needed:
- Swap graham crackers for gluten-free crumbs (see Graham cracker history).
- Replace coconut milk with coconut cream for richer texture via Coconut cream explained.
- For crust tips, consult Pie crust pressing tips or explore Best summer pie inspiration.
- Discover quick twists in Quick coconut dessert recipes or use toasted flakes (learn from Toasted coconut garnish ideas). Refer to Building the Perfect Crust for chilling advice.
Equipment & Prep Tips
Equip your kitchen with these essentials:
- 9-inch pie pan
- Mixing bowls (preferably chilled)
- Whisk and electric mixer
- Spatula for folding
- Skillet for toasting coconut
Proper tools ensure a smooth workflow: chill your mixing bowls and beaters to help heavy cream whip faster. For optimal crust formation, refer to Building the Perfect Crust and explore pie pan varieties in this Pie crust pressing tips.
Organize your ingredients in advance to streamline prep. Learn ideal whipping temperatures in Crafting the Coconut Filling and discover more about coconut milk in the Coconut milk overview. A chilled environment promotes faster whipping and overall
Building the Perfect Crust
To achieve an even, buttery crust without cracks:
- Combine dry and wet ingredients
- In a bowl, mix graham cracker crumbs and sugar.
- Pour in melted butter and stir until crumbs are evenly coated.
- Press firmly and uniformly
- Use the bottom of a flat measuring cup or glass to press crumbs into the pie pan’s base and sides.
- Aim for a consistent ¼-inch thickness for structural support and balanced texture.
- Chill before filling
- Refrigerate the crust for at least 15 minutes to set the butter.
- A firm shell prevents a soggy bottom when the moist coconut filling is added.
- Troubleshooting tips
- If the crust is too crumbly, add an extra teaspoon of melted butter.
- If it’s too firm or greasy, reduce butter by one tablespoon next time.
For variations, consider a chocolate-drizzled crust by folding in 2 tablespoons of cocoa powder into the crumbs. For detailed inspiration, explore Best summer pie inspiration or refine pressing technique with Pie crust pressing tips.
Crafting the Coconut Filling
Achieve a light, tropical mousse-like filling by following these steps:
- Whisk pudding mix and coconut milk
- In a chilled bowl, whisk the instant vanilla pudding mix into 1 cup of cold coconut milk until thickened.
- This provides structure while enhancing coconut flavor (learn more in Coconut milk overview).
- Whip heavy cream
- Using a cold bowl and chilled beaters, whip 1 cup of heavy cream with vanilla extract to medium-stiff peaks.
- Proper temperature is crucial for stable whipped cream (see Whipped cream techniques).
- Fold with care
- Gently fold whipped cream into the pudding mixture in three additions, preserving airiness.
- Stir in shredded coconut for texture and bursts of coconut sweetness.
- Flavor enhancements
- Add a pinch of salt to balance sweetness.
- For extra creaminess, substitute ¼ cup of coconut milk with coconut cream (Coconut cream explained).
Chilling & Setting
Proper chilling ensures a perfectly set pie:
- Refrigeration time
- Cover the assembled pie loosely and refrigerate for 4–6 hours.
- Longer chilling (up to overnight) deepens flavors and improves sliceability.
- Prevent condensation
- Loosely tent plastic wrap over the pie to avoid moisture buildup on the surface.
- For an extra-firm set, place the pie pan on a tray in case of slight leaks.
- Testing readiness
- Gently press the center; a slight spring indicates it’s set.
- If excessively jiggly, return to fridge for another hour.
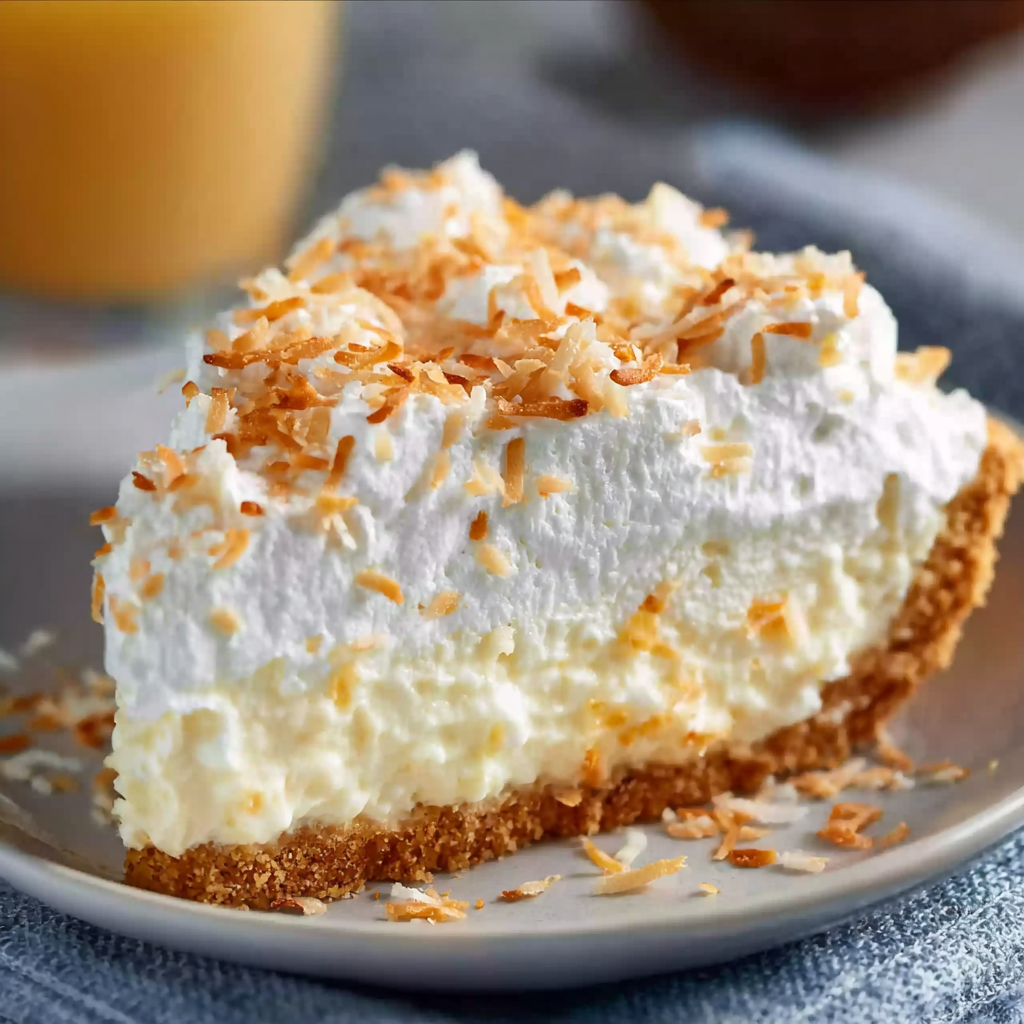
Topping & Garnish
Elevate presentation with fluffy whipped topping and toasted coconut:
- Prepare the topping
- Whip 1 cup of cold heavy cream with 2 tablespoons powdered sugar to stiff peaks.
- Dollop or pipe on the chilled pie surface.
- Toast shredded coconut
- In a dry skillet over medium heat, toast 2 tablespoons of coconut, stirring constantly until golden.
- Let cool before sprinkling to maintain crunch.
- Creative garnishes
- Layer toasted coconut in concentric circles.
- Add fresh berries or mint leaves for color contrast.
For more ideas, browse Toasted coconut garnish ideas.
Serving Suggestions & Pairings
Enhance your no-bake coconut cream pie experience:
- Fruit accompaniments
- Serve with a side of mango or pineapple salsa for a tropical twist.
- Garnish plates with lime zest to brighten flavor.
- Beverage pairings
- Pair with iced green tea or a coconut-water spritz.
- A chilled prosecco complements the creamy texture.
- Portioning tips
- Use a hot, damp knife for clean slices.
- Offer mini parfaits layered with filling and crust crumbs for individual servings.
Recipe Variations & Customizations
Personalize the classic recipe to suit every palate:
- Chocolate-coconut swirl
- Drizzle melted dark chocolate over the filling before chilling.
- Citrus infusion
- Fold in 1 tablespoon of lime or lemon zest into the pudding mix.
- Vegan adaptation
- Replace heavy cream with coconut cream and use a vegan pie crust.
- Mini versions
- Assemble in muffin tins for bite-sized treats.
Explore more ideas in Quick coconut dessert recipes.
Storage, Make-Ahead & Freezing
Keep leftovers delicious and ready:
- Refrigeration
- Store covered in the fridge for up to 4 days.
- Stir topping gently before serving if it weeps.
- Freezing
- Freeze untopped pie in an airtight container for up to 1 month.
- Thaw overnight in the refrigerator; add fresh whipped cream before serving.
- Avoiding freezer burn
- Wrap the pie pan with plastic wrap and then foil to protect against moisture loss.
Troubleshooting & Expert Tips
Solve common issues like a pro:
- Runny filling
- Ensure pudding mix is fully incorporated and use chilled coconut milk.
- Collapsed crust
- Press more firmly and extend chilling time before adding filling.
- Over-whipped cream
- Fold in a splash of coconut milk to loosen and restore creaminess.
- Grainy texture
- Use fresh pudding mix and avoid over-mixing after adding coconut.
Conclusion & Next Steps
This no-bake coconut cream pie blends ease, speed, and tropical flair. With a buttery crust, airy filling, and elegant garnish, it’s perfect for summer gatherings or spontaneous treats. Experiment with variations—chocolate, citrus, vegan—and share your creations. Ready for more? Check out our other Quick coconut dessert guides and subscribe for seasonal recipes!
FAQs
What’s the difference between coconut milk and coconut cream?
Coconut milk is a thinner liquid extracted from grated coconut mixed with water, while coconut cream is the thicker, higher‐fat portion that rises to the top. Use coconut cream for extra richness.
Can I substitute homemade pudding for instant mix?
Yes, but homemade pudding may be thinner. Reduce coconut milk slightly or add a thickener like cornstarch to match the instant mix’s setting power.
How long does this pie last in the fridge?
Properly stored, it stays fresh for up to 4 days. Cover loosely to minimize condensation on the filling’s surface.
Why is my crust too crumbly or too hard?
Crust texture depends on butter ratio and pressing technique. Add a teaspoon of melted butter if it’s crumbly, or reduce butter by a tablespoon if too hard.
Can I make this pie ahead and freeze it?
Yes—freeze untopped for up to 1 month in airtight wrap. Thaw overnight in the refrigerator, then add fresh whipped cream before serving.
No-Bake Coconut Cream Pie at Home
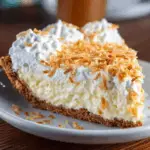
A luscious no-bake coconut cream pie featuring a crisp graham cracker crust, silky coconut-vanilla filling, and pillowy whipped topping crowned with toasted coconut. Ideal for hot days and last-minute entertaining, this recipe requires minimal prep, no oven time, and delivers maximum tropical flavor. Customize with chocolate swirls, citrus zest, or vegan ingredients as desired.
Ingredients
For the crust:
- 1½ cups graham cracker crumbs
- ¼ cup (50 g) granulated sugar
- 6 tbsp (85 g) unsalted butter, melted
For the filling:
- 1 (3.4 oz/96 g) package instant vanilla pudding mix
- 1 can (13.5 oz/400 ml) full-fat coconut milk, well chilled
- 1 cup (240 ml) heavy cream, cold
- ½ cup (45 g) sweetened shredded coconut
- 1 tsp vanilla extract
For the topping:
- 1 cup (240 ml) heavy whipping cream, cold
- 2 tbsp (15 g) powdered sugar
- 2 tbsp (15 g) sweetened shredded coconut, toasted
Instructions
Press the graham cracker crumbs, granulated sugar, and melted butter firmly into the bottom and up the sides of a 9-inch (23 cm) pie pan to form an even crust. Chill in the refrigerator while you prepare the filling.
In a medium bowl, whisk together the instant vanilla pudding mix and 1 cup of the chilled coconut milk until the pudding begins to thicken. In a separate chilled bowl, whip the heavy cream and vanilla extract to medium-stiff peaks. Gently fold the whipped cream into the pudding mixture until no streaks remain, then stir in the shredded coconut.
Pour the coconut filling into the prepared crust, smoothing the top with a spatula. Cover loosely with plastic wrap and refrigerate for at least 4 hours, or until fully set.
While the pie is chilling, toast the 2 tbsp of shredded coconut in a dry skillet over medium heat, stirring frequently, until just golden and fragrant. Let cool.
Just before serving, whip the 1 cup cold heavy whipping cream with the powdered sugar to stiff peaks. Dollop or pipe the whipped cream over the chilled pie, then sprinkle with the toasted coconut.
Notes
- Chilling: Allow at least 4 hours for setting; overnight is best.
- Ingredient quality: Use full-fat canned coconut milk for creaminess and flavor.
- Equipment tips: Chill mixing bowls and beaters for optimal whipping.
- Make-ahead: Assemble crust and filling up to a day ahead; add toppings just before serving.
- Variations: Experiment with mini servings in ramekins or add fruit compote layers for contrast.