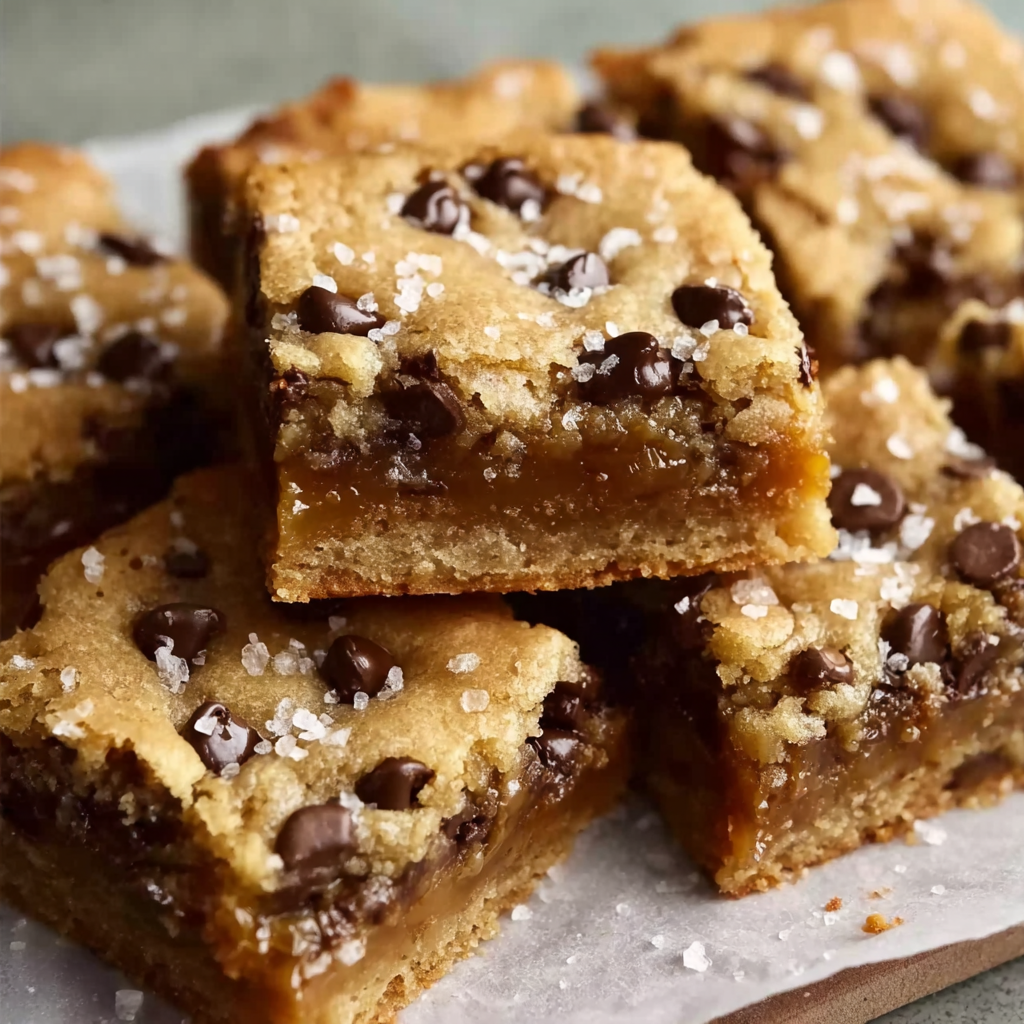
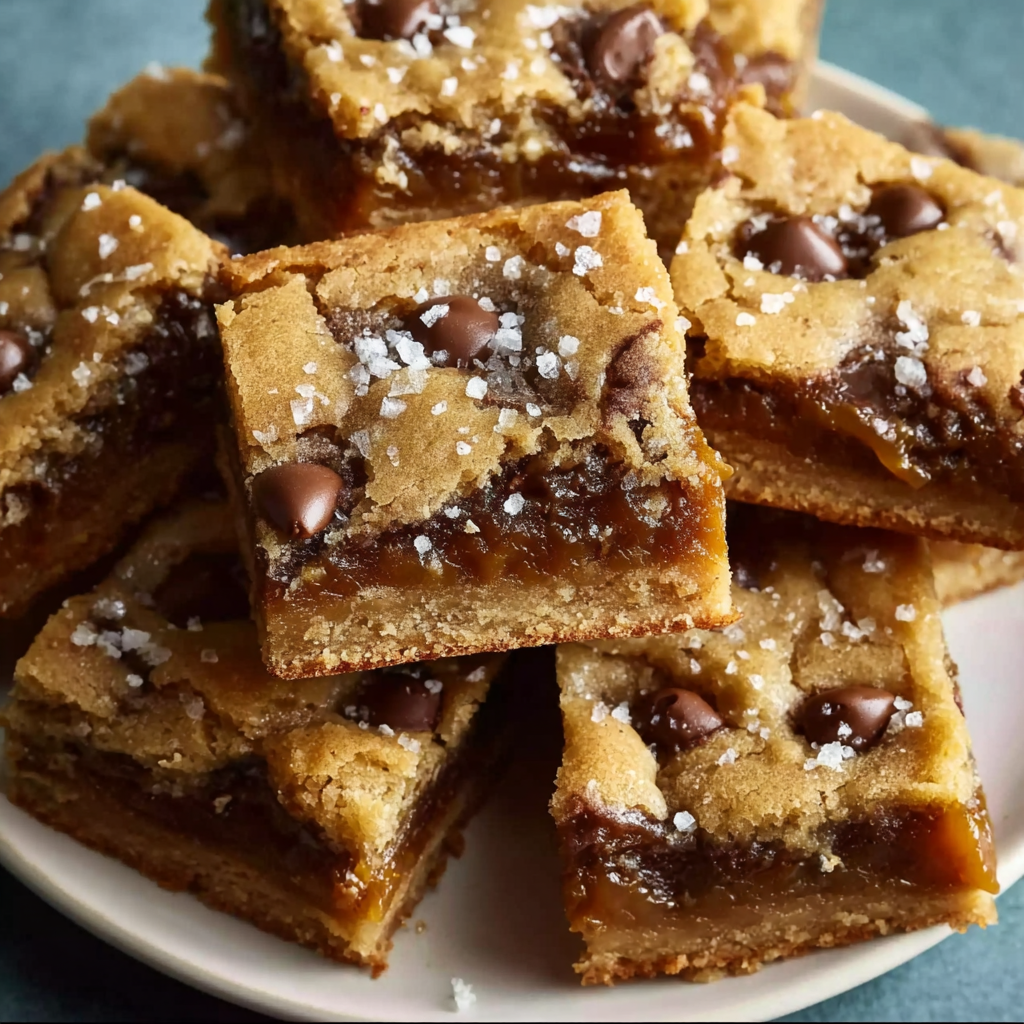
There’s something unforgettable about the combination of gooey caramel, melty chocolate, and chewy cookie dough topped with a sprinkle of flaky sea salt. These Salted Caramel Chocolate Chip Cookie Bars are not just a dessert — they’re an obsession-worthy indulgence that hits all the right notes of sweet and salty. Whether you’re baking for a weekend treat, a holiday tray, or a school bake sale, these cookie bars are destined to become your new go-to recipe.
The magic of these bars lies in their balanced texture and rich flavor. Unlike traditional cookies, these bars are baked in a single pan, which allows the caramel to melt deeply into the dough, creating an irresistibly moist and soft center. The semisweet chocolate chips pair perfectly with the sweet caramel and the light crunch of sea salt on top. Want to know more about how caramel is made? Here’s a great breakdown on the process that highlights its chemistry and versatility in baking.
These cookie bars are more than just a dessert—they’re a baking essential. The science of baking comes into play in every layer, from the way the butter and sugar caramelize to the perfect golden-brown top. Learn more about the role of heat and ingredients in baking here. If you’re building a holiday cookie tray, this recipe offers both visual appeal and taste impact. For creative serving ideas, check out this Pinterest board for dessert tray inspiration.
Why You’ll Love These Salted Caramel Cookie Bars
There are plenty of desserts that claim to be irresistible, but these Salted Caramel Chocolate Chip Cookie Bars truly live up to the hype. Their sweet and salty balance is not only trendy—it’s scientifically satisfying. The contrast between rich chocolate, creamy caramel, and flaky sea salt stimulates your taste buds in a way that keeps you coming back for more.
These bars are a crowd-pleasing dessert for any occasion. They’re easy to transport, don’t require utensils, and hold up well at room temperature. Whether you’re packing them into cookie gift boxes or adding them to a dessert platter, they remain soft and gooey for days. Need some visual inspiration for packaging? Explore these ideas on Pinterest to see how others style their cookie bars for gifts and events.
Beyond their flavor, these bars are also a favorite for their simplicity and flexibility. You don’t need any special tools or hard-to-find ingredients. You can use store-bought caramel or make your own depending on your time and skill level. Curious about the origin of cookies themselves? Check out this Wikipedia page to explore how cookies have evolved, leading to delicious bar-style variations like these.
For anyone who loves experimenting in the kitchen, this recipe also serves as a great base for customizations. Want to add a nutty crunch or drizzle peanut butter on top? You absolutely can, and we’ll go over variations in a later section. In the meantime, know that these cookie bars are a delicious fusion of nostalgic comfort and modern dessert trends.
Ingredients Breakdown
Every delicious layer of these Salted Caramel Chocolate Chip Cookie Bars begins with the right mix of high-quality ingredients. Each one plays a role in achieving the chewy, gooey, and slightly crisp texture that makes these bars stand out.
-
All-Purpose Flour, Baking Soda & Salt
The base of the dough starts with all-purpose flour, which provides the ideal structure—soft, but not too cakey. Baking soda helps the bars rise and adds a subtle chew. A pinch of salt balances the sweetness and enhances the flavor of the chocolate and caramel. -
Melted Butter
Using melted unsalted butter instead of creamed butter creates a denser and chewier cookie texture. It also blends more easily with the sugars, helping the dough come together quickly and evenly. -
Brown Sugar and Granulated Sugar
A mix of light brown sugar and white granulated sugar is key to achieving both flavor and texture. Brown sugar adds moisture and a deep, caramelized taste. Granulated sugar helps with spreading and adds just enough crispness to the edges. -
Eggs and Vanilla Extract
The eggs act as binders and add richness. Vanilla extract enhances the flavor profile and ties the chocolate and caramel together. For best results, use room-temperature eggs so they incorporate evenly into the batter. -
Semisweet Chocolate Chips
The choice of semisweet chocolate chips keeps the sweetness balanced. If you prefer a richer flavor, you can substitute dark chocolate, or for a milder version, go with milk chocolate. Learn more about different types of chocolate chips and their best uses. -
Caramel Sauce
You can use store-bought caramel sauce for convenience or make your own if you want full control over sweetness and consistency. When drizzling the caramel layer, leave a slight border around the edges to avoid overflow during baking. Want to elevate the experience? Check out these caramel dessert presentation ideas. -
Flaky Sea Salt
A light sprinkle of flaky sea salt on top creates contrast and elevates every bite. It turns the bars from good to bakery-quality and adds a professional finish. Read more about why salt enhances sweetness and how it improves desserts overall.
Step-by-Step Instructions
Making these Salted Caramel Chocolate Chip Cookie Bars is straightforward and satisfying. With just a few steps, you’ll have a batch of rich, gooey bars ready to impress.
-
Prep Your Pan
Preheat your oven to 350°F (175°C). Line a 9×13-inch baking pan with parchment paper, leaving some overhang for easy lifting after baking. -
Mix Dry Ingredients
In a medium bowl, whisk together 2¼ cups all-purpose flour, ½ tsp baking soda, and ½ tsp salt. Set aside. -
Blend Wet Ingredients
In a large bowl, combine ¾ cup melted unsalted butter, 1 cup light brown sugar, and ½ cup granulated sugar. Stir until smooth and well blended. Beat in 2 large eggs, one at a time, followed by 2 tsp vanilla extract. -
Combine and Fold
Gradually add the dry ingredients to the wet mixture, stirring until just combined. Fold in 2 cups semisweet chocolate chips. -
Assemble Layers
Spread half of the cookie dough evenly into the bottom of the prepared pan. Drizzle 1 cup caramel sauce over the dough, spreading gently while leaving a border around the edges. Drop spoonfuls of the remaining dough over the caramel layer and spread it gently to cover most of the caramel. -
Bake
Bake for 30–35 minutes, or until the top is golden brown and set. The center should be soft but not jiggly. Baking times may vary slightly based on your oven, so start checking at 30 minutes. -
Finish and Cool
Remove from the oven and sprinkle the top with flaky sea salt while still warm. Let the bars cool completely in the pan before slicing. Use the parchment overhang to lift the bars out for cleaner cuts.
For more guidance on baking techniques, you can explore the science of baking to understand how each ingredient reacts during the process.
Tips for Making the Perfect Bars
Perfecting these cookie bars comes down to a few smart techniques that elevate both texture and flavor:
-
Use Room Temperature Ingredients
This ensures even mixing and consistent baking, especially with the eggs. -
Don’t Overmix the Dough
Once the flour is added, stir just until combined to avoid dense, tough bars. -
Line the Pan with Parchment Paper
This makes cleanup easier and helps lift the bars out neatly once cooled. -
Leave a Caramel-Free Border
When spreading the caramel layer, don’t go all the way to the edges. This prevents the caramel from bubbling out during baking. -
Cool Completely Before Slicing
It’s tempting to dig in while warm, but cooling helps the bars set properly and makes for cleaner cuts. -
Store Properly
Keep bars in an airtight container at room temperature for up to 5 days, or refrigerate for longer shelf life. For more ideas on how to display or gift your bars, check out this Pinterest inspiration for cookie bar packaging.
Variations to Try
These bars are endlessly customizable. Here are some ways to switch them up:
-
Add Peanut Butter Chips or Swirl
Drizzle peanut butter over the caramel layer or mix in peanut butter chips for added richness. -
Mix in Chopped Pretzels
For extra crunch and a stronger salty-sweet contrast, stir pretzel pieces into the dough. -
Use Dark or White Chocolate Chips
Swap the semisweet chips for dark chocolate to reduce sweetness, or white chocolate for a creamier flavor. -
Swap Caramel with Dulce de Leche
Dulce de leche offers a deeper, more intense caramel flavor. -
Make It Gluten-Free
Use a 1:1 gluten-free flour blend to accommodate dietary needs without sacrificing texture. -
Add Nuts
Walnuts, pecans, or almonds can add crunch and flavor complexity. Be sure to toast them lightly first for best results.
Serving Suggestions
These bars are versatile enough to be served in different ways, depending on the occasion:
-
Serve Warm with Ice Cream
Reheat individual bars slightly and top with vanilla ice cream for a next-level dessert. -
Holiday Cookie Trays
Cut into smaller squares and add to a tray of assorted cookies for variety and texture contrast. -
Perfect for Potlucks or Bake Sales
They hold their shape well and transport easily, making them ideal for gatherings. Want more inspiration for cookie bar arrangements? This Pinterest board has plenty of display ideas.
Storage and Freezing Tips
Keep your cookie bars fresh and delicious with these storage strategies:
-
Room Temperature
Store in an airtight container for up to 5 days. Place parchment between layers to prevent sticking. -
Refrigeration
Chill if you prefer a firmer bar or need them to last longer. Let them come to room temperature before serving. -
Freezing
Wrap individual bars in plastic wrap and store in a freezer-safe bag for up to 2 months. Thaw overnight or warm briefly in the microwave. -
Make Ahead
You can bake the bars a day in advance and store them tightly wrapped. They’ll stay soft and flavorful.
Troubleshooting Common Issues
Here’s how to fix the most common problems bakers encounter:
-
Too Gooey or Undercooked
Ensure you’re baking for the full 30–35 minutes. Bars may look soft but will firm up as they cool. -
Caramel Overflow
Avoid spreading caramel all the way to the pan’s edges. Leave a thin margin to prevent bubbling out. -
Bars Too Thick or Dense
Don’t overmix the dough after adding flour, and measure ingredients precisely. -
Crumbly or Dry Bars
Overbaking or using too little butter can lead to dryness. Melted butter and the right ratio of sugars keep bars moist. -
Caramel Layer Sinking
If the bottom layer is too thin, the caramel can seep down. Use a thicker base layer for structure.
Frequently Asked Questions
-
Can I use caramel candies instead of sauce?
Yes. Melted caramel candies with a splash of cream make a great alternative to store-bought sauce. -
How do I keep caramel from hardening in the bars?
Use a soft caramel sauce and don’t overbake. Let bars cool gradually at room temperature. -
Can I double this recipe?
Absolutely. Use a larger sheet pan or bake in two 9×13-inch pans. Watch the baking time closely. -
Do these cookie bars need to be refrigerated?
Not unless you want them to last longer. They’re fine at room temperature for up to 5 days. -
What’s the difference between cookie bars and brownies?
Cookie bars have a chewy cookie texture, while brownies are more dense and fudgy. Learn more about cookie variations. -
Can I make these ahead of time for an event?
Yes. Bake the day before and store in an airtight container. You can also freeze them in advance. -
Why is my caramel layer sinking to the bottom?
The base layer might be too thin. Spread it evenly and make sure the caramel isn’t too runny. -
Can I add nuts to the recipe?
Definitely. Walnuts or pecans add great texture. Toast them first for extra flavor. -
Are these safe for mailing in cookie boxes?
Yes, they hold up well when individually wrapped. For packaging tips, visit this Pinterest post. -
Can I make these in a smaller pan?
Yes, for thicker bars, use a 9×9 or 8×8 pan. Add 5–10 minutes to the baking time and check for doneness.
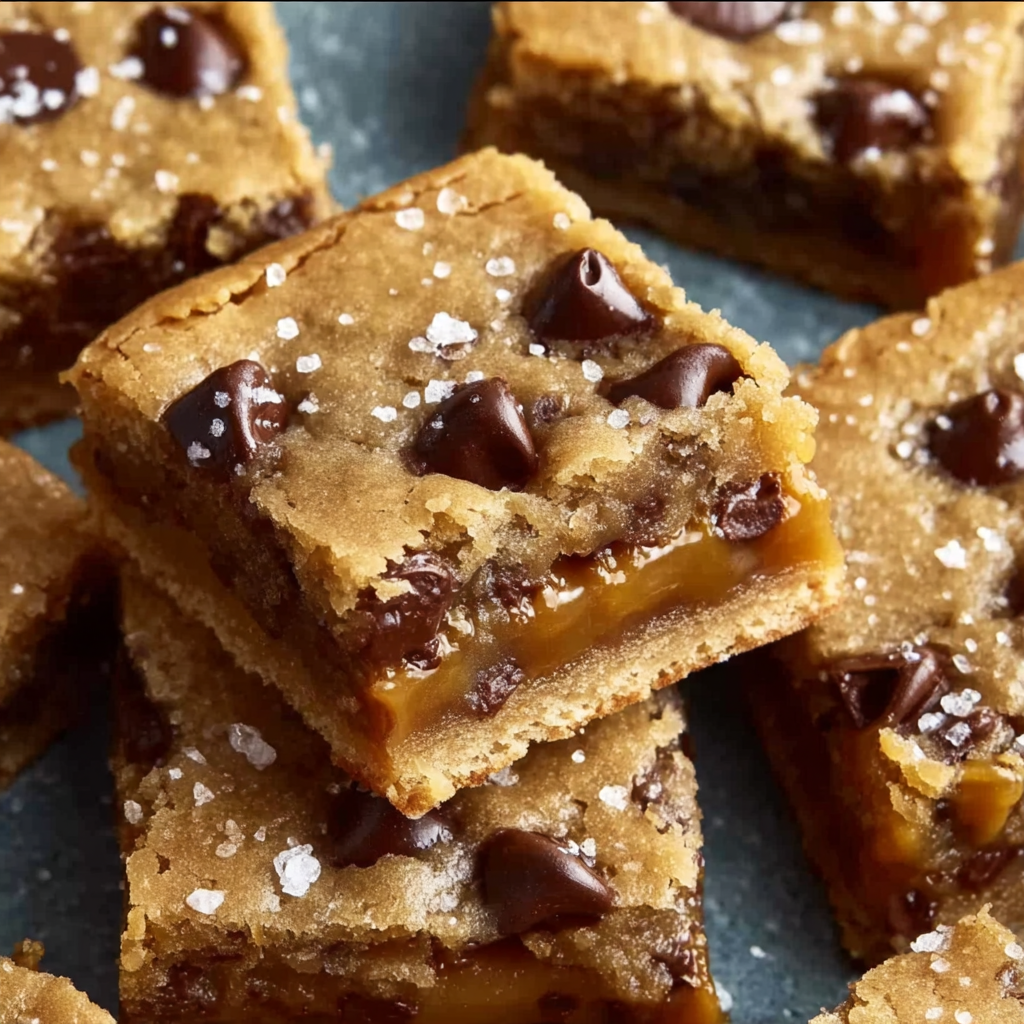
Gooey Salted Caramel Chocolate Chip Cookie Bars You’ll Crave Weekly
These Gooey Salted Caramel Chocolate Chip Cookie Bars are the ultimate fusion of sweet, salty, and chewy in one crowd-pleasing dessert. Made with rich semisweet chocolate chips, a silky caramel layer, and topped with flaky sea salt, these cookie bars are easy to make and impossible to resist. Perfect for holiday trays, bake sales, or just a cozy night in, they’re a versatile treat that can be customized with nuts, different chocolates, or a swirl of peanut butter.
- Author: Clara
Ingredients
- 2 1/4 cups all-purpose flour
- 1/2 tsp baking soda
- 1/2 tsp salt
- 3/4 cup unsalted butter, melted
- 1 cup light brown sugar, packed
- 1/2 cup granulated sugar
- 2 large eggs
- 2 tsp vanilla extract
- 2 cups semisweet chocolate chips
- 1 cup caramel sauce (store-bought or homemade)
- Flaky sea salt, for topping
Instructions
Preheat the oven to 350°F (175°C) and line a 9×13-inch baking pan with parchment paper.
In a medium bowl, whisk together flour, baking soda, and salt.
In a large bowl, mix the melted butter with brown sugar and granulated sugar until smooth.
Beat in the eggs one at a time, then stir in vanilla extract.
Gradually add the dry ingredients to the wet mixture, stirring until just combined.
Fold in the chocolate chips.
Spread half of the cookie dough evenly into the bottom of the prepared pan.
Drizzle the caramel sauce over the dough, spreading it evenly but leaving a small border around the edges.
Drop spoonfuls of the remaining cookie dough over the caramel layer and gently spread it out.
Bake for 30–35 minutes, or until the top is golden brown and set.
Remove from oven and sprinkle lightly with flaky sea salt while still warm.
Let cool completely in the pan before cutting into bars.
Notes
-
Make sure caramel stays soft: Use a thick but pourable sauce and don’t overbake.
-
Don’t skip the parchment: It helps with easy removal and slicing.
-
Leave a border when layering caramel: Prevents leaks and sticky edges.
-
Cool fully before cutting: This ensures clean slices and better texture.
-
Double the recipe for a crowd: These bars are always the first to go.