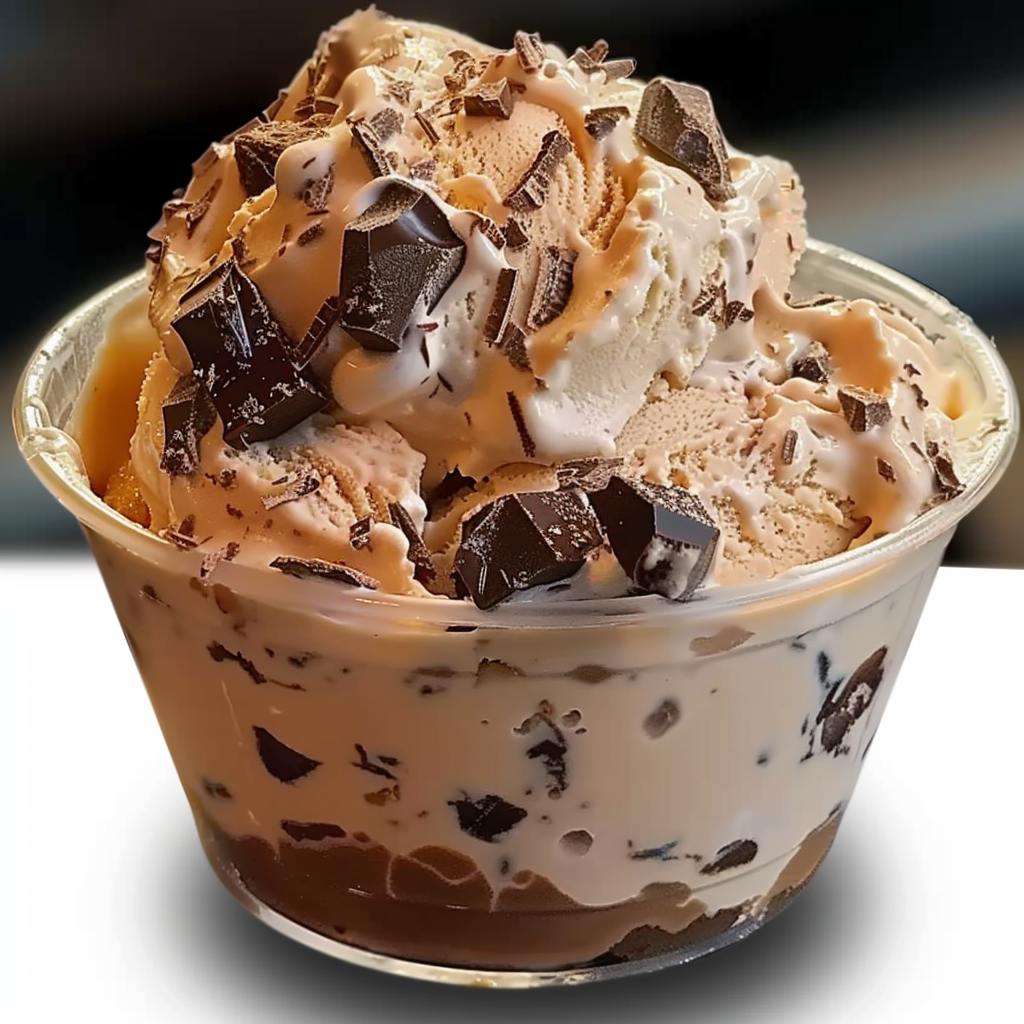
Coffee Ice Cream
There’s something irresistibly indulgent about homemade coffee ice cream. With its velvety custard base and deep roasted flavor, it bridges the worlds of dessert and coffee in a way few treats can. Whether enjoyed in a cone, as part of a decadent affogato, or sandwiched between chocolate cookies, this rich, creamy dessert brings comfort and sophistication in every bite.
What sets this coffee ice cream recipe apart is its ability to balance bold coffee notes with the luxurious texture of a slow-cooked custard. While many store-bought versions tend to fall flat in flavor or include additives for texture, making it at home ensures a pure and customizable result. You can fine-tune the intensity of the coffee, adjust the sweetness, or even infuse complementary flavors like vanilla or chocolate.
The foundation of this homemade ice cream is a classic custard base made with heavy cream, egg yolks, and whole milk. Combined with espresso powder or instant coffee, the result is a dense, silky texture that melts smoothly on the tongue. According to the Wikipedia page on custard-based ice cream, using egg yolks in ice cream not only adds richness but also improves its stability and shelf life.
If you’re new to making ice cream at home, this is the perfect starting point. It’s simple enough for beginners and satisfying enough for seasoned cooks looking to expand their repertoire. Plus, the recipe is ideal for creating classic desserts like an affogato, where a shot of hot espresso is poured over a scoop of coffee ice cream—highlighting the dessert’s flavor with a double shot of coffee perfection.
Internal links to consider integrating:
-
For those exploring other frozen treats, try our homemade vanilla bean ice cream or chocolate espresso gelato recipes.
-
Not sure how to use espresso powder? Check out our guide on choosing the right coffee for desserts.
This guide is your go-to for mastering creamy homemade coffee ice cream. From tips on selecting ingredients to understanding custard techniques, we’ll show you how to create a dessert that’s both classic and customizable.
Why Make Homemade Coffee Ice Cream?
Making coffee ice cream at home gives you complete control over flavor, ingredients, and texture—something no store-bought version can fully replicate. From the richness of the cream to the intensity of the coffee, every element can be adjusted to your taste. More than just a frozen dessert, it becomes a canvas for creativity and a guaranteed crowd-pleaser.
One of the key reasons to make homemade coffee ice cream is the superior texture you achieve with a custard base. Using egg yolks allows you to create a smooth, luscious finish that rivals premium brands. This method, known as the custard technique, involves tempering the eggs—a process you can learn more about on Wikipedia’s guide to tempering in cooking.
Another advantage is ingredient quality. Store-bought ice creams often rely on stabilizers, artificial flavorings, and excess sugar. At home, you can choose high-quality espresso powder, organic milk, and pure vanilla extract—or even substitute decaf coffee for a low-caffeine version. If you’re curious about vanilla extract, how it’s made, and how it enhances recipes, refer to this detailed entry on Wikipedia.
There’s also the option to tailor sweetness, add your favorite mix-ins, or explore alternatives like non-dairy bases for vegan versions. For example, coconut cream and oat milk are great plant-based substitutes, as discussed in this Wikipedia article on vegan ice cream.
Looking for inspiration? Check out these homemade ice cream tips on Pinterest for ideas on presentation, storage, and flavor pairings. You can also explore coffee dessert pairings to take your serving game to the next level.
Still unsure? Consider how versatile this dessert is: it works beautifully in everything from milkshakes to frozen cakes and pairs well with bold flavors like chocolate, caramel, and hazelnut. It’s the kind of coffee-flavored dessert that impresses with both depth and simplicity.
Key Ingredients Breakdown
Crafting homemade coffee ice cream begins with selecting high-quality ingredients, each playing a vital role in texture and flavor. Understanding how each component contributes to the final result allows for better customization and consistently great results.
Heavy Cream & Whole Milk
The combination of heavy cream and whole milk is essential for a creamy, rich texture. Cream provides the fat content that gives ice cream its smooth mouthfeel, while whole milk helps balance the mixture without making it overly dense. Using low-fat milk or substituting cream with non-fat alternatives will result in an icier texture and less indulgent flavor. For a deeper dive into how dairy influences texture, check the Wikipedia article on ice cream, especially sections related to fat content and emulsification.
Instant Coffee or Espresso Powder
This is the heart of your ice cream’s flavor. Instant espresso powder is highly concentrated and dissolves quickly into hot liquids, making it perfect for custard bases. You can use high-quality instant coffee, but espresso powder gives a bolder, more authentic flavor. If you’re unfamiliar with how instant coffee is made, this Wikipedia page offers a helpful overview.
If you’d like to experiment, you can even use reduced brewed espresso, though it may affect the custard’s balance if not properly measured. For a visual exploration of espresso powder use in desserts, check out this coffee dessert recipe board.
Egg Yolks
Egg yolks are the foundation of the custard base. They help thicken the mixture when gently cooked, resulting in a creamy, luxurious consistency. This method, known as French-style ice cream, is prized for its richness and depth. The process of tempering eggs—gradually warming them to avoid curdling—is crucial and well-explained in the Wikipedia entry on tempering.
Sugar & Vanilla
Sugar sweetens and also softens the texture of the ice cream, helping prevent it from becoming rock-hard in the freezer. For flavor, vanilla extract enhances the natural notes of coffee without overpowering them. It’s a subtle addition, but crucial. For more on how vanilla extract works in cooking and baking, explore this Wikipedia article.
Pinch of Salt
A small amount of salt goes a long way. It intensifies both sweet and savory flavors and helps bring balance to the bitterness of the coffee. Salt also acts as a flavor bridge between ingredients, making your ice cream taste more cohesive and rounded.
Each of these ingredients is essential for achieving the perfect coffee ice cream—one that’s rich, smooth, and full of flavor. Together, they create a harmonious blend that’s adaptable, customizable, and unforgettable.
Step-by-Step Recipe Instructions (Detailed)
Making the Coffee Custard Base
Begin by combining 2 cups of heavy cream, 1 cup of whole milk, and 2 tablespoons of instant coffee granules or espresso powder in a medium saucepan. Heat the mixture over medium heat, stirring occasionally until the coffee dissolves completely and the mixture is hot but not boiling. This step ensures the coffee flavor is infused throughout the dairy base, creating a bold, aromatic foundation for the ice cream.
While the dairy mixture heats, whisk 4 large egg yolks, ¾ cup of granulated sugar, and a pinch of salt in a separate bowl. This step is crucial for preparing the custard. The mixture should become pale and thick, which indicates that the sugar has been properly incorporated into the yolks.
To avoid scrambling the eggs, you’ll need to temper them. Slowly pour about a half-cup of the hot coffee-cream mixture into the egg yolks while whisking constantly. This gently raises the temperature of the yolks and prevents curdling. Once tempered, return the yolk mixture to the saucepan with the remaining cream.
Cook this combined mixture over low heat, stirring constantly with a wooden spoon or silicone spatula. You’re looking for the custard to thicken enough to coat the back of the spoon—this usually takes about 5–7 minutes. Be careful not to let it boil, as this can overcook the eggs and ruin the texture. For more information about how this custard cooking technique works, visit the Wikipedia article on custard.
At this point, your mixture should be smooth and velvety with a deep caramel-coffee aroma. Remove the saucepan from the heat and stir in 1 teaspoon of vanilla extract. Vanilla complements the bitter notes of the coffee, rounding out the flavor beautifully. You can learn more about how vanilla enhances desserts in this Wikipedia entry.
For maximum smoothness, strain the mixture through a fine-mesh sieve into a clean bowl. This removes any curdled bits of egg or undissolved coffee granules. Let the mixture cool at room temperature for about 30 minutes, then cover the bowl and refrigerate it for at least 4 hours or preferably overnight. This chilling step is crucial—it allows the flavors to mature and ensures the custard is cold enough to churn properly.
For a helpful visual guide and storage inspiration, visit these homemade ice cream tips.
Churning in Ice Cream Maker
Once thoroughly chilled, pour the custard into your ice cream maker and churn according to the manufacturer’s instructions. This process typically takes 20–25 minutes and transforms the liquid into a soft-serve texture. For optimal results, use a pre-frozen bowl and ensure your kitchen is cool to avoid premature melting.
When the ice cream reaches a thick, soft consistency, transfer it to an airtight container. Press a sheet of plastic wrap directly against the surface to prevent ice crystals from forming. Freeze the container for at least 3–4 hours or until firm. This final freeze solidifies the texture and makes the ice cream scoopable.
Looking to explore further? Try pairing this with our chocolate espresso gelato or use the base recipe as inspiration for your own flavored coffee desserts.
With this method, you’ll achieve that coveted balance of rich creaminess, bold coffee flavor, and a luxurious texture that rivals any premium brand.
Pro Tips for Perfect Coffee Ice Cream
Making homemade coffee ice cream is both an art and a science. Even small adjustments can lead to creamier textures and more vibrant flavor. Use these tried-and-true tips to ensure your results are consistently smooth, rich, and deeply satisfying.
-
Never let the custard boil
Boiling can cause the egg yolks to curdle, leading to a grainy texture. Always cook the custard over low heat, stirring constantly, until it thickens just enough to coat the back of a spoon. -
Chill the custard thoroughly
Cold custard churns better. Letting it sit in the refrigerator for at least 4 hours (or overnight) ensures a denser, creamier texture after churning. The cooling phase also enhances the coffee flavor, allowing it to deepen. -
Use high-quality espresso powder
Choose a finely ground, bold espresso powder for a robust flavor. Avoid overly acidic or flavored instant coffees, as they can disrupt the balance of the dessert. Explore the science of espresso on Wikipedia to better understand how roast and grind affect intensity. -
Strain for smoothness
Don’t skip straining the custard. It removes any small egg solids or coffee granules that didn’t dissolve completely, leading to a silky, uniform base. -
Pre-freeze your storage container
Placing your storage container in the freezer before filling helps maintain the low temperature, reducing the chances of ice crystal formation during the final freeze.
These small steps can make a big difference in achieving luxuriously creamy, full-bodied coffee ice cream. For more helpful guidance, check out our vanilla bean ice cream tutorial where we apply the same custard techniques in a different flavor profile.
Flavor Variations and Mix-Ins
Once you’ve mastered the classic coffee ice cream recipe, it’s time to explore creative twists that enhance its flavor and texture. These variations allow you to personalize each batch for any occasion, from sophisticated dinner parties to casual summer desserts.
-
Mocha Ice Cream
Add 2 tablespoons of unsweetened cocoa powder to the coffee custard before heating. This creates a rich mocha flavor with added depth. For an even more decadent result, swirl in melted dark chocolate during the final minutes of churning. -
Coffee Toffee Crunch
Fold in crushed toffee bits or caramelized almond pieces after churning. The crunch complements the creamy base, adding texture and a nutty sweetness that pairs perfectly with the bitterness of the coffee. -
Caramel Swirl
Once the ice cream is churned, layer in ribbons of homemade or store-bought salted caramel. Freeze immediately to preserve the ripple effect. This sweet-salty combination elevates the overall flavor complexity. -
Boozy Kick
Add 1–2 tablespoons of coffee liqueur such as Kahlua or Tia Maria to the custard base after cooking and before chilling. Alcohol lowers the freezing point slightly, resulting in a softer texture and deeper aroma. -
Hazelnut or Almond Essence
A few drops of hazelnut or almond extract can transform the base into a nutty coffee ice cream. Serve with biscotti for a classic Italian pairing.
For more ideas and visual inspiration, visit this Pinterest board on coffee dessert pairings. These mix-ins can be used individually or combined for a multi-layered ice cream experience that stands out. Looking to stay dairy-free? Try these same variations with our vegan ice cream base for a plant-based indulgence.
Serving Ideas & Creative Uses
This coffee ice cream is more than just a scoopable treat. Its versatility makes it perfect for a range of gourmet and casual desserts. Here are some of the best ways to serve and enjoy it:
-
Affogato
Pour a fresh shot of hot espresso over a scoop of your ice cream. This classic Italian dessert is intensely flavorful and beautifully balanced. Learn more about affogato on Wikipedia. -
Coffee Milkshake
Blend a few scoops with a splash of whole milk and a drizzle of chocolate syrup. For a more adult version, add a splash of coffee liqueur or bourbon. -
Ice Cream Sandwich
Spoon the ice cream between soft chocolate cookies or espresso-flavored biscuits. Wrap in parchment and freeze for an hour for a firm, handheld treat. -
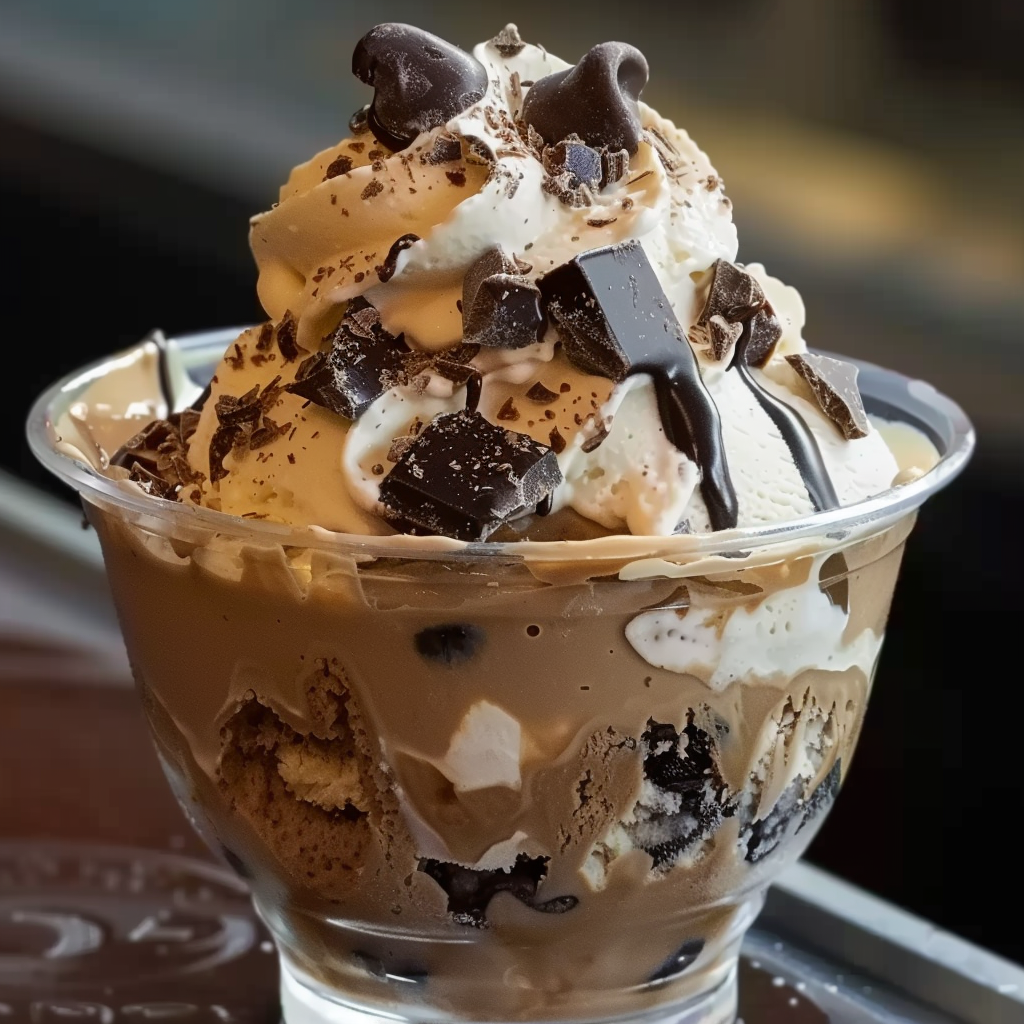
Espresso Sundae
Top the ice cream with whipped cream, shaved chocolate, and roasted espresso beans. Finish with a sprinkle of sea salt for a savory edge. -
With Baked Desserts
Serve it alongside warm brownies, chocolate lava cake, or a slice of tiramisu. The contrast of hot and cold enhances the flavor of both components.
For pairing suggestions and beautiful serving ideas, browse these homemade ice cream tips on Pinterest. For more dessert combinations, explore our chocolate espresso gelato recipe to add variety to your frozen dessert collection.
How to Store Homemade Coffee Ice Cream
Proper storage ensures your homemade coffee ice cream stays creamy and delicious for as long as possible. Here’s how to keep it fresh and free from unwanted ice crystals:
-
Use an Airtight, Shallow Container
Shallow containers help the ice cream freeze evenly and make scooping easier. Press plastic wrap directly onto the surface of the ice cream before sealing with a lid. -
Label and Date
Homemade ice cream typically lasts up to 2–3 weeks in the freezer. Label your container with the preparation date so you know when it’s at its best. -
Prevent Freezer Burn
Always store your ice cream at the back of the freezer where the temperature is most consistent. Avoid placing it in the door, which is subject to frequent temperature fluctuations. -
Soften Before Scooping
Let the container sit at room temperature for 5 minutes before scooping. This ensures smoother, easier servings without melting the whole batch. -
Don’t Re-Freeze Melted Ice Cream
Re-freezing can ruin the texture. Always return the ice cream to the freezer immediately after serving.
For more on homemade ice cream care and handling, check our vanilla bean tutorial which includes tips on preventing iciness and maintaining flavor.
Coffee Ice Cream Pairing Suggestions
Enhance your coffee ice cream experience by pairing it with complementary flavors and textures. Whether you’re planning a dinner party or crafting the perfect dessert plate, these ideas add depth and variety.
-
Dessert Pairings
-
Chocolate Cake: Rich, fudgy cakes pair beautifully with the bitterness of coffee.
-
Tiramisu: Layered coffee flavors and creamy textures echo the ice cream’s profile.
-
Almond Biscotti: A crunchy, nutty side to dip or enjoy alongside.
-
-
Beverage Pairings
-
Espresso or Cappuccino: Reinforce the coffee flavor with a matching beverage.
-
Baileys or Coffee Liqueur: Serve as a sipping dessert or a poured topping.
-
Port or Dessert Wines: Their sweetness contrasts well with the ice cream’s roast bitterness.
-
-
Toppings to Consider
-
Cocoa Nibs
-
Crushed Toffee
-
Dark Chocolate Shavings
-
Sea Salt and Olive Oil drizzle for a gourmet twist
-
Pairing ideas like these not only elevate presentation but deepen the overall flavor experience. For even more creative serving techniques, explore our coffee dessert collection or revisit the Pinterest dessert pairing guide.
Nutritional Information & Dietary Alternatives
Understanding the nutritional profile and alternative ingredients for your coffee ice cream helps you meet dietary needs without compromising taste.
-
Calories & Macros (per serving, approx. ½ cup):
-
270–300 calories
-
22g fat
-
20g carbohydrates
-
4g protein
-
Contains dairy, egg, and caffeine
-
-
Lower Sugar Version
Reduce sugar by 25% without affecting texture drastically. Use a natural sweetener like stevia or monk fruit in moderation, but test batches first. -
Low-Caffeine or Decaf Option
Replace espresso powder with decaffeinated instant coffee. You’ll maintain flavor while making the dessert more kid-friendly or suitable for evening servings. -
Dairy-Free / Vegan Option
-
Coconut Cream and oat milk create a rich, plant-based base.
-
Substitute egg yolks with 2 tablespoons of cornstarch or silken tofu for structure.
-
Use a vegan coffee extract for flavor.
-
Refer to the full breakdown of non-dairy options in this Wikipedia article on vegan ice cream.
These alternatives make your homemade coffee ice cream accessible to more dietary preferences while still delivering indulgence and satisfaction.
Common Mistakes and Fixes
Even experienced cooks can run into problems when making coffee ice cream. Here are some common pitfalls and how to avoid them:
-
Grainy Texture
Likely caused by overheating or boiling the custard. Always use low heat and stir constantly until just thickened. -
Too Icy
This happens when there’s not enough fat or the custard wasn’t chilled long enough. Use full-fat dairy and chill overnight. -
Weak Coffee Flavor
Add more espresso powder, or bloom it in hot milk before combining. Be careful not to overpower the custard’s balance. -
Bitter Taste
Over-steeped coffee or burnt custard can cause bitterness. Use high-quality instant espresso and avoid high heat. -
Crystallization During Storage
Prevent air exposure by pressing plastic wrap directly on the surface and storing in a sealed container in the coldest part of the freezer.
These simple fixes will improve every batch, helping you create consistently smooth and flavorful coffee ice cream every time.
FAQs
Can you make coffee ice cream without an ice cream maker?
Yes, absolutely. Use a no-churn method by whipping 2 cups of cold heavy cream to soft peaks and folding it into a mixture of sweetened condensed milk, vanilla, and espresso powder. Freeze in a loaf pan for at least 6 hours. Though texture differs slightly from churned versions, it’s still creamy and delicious.
What is the best coffee for coffee ice cream?
Espresso powder is ideal because of its strong, concentrated flavor and solubility. Alternatively, use instant coffee granules for a milder taste. Brewed coffee can be used if reduced to intensify the flavor, though it may slightly water down the custard.
Can I use brewed coffee instead of instant?
Yes, but with caution. Brewed coffee is more diluted, so reduce it by simmering until it thickens into a concentrate. Let it cool before adding it to your custard base. The result will be more nuanced, but may not be as strong as using espresso powder.
How do I make coffee ice cream more creamy?
Use full-fat dairy (heavy cream and whole milk), avoid over-churning, and chill the custard thoroughly before freezing. You can also add a tablespoon of corn syrup or alcohol to soften the texture further.
Is coffee ice cream caffeinated?
Yes, unless you use decaffeinated coffee. The caffeine content varies depending on how much and what kind of coffee you use. For a kid-friendly or nighttime version, switch to decaf espresso powder.
PrintCoffee Ice Cream Recipe Guide Creamy Homemade Ice Cream

A deeply flavorful and rich homemade coffee ice cream with a smooth custard base and bold espresso notes. This indulgent dessert is perfect for coffee lovers and versatile enough for affogatos, sundaes, or sophisticated pairings. Using a traditional French-style custard method, this recipe delivers a velvety texture that rivals premium brands and offers full control over flavor intensity, sweetness, and mix-ins.
- Author: Clara
Ingredients
- 2 cups heavy cream
- 1 cup whole milk
- ¾ cup granulated sugar
- 2 tablespoons instant coffee granules or espresso powder
- 4 large egg yolks
- 1 teaspoon vanilla extract
- Pinch of salt
Instructions
In a saucepan over medium heat, combine heavy cream, milk, and instant coffee. Stir until coffee granules dissolve and mixture is hot but not boiling.
In a separate bowl, whisk together egg yolks, sugar, and salt until pale and thick.
Slowly pour some of the hot cream mixture into the egg yolk mixture, whisking constantly to temper the eggs.
Pour the egg mixture back into the saucepan with the remaining cream. Cook over low heat, stirring constantly, until the mixture thickens and coats the back of a spoon. Do not let it boil.
Remove from heat and stir in vanilla extract.
Pour the custard through a fine mesh sieve into a clean bowl. Let it cool to room temperature, then cover and refrigerate for at least 4 hours or until thoroughly chilled.
Churn in an ice cream maker according to manufacturer’s instructions. Transfer to a container and freeze for several hours or until firm.
Notes
-
Be sure to fully chill the custard before churning to achieve the best texture.
-
Straining the base removes any curdled egg or undissolved coffee granules for ultra-smooth results.
-
Store ice cream with a plastic wrap pressed directly against the surface to prevent ice crystals.
-
Adjust coffee strength to your preference—more espresso powder equals bolder flavor.
-
Perfect as a base for mix-ins like toffee bits, chocolate swirl, or caramel ripple.