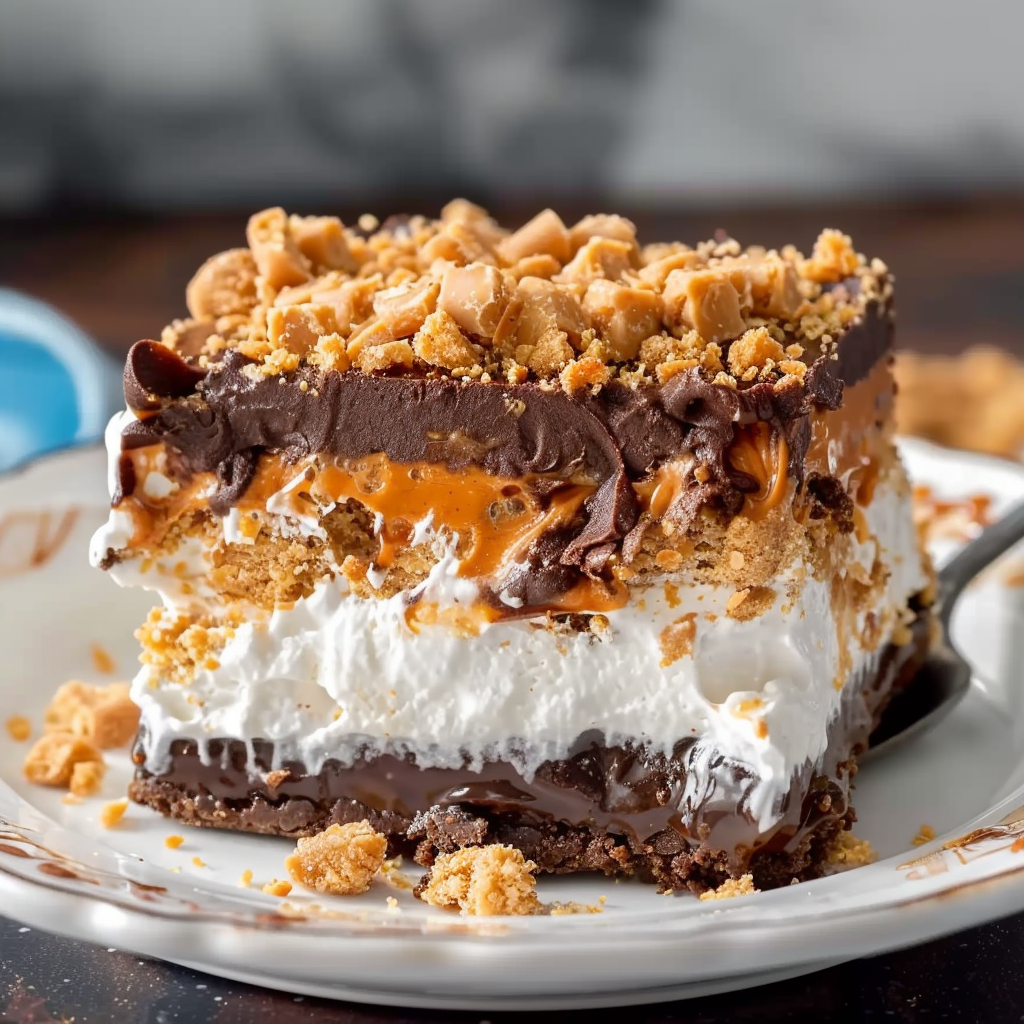
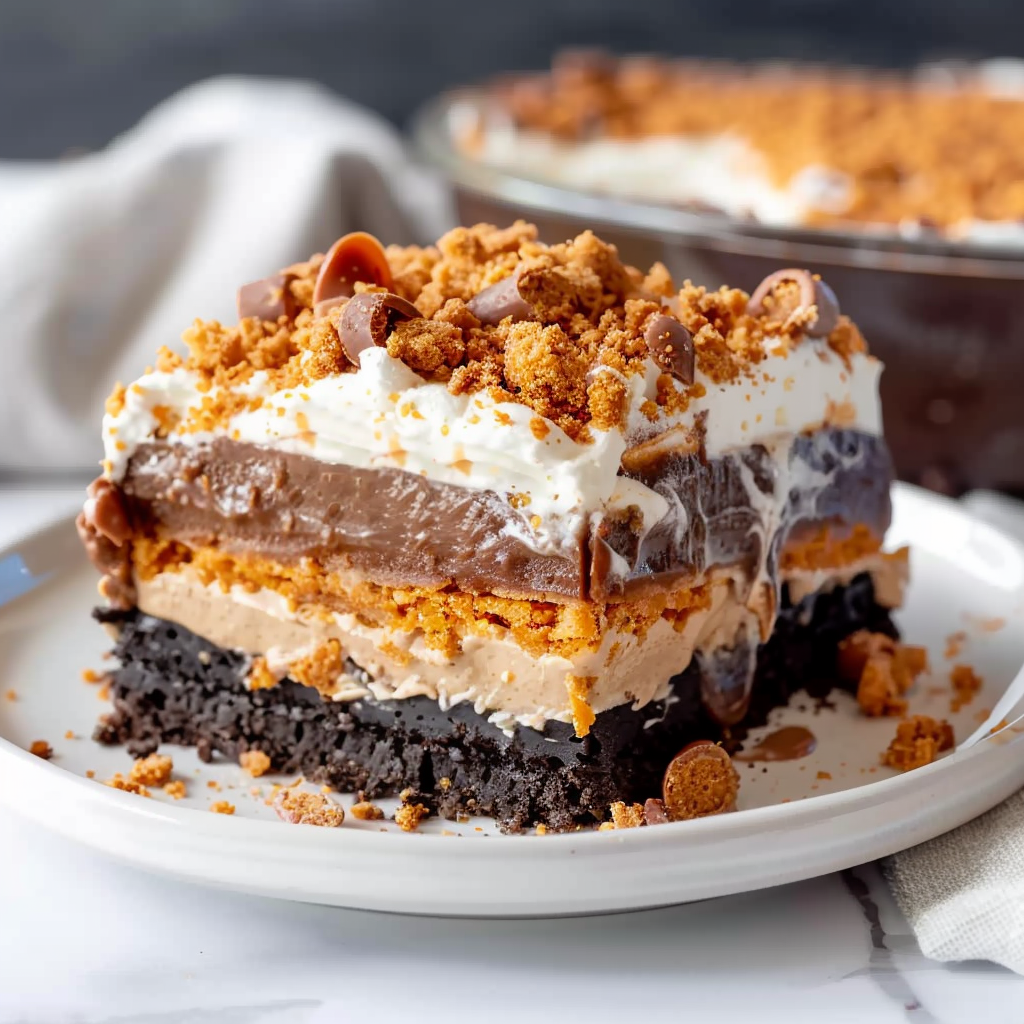
Butterfinger Lush Dessert
Butterfinger Lush is the kind of no-bake dessert that becomes an instant crowd-pleaser at any gathering. With its dreamy layers of graham cracker crust, sweetened cream cheese, smooth vanilla pudding, fluffy whipped topping, and a generous sprinkle of crushed Butterfinger candy bars, it’s the ultimate chocolate peanut butter dessert. What makes it truly irresistible is the combination of textures—creamy, crunchy, airy, and smooth—all in one bite.
This dessert is especially ideal for summer parties, BBQs, and potlucks when turning on the oven isn’t an option. Its simplicity makes it easy to prepare in advance, and the chill time actually enhances the flavor. One standout variation includes layering with angel food cake, which adds a lighter twist to the dessert while maintaining its structural integrity and taste. This version creates a Butterfinger Lush Cake that feels airy and indulgent all at once.
Lush desserts like this one are trending across platforms like Pinterest, where home bakers are always looking for easy yet stunning layered dessert recipes. They fall into the category of no-bake layered desserts that not only taste great but also photograph beautifully, making them perfect for sharing both on the table and online.
If you’re unfamiliar with the magic of Butterfinger candy, it’s a uniquely crunchy candy bar made of crispety, crunchety peanut-buttery layers coated in chocolate. It’s no surprise that it’s featured in this dessert as the topping—it adds both flavor and texture. You can learn more about its composition and origin on Wikipedia, which breaks down its history and popularity in the U.S. market. With so many elements working together, Butterfinger Lush quickly becomes more than just a dessert—it’s a centerpiece that steals the show.
What is a Lush Dessert?
A lush dessert is a chilled, multi-layered treat typically made with a cookie or graham cracker crust, a creamy filling (often involving cream cheese), a pudding layer, and whipped topping. The name “lush” refers to its rich, creamy texture and indulgent flavor profile. These desserts are usually served cold, making them perfect for warm-weather occasions when oven use is limited.
The most common structure of a lush dessert includes:
-
A buttery crust base (usually graham crackers or cookies)
-
A smooth cream cheese or mousse-like layer
-
A flavored pudding layer for contrast and sweetness
-
A fluffy whipped topping layer
-
Optional crushed candy, cookies, or fruit for garnish
This classic layering technique delivers both visual appeal and a satisfying mix of textures and flavors in every bite. Variations of lush desserts have existed for decades, but their popularity surged with the rise of no-bake recipes across blogs and social platforms. For instance, check out this Pinterest collection featuring dozens of no-bake summer desserts that use a similar concept.
What makes lush desserts so appealing is their adaptability. By changing the pudding flavor, the crust base, or the topping, you can create entirely new versions. For example, substituting the graham cracker base with a chocolate cookie crust or adding a fruit layer turns the dessert into a completely different experience. Some recipes even replace pudding with instant mousse or a whipped peanut butter filling, using ingredients like cream cheese and powdered sugar for added richness.
In short, a lush dessert is all about easy assembly, no baking, and luxurious taste, making it a go-to favorite for busy home bakers who want something that looks as good as it tastes.
Key Ingredients and Their Roles
Graham Cracker Crust
The foundation of any great lush dessert starts with a sturdy yet tender crust. In this recipe, a graham cracker crust is the ideal base because it provides a subtle sweetness and a crunchy texture that balances the soft layers above. Typically made with crushed graham crackers, melted unsalted butter, and a bit of granulated sugar, this layer is pressed into the bottom of a dish and lightly chilled to set.
One reason graham crackers are preferred is their neutral flavor, which pairs well with both chocolate and peanut butter. However, if you’re looking to experiment, consider alternatives like crushed Oreos for a chocolate twist or pretzels for a salty-sweet combination. Learn more about how the graham cracker crust became a staple in American desserts through its long history in no-bake pies and refrigerator bars.
Cream Cheese Layer
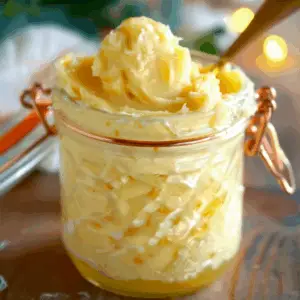
This layer brings the silky richness that defines a true lush dessert. Blending softened cream cheese with powdered sugar creates a slightly tangy, sweet base. Folding in whipped topping, such as Cool Whip, lightens the texture, making it smooth and spreadable. This ensures that it won’t overpower the delicate pudding layer above it.
Cream cheese acts as a bridge between the crunchy crust and the soft pudding layer. Its slightly tart flavor offsets the sweetness of the other components, providing balance. When preparing this layer, it’s important that the cream cheese is fully softened to avoid lumps—a step often skipped by beginners. You can explore more about cream cheese and its role in no-bake desserts to better understand its versatility.
Vanilla Pudding Layer
Smooth, creamy, and sweet, vanilla pudding adds a cool softness that binds the dessert together. This recipe uses instant vanilla pudding mix, which sets quickly when combined with cold milk. Allowing it to thicken before layering ensures a firm texture that holds its shape when sliced.
For added flavor depth, you can switch to chocolate pudding or even try a peanut butter pudding for a richer taste. Though many use boxed pudding, homemade pudding adds a personalized touch, provided you have the time. You can learn how instant pudding differs from traditional pudding in terms of preparation and ingredients.
Whipped Topping
No lush dessert is complete without a fluffy whipped topping. It’s used in both the cream cheese layer and as the final topping. Cool Whip is the go-to option for convenience, but homemade whipped cream with heavy cream and powdered sugar works beautifully for a more natural flavor.
Whipped topping lightens the overall texture of the dessert, helping it feel airy despite its multiple layers. When applying the top layer, be sure to use a gentle hand to avoid blending it into the pudding below.
Find more creative uses for whipped toppings and Cool Whip desserts through this Pinterest board, which shows just how versatile this ingredient can be in layered desserts.
Crushed Butterfinger Candy
The crown jewel of this dessert is the crushed Butterfinger candy that tops it all off. The crunchy peanut butter core and chocolate coating add the perfect caramelized crunch, balancing the soft layers underneath. The contrast in texture makes every bite exciting and indulgent.
For best results, crush the Butterfinger bars just before serving to maintain their crunch. If you’re unfamiliar with the candy itself, Butterfinger has a rich history as one of America’s favorite chocolate bars. It’s a unique addition that turns an already delicious dessert into something memorable.
Alternative toppings include crushed peanut butter cups or chopped Heath bars, depending on your preference. Just be sure the topping has a good crunch and complements the peanut butter chocolate profile.
These five components work together in perfect harmony to create the ultimate chocolate peanut butter layered dessert that’s simple, customizable, and showstopping every time.
Optional Variation: Angel Food Cake Layer
For those looking to lighten the dessert while keeping it indulgent, swapping the graham cracker crust for a layer of angel food cake creates an airy twist on the traditional Butterfinger lush. This variation results in a Butterfinger Lush Cake that combines soft sponge texture with rich creaminess and a crunchy topping, making it perfect for guests who prefer a less dense dessert.
Angel food cake is known for its sponge-like structure and subtle sweetness. Made primarily from whipped egg whites and sugar, it contains no fat, which makes it an ideal foundation for rich layers like cream cheese and pudding. Instead of pressing it into the dish like a crust, you’ll cut the cake into cubes or thin slices and gently press them into the bottom of your baking dish, forming a pillowy base. To give it a deeper flavor, some bakers lightly toast the cake cubes before layering.
This version of the dessert is especially popular for spring and summer events because it feels light and refreshing, even with indulgent toppings. A key advantage is that it doesn’t require pre-baking or firm chilling like a crust does, which saves time and simplifies preparation. You can explore more about angel food cake and its texture to understand how it complements cream-based desserts.
When layering over angel food cake, follow the same order as the original recipe:
-
A soft base of cake cubes or slices
-
A layer of sweetened cream cheese mixture
-
Thickened vanilla pudding
-
Whipped topping
-
Crushed Butterfinger candy bars
The airy cake soaks in a bit of moisture from the layers above, creating a melt-in-your-mouth experience with every bite. If you’re curious how others have used this technique in layered desserts, check out these creative ideas on Pinterest, where home bakers turn basic ingredients into visual and flavorful masterpieces.
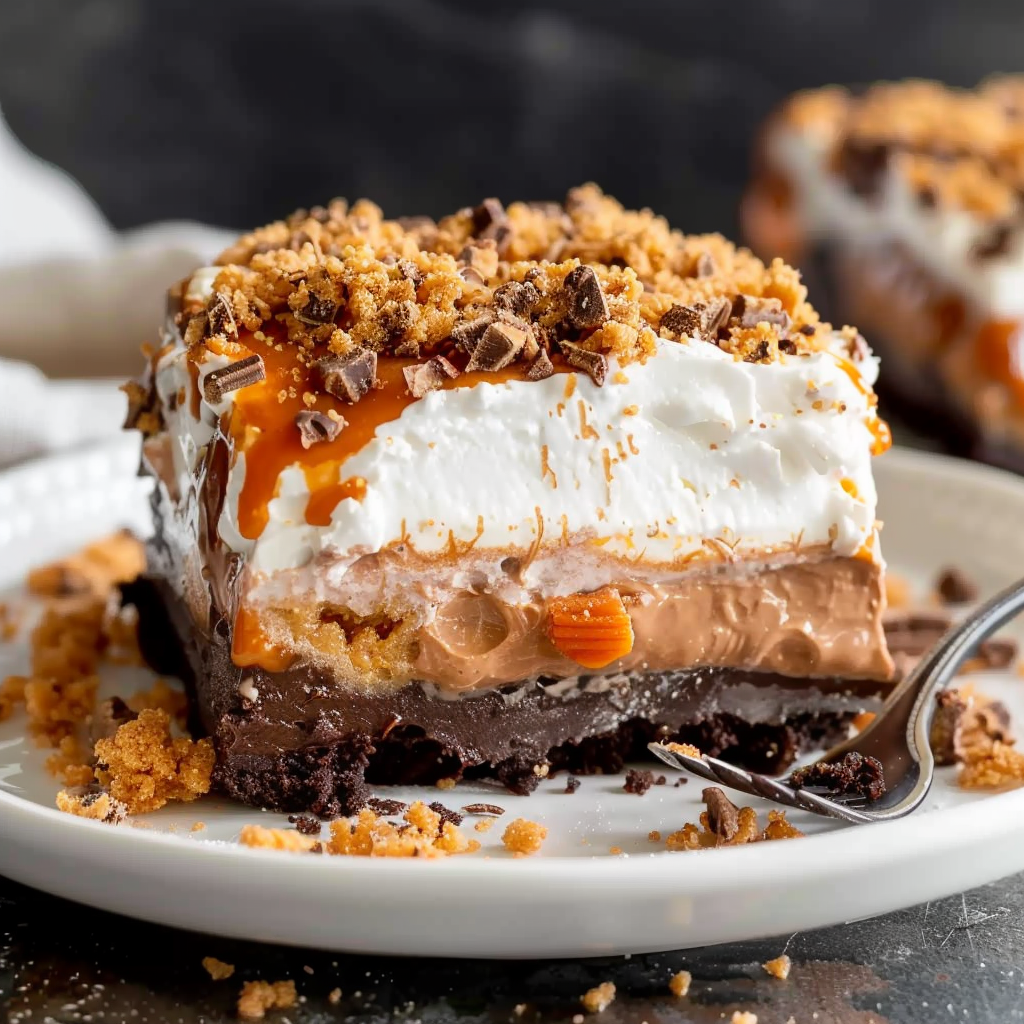
This version is not only delicious but also visually appealing—perfect for serving in a clear trifle bowl, where the layers of white cake, cream, and candy visually pop. It’s a fantastic adaptation for anyone who wants a softer, less crunchy base while keeping all the flavors of a classic Butterfinger lush.
Step-by-Step Recipe Guide
Making the Crust
Begin by creating the foundation of the dessert. In a medium mixing bowl, combine 1 ½ cups of graham cracker crumbs, ½ cup of melted unsalted butter, and ¼ cup of granulated sugar. Stir until the mixture resembles wet sand. Press this mixture evenly into the bottom of a 9×13-inch baking dish using a flat-bottomed glass or measuring cup for a firm, compact base. Set the crust aside or chill it in the refrigerator for at least 15 minutes to help it firm up.
Alternatively, if you’re using angel food cake as your base, skip this step and layer slices or cubes of cake across the bottom of the dish instead, pressing gently to form a uniform layer.
Cream Cheese Layer Tips
In a clean bowl, beat 8 oz of softened cream cheese and 1 cup of powdered sugar together until completely smooth and lump-free. You can use a hand mixer or stand mixer for better consistency. Once combined, gently fold in 1 cup of whipped topping (like Cool Whip) until the mixture is light and fluffy. Evenly spread this cream cheese mixture over the crust or cake base, making sure to smooth it out with a spatula for an even layer.
Ensure that your cream cheese is fully softened before mixing. Cold cream cheese can cause lumps that are hard to break down. For extra flavor, consider adding a splash of vanilla extract or a tablespoon of peanut butter for a nutty depth.
Preparing the Pudding Layer
Next, in a separate bowl, whisk together 1 (3.4 oz) box of instant vanilla pudding mix with 1½ cups of cold milk. Whisk vigorously for 2 minutes, or until the mixture thickens. Let it sit for 3–5 minutes to fully set. Once thickened, spread the pudding evenly over the cream cheese layer.
This layer adds that cool, creamy sweetness that defines lush desserts. You can substitute with chocolate pudding if you want a deeper cocoa flavor, or mix peanut butter directly into vanilla pudding for a twist. For more about the science behind quick-set puddings, read this Wikipedia article on instant pudding.
Final Assembly & Chill Time
After the pudding layer is in place, gently spread 1½ cups of whipped topping across the surface. Use a spatula to create soft peaks or swirls for presentation. Top generously with 1 cup of crushed Butterfinger candy bars, evenly distributing them for a balanced texture in every bite.
Crush Butterfingers by placing them in a zip-top bag and gently tapping with a rolling pin. For best results, crush just before serving to maintain the candy’s crispiness. For ideas on creative toppings and assembly inspiration, browse layered dessert presentations on Pinterest.
Once assembled, refrigerate the dessert for at least 4 hours, or preferably overnight. This chilling period allows the layers to set and flavors to meld. To serve, slice with a sharp knife and use a spatula to lift each piece cleanly from the dish.
Storage and Make-Ahead Tips
This dessert is an excellent make-ahead recipe and stores beautifully in the fridge. Prepare it up to 24 hours before serving, keeping it tightly covered to preserve freshness and prevent the candy from softening.
It will last 3–4 days in the refrigerator. However, for optimal texture and presentation, it’s best eaten within 48 hours. If using crushed Butterfingers, add the candy topping just before serving to keep it crunchy.
Freezing is possible but not recommended, as whipped topping and pudding may separate or become watery after thawing. If you must freeze, wrap tightly and thaw in the fridge—expect slight changes in texture.
Butterfinger Lush Cake Variations
There are countless ways to customize this dessert to match personal taste or dietary needs:
-
Chocolate version: Swap vanilla pudding for chocolate pudding for a rich chocolate-peanut butter combo.
-
Peanut butter pudding: Blend ¼ cup of peanut butter into the cream cheese layer or use peanut butter-flavored pudding mix.
-
Different candy bars: Substitute Butterfingers with Reese’s, Snickers, or Heath Bars for a new twist.
-
Gluten-free: Use gluten-free graham crackers or gluten-free angel food cake as your base.
-
Low sugar: Use sugar-free pudding and whipped topping to cut back on sweetness.
Get more inspiration for alternatives on this Pinterest board of Butterfinger desserts, showcasing how others have adapted the core recipe.
Perfect Occasions to Serve This Dessert
This Butterfinger Lush is incredibly versatile and works well for a wide range of events:
-
Summer barbecues and backyard parties
-
Birthday celebrations and casual get-togethers
-
Baby showers, bridal showers, and potlucks
-
Holiday gatherings and Thanksgiving dinners
-
Weeknight treats or special weekend indulgences
Its light texture and easy assembly make it ideal for events where you need a quick but showstopping dessert.
Tips for the Best Layered Dessert Presentation
To create a dessert that looks as good as it tastes:
-
Use a clear trifle bowl or a glass baking dish to show off the layers.
-
Chill thoroughly before slicing to keep the layers distinct.
-
Use an offset spatula for clean spreading and defined edges.
-
Add extra crushed Butterfinger candy just before serving for color and crunch.
-
Sprinkle chocolate curls, drizzle chocolate syrup, or top with mini peanut butter cups for added flair.
Check out more Cool Whip dessert ideas on Pinterest for presentation ideas and creative toppings.
Nutritional Considerations
This is an indulgent dessert, but you can make adjustments to lighten it:
-
Calories per serving: Around 350–400, depending on portion size and substitutions.
-
Use light cream cheese, sugar-free pudding, and low-fat whipped topping to reduce fat and calories.
-
For portion control, serve in mini dessert cups or ramekins.
Even with adjustments, it remains a rich treat, so small servings are usually satisfying.
FAQs – People Also Ask
What is a lush dessert made of?
A lush dessert typically includes a cookie or graham cracker crust, a sweetened cream cheese layer, a pudding layer, and whipped topping. It may also be garnished with candy, fruit, or nuts.
Can you freeze Butterfinger lush?
It’s possible, but not ideal. Freezing can alter the texture of the pudding and whipped topping, making them watery after thawing. It’s best served fresh or chilled from the refrigerator.
Can I make it ahead of time?
Yes. You can assemble it a day in advance and refrigerate it overnight. Add the Butterfinger topping right before serving to preserve its crunch.
What can I use instead of Cool Whip?
You can use homemade whipped cream made from heavy whipping cream and a bit of powdered sugar. Whip until stiff peaks form, then use it as a 1:1 substitute.
How do you crush Butterfinger bars for desserts?
Place the bars in a zip-top bag and gently crush them using a rolling pin or heavy glass. For the best texture, crush them just before adding to the dessert.
Can I use pudding from scratch?
Yes. While instant pudding is quicker, homemade pudding offers a more customized flavor. Just be sure it’s cooled and thickened before layering to prevent sogginess.
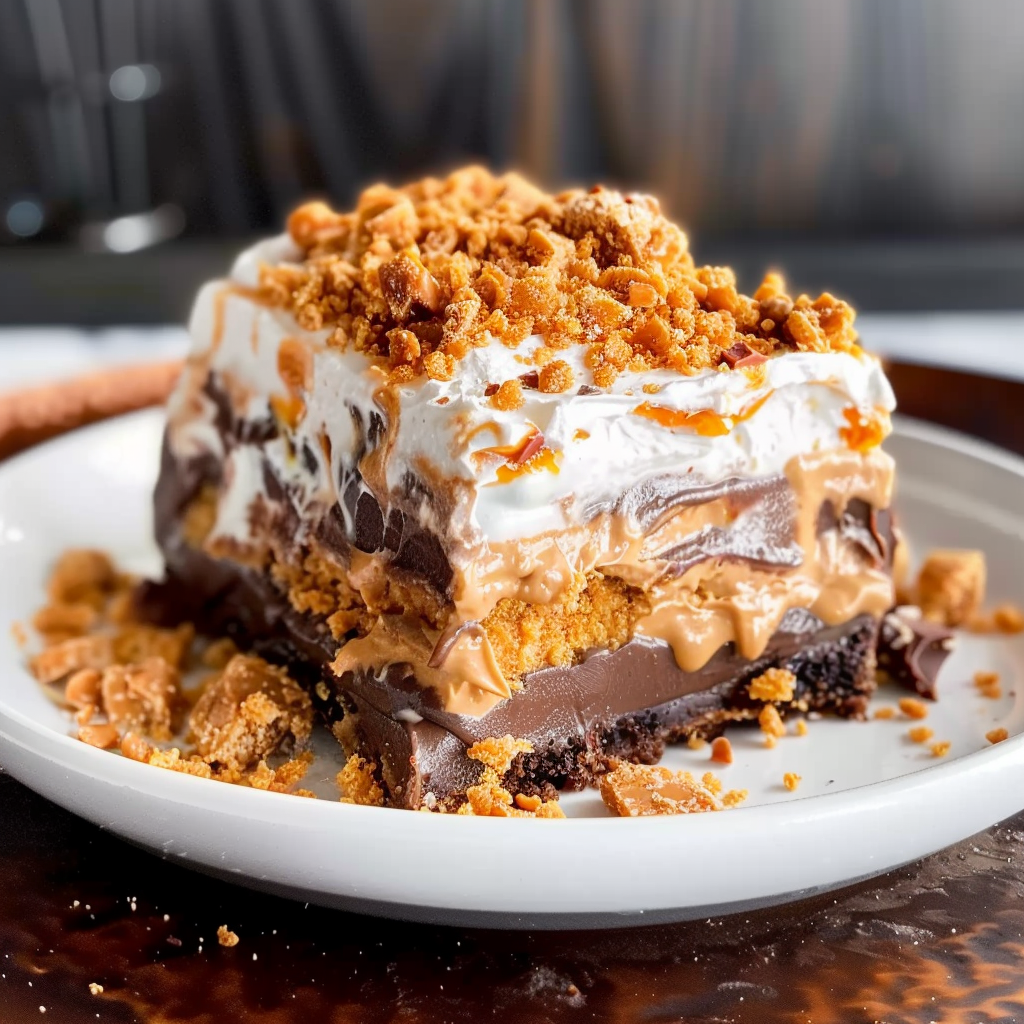
PrintButterfinger Lush The Ultimate Chocolate Peanut Butter Layered Dessert

This Butterfinger Lush Dessert is a no-bake, crowd-pleasing layered treat that combines a buttery graham cracker crust (or angel food cake base) with a tangy cream cheese layer, smooth vanilla pudding, fluffy whipped topping, and crunchy Butterfinger candy bits. It’s rich yet light, sweet yet balanced, and incredibly easy to assemble. Ideal for summer gatherings, holiday parties, or whenever you need a quick and stunning dessert, it’s guaranteed to become a favorite.
- Author: Clara
Ingredients
For the crust:
- 1 ½ cups graham cracker crumbs
- ½ cup unsalted butter, melted
- ¼ cup granulated sugar
For the cream cheese layer:
- 8 oz cream cheese, softened
- 1 cup powdered sugar
- 1 cup whipped topping (like Cool Whip)
For the pudding layer:
- 1 (3.4 oz) box instant vanilla pudding mix
- 1 ½ cups cold milk
For the topping:
- 1 ½ cups whipped topping (like Cool Whip)
- 1 cup crushed Butterfinger candy bars
Instructions
- In a medium bowl, mix graham cracker crumbs, melted butter, and sugar until well combined. Press into the bottom of a 9×13-inch baking dish to form a crust. Set aside.
- In another bowl, beat the softened cream cheese with powdered sugar until smooth. Fold in 1 cup of whipped topping. Spread the mixture evenly over the crust.
- In a separate bowl, whisk together the vanilla pudding mix and cold milk until thickened. Let sit for a couple of minutes, then spread over the cream cheese layer.
- Spread the remaining 1 ½ cups of whipped topping over the pudding layer.
- Sprinkle crushed Butterfinger candy evenly over the top.
- Refrigerate for at least 4 hours or until set. Slice and serve chilled.
Notes
-
Make sure cream cheese is at room temperature to avoid lumps.
-
Chill each layer briefly for cleaner spreading and sharper lines.
-
Add Butterfinger topping right before serving for maximum crunch.
-
Can be served in a trifle dish or as individual cups for personal portions.
-
Swap the crust or pudding for endless variations.