1.Buckeye Dessert Bars
Buckeye dessert bars are a delicious and nostalgic twist on a classic Midwest treat. Originating from the traditional Buckeye candy—a confection made to resemble the nut of the Ohio buckeye tree—these bars combine rich chocolate with creamy peanut butter for a bite that’s both indulgent and satisfying. Shaped into convenient, sliceable squares, these bars offer the same flavors as buckeye balls, but in a simpler and more party-friendly format.
Loved for their no-fuss preparation and crowd-pleasing flavor, these treats are ideal for holidays, potlucks, game day gatherings, or any event where a sweet tooth needs satisfying. Unlike traditional cookies or cupcakes, Buckeye dessert bars don’t require fancy decorating or precise baking, making them a favorite among home bakers.
Inspired by the iconic Ohio Buckeye and similar to the famous no bake chocolate treats found on Pinterest, these dessert bars have become a staple for those who crave the comforting combination of chocolate and peanut butter. They’ve gained popularity beyond the Midwest thanks to their versatility and nostalgic flavor. Curious about how to make your own? This guide will show you everything—from ingredients and technique to variations and expert tips. You’ll also find helpful links to explore related treats like peanut butter desserts and holiday dessert bars that complement your dessert table.
2. What Makes Buckeye Bars So Popular?
There’s a reason why Buckeye bars are a perennial favorite in American kitchens: they offer a perfect balance of sweet, salty, and rich flavors, all packed into one handheld square. But their appeal goes beyond taste. These bars are beloved for several compelling reasons:
-
Iconic Flavor Combination: The classic blend of chocolate and peanut butter is hard to beat. It’s familiar, comforting, and universally loved. For fans of Reese’s or peanut butter cups, these bars are a homemade dream come true.
-
No-Bake Convenience: Many variations of buckeye dessert bars don’t require baking, making them perfect for summer, busy schedules, or when your oven is already in use. The process is similar to other no bake chocolate treats found on Pinterest, and just as rewarding.
-
Make-Ahead Friendly: These bars store exceptionally well in the fridge or freezer, making them an ideal make-ahead dessert for parties or holiday events. Their flavor even improves after a day or two.
-
Customizable and Versatile: From topping them with white chocolate to adding crushed nuts or sea salt, there are countless ways to personalize these bars. You can even explore keto or gluten-free versions using sugar alternatives and nut flours.
-
Great for Gifting and Sharing: Because they’re easy to cut into clean, even portions, Buckeye bars are perfect for cookie swaps, bake sales, or dessert trays. Their neat appearance and rich taste make them a hit at any event.
If you’re a fan of indulgent peanut butter desserts, these bars are a must-try. They combine the nostalgic flavor of the traditional Buckeye candy with the practicality of a bar, offering the best of both worlds. For a similar texture and richness, you can also explore the role of ingredients like powdered sugar and vanilla extract, which add sweetness and depth.
3. Key Ingredients Breakdown
Creating the perfect Buckeye dessert bars starts with choosing the right ingredients. Each component plays a crucial role in achieving the signature smooth, rich, and perfectly sweet flavor. Here’s a detailed breakdown of what you’ll need and why it matters:
-
Creamy Peanut Butter: This is the star of the show. Choose a standard, shelf-stable creamy peanut butter like Jif or Skippy for best results. Natural peanut butters tend to separate and create an oily texture, making the bars harder to set. Learn more about the composition of peanut butter and why consistency is key for no-bake desserts.
-
Unsalted Butter: Softened butter helps bind the peanut butter mixture while adding richness. Using unsalted butter gives you more control over the flavor. If salted butter is all you have, reduce or eliminate any added salt.
-
Vanilla Extract: Just one teaspoon of vanilla extract enhances the depth of flavor, making the peanut butter layer taste warmer and more well-rounded. Explore more about its flavoring properties via vanilla extract.
-
Powdered Sugar: This not only sweetens the dough but also thickens it to a moldable, pliable consistency. Add it gradually and adjust as needed—usually 3 to 4 cups. The finer texture of powdered sugar ensures it blends easily into the peanut butter without graininess.
-
Semisweet Chocolate Chips: For that rich, signature top layer, semisweet chocolate is ideal. It balances the sweetness of the peanut butter layer while offering a bold cocoa finish. You can explore various types of chocolate in this chocolate guide.
-
Shortening or Coconut Oil (Optional): Mixing in 1–2 tablespoons of shortening or coconut oil when melting chocolate creates a smoother, glossier topping. It also prevents the chocolate from becoming too thick or cracking when sliced.
By understanding the role each ingredient plays, you’ll gain more control over the final outcome. For more ideas and visual inspiration, check out these buckeye dessert recipes on Pinterest or explore related peanut butter desserts for variations and serving styles.
4. Step-by-Step Recipe Instructions
Making Buckeye dessert bars is straightforward and rewarding. This section walks you through the entire process—from mixing the peanut butter base to melting the chocolate topping—so you can recreate this treat at home with confidence and ease.
1. Prepare the Peanut Butter Base
-
In a large mixing bowl, combine:
-
1 ½ cups creamy peanut butter
-
½ cup unsalted butter, softened
-
1 teaspoon vanilla extract
-
-
Beat the mixture with a hand mixer or stand mixer on medium speed until smooth and fully blended.
-
Gradually add 3 to 4 cups of powdered sugar, one cup at a time, mixing on low speed until a thick, dough-like consistency forms. You’ll know it’s ready when the mixture pulls away from the sides of the bowl and you can press it into a pan without it sticking excessively to your fingers.
-
Press the peanut butter mixture into a parchment-lined 9×13-inch baking dish. Use a spatula or the back of a spoon to smooth the top evenly.
2. Melt the Chocolate Topping
-
In a microwave-safe bowl, add:
-
2 cups semisweet chocolate chips
-
Optional: 2 tablespoons shortening or coconut oil for a glossy, smooth finish
-
-
Microwave in 20–30 second intervals, stirring after each session until the chocolate is fully melted and silky. Be careful not to overheat, as chocolate can seize or burn. You can also melt the chocolate using a double boiler method, described in this chocolate tempering guide.
-
Once melted, pour the chocolate over the peanut butter base and spread it into an even layer with an offset spatula.
3. Chill and Set
-
Place the pan in the refrigerator for at least 1 hour or until the chocolate has fully set.
-
For clean slices, run a sharp knife under hot water, dry it, and then cut into squares. This helps prevent cracking or jagged edges in the chocolate layer.
This recipe is highly adaptable, and for visual step-by-step inspiration, you can browse similar treats under no bake chocolate treats on Pinterest. The result is a layered dessert bar with a smooth, creamy peanut butter base and a rich chocolate topping—just like the classic Buckeye candy, but even easier to serve.
5. Baking vs No-Bake Buckeye Bars
While traditional Buckeye desserts are famously no-bake, turning them into bars opens the door to both no-bake and baked options. Each method has its strengths, depending on your preferred texture, prep time, and kitchen setup.
No-Bake Buckeye Bars
-
Quick and Easy: No oven required—ideal for hot weather or busy schedules. Simply press the peanut butter layer into a dish, top with melted chocolate, and refrigerate until set.
-
Soft and Creamy Texture: Because there’s no heat involved, the peanut butter layer remains soft, smooth, and creamy.
-
Minimal Ingredients: No eggs, flour, or baking powder needed—just simple pantry staples like peanut butter, powdered sugar, butter, and chocolate.
This classic no-bake style mirrors other popular peanut butter desserts and is widely shared across Pinterest and baking blogs for its simplicity and nostalgic flavor.
Baked Buckeye Bars
-
More Structure: Baking firms up the base, making it easier to transport or serve at room temperature.
-
Added Layers: Often includes a brownie or cookie crust beneath the peanut butter layer for extra depth and texture. This variation is similar to Buckeye brownies—a popular twist found in many holiday dessert bars.
-
Longer Prep Time: Requires additional ingredients and oven time, but delivers a firmer, more layered result.
Which Is Better?
-
If you want something fast, creamy, and classic—go no-bake.
-
If you’re aiming for a more decadent dessert with multiple textures or are serving to a crowd—consider the baked version.
Either method delivers the signature chocolate and peanut butter bite you’d expect from Buckeye bars. For more on how to create flawless textures, explore the role of ingredients like semisweet chocolate and their behavior in baked vs no-bake settings.
6. Recipe Variations to Try
One of the best things about Buckeye dessert bars is how adaptable they are. Whether you’re catering to dietary needs, looking to elevate the flavor, or just want to try something new, these creative variations can take your dessert game to the next level.
Buckeye Brownie Bars
-
Add a rich, fudgy brownie base under the peanut butter layer.
-
Prepare your favorite boxed or homemade brownie mix, bake it in a 9×13 pan, and let it cool.
-
Spread the peanut butter filling over the brownies, then top with melted chocolate.
-
The result is a layered, decadent twist that combines chewy and creamy textures—similar to ideas found on Pinterest’s buckeye dessert recipes.
Buckeye Cheesecake Bars
-
Incorporate a peanut butter cheesecake layer by blending cream cheese into the base.
-
Use 8 oz. of cream cheese, 1 cup of peanut butter, and 1 cup of powdered sugar for a rich, tangy upgrade.
-
Top with chocolate as usual and chill until set.
Vegan Buckeye Bars
-
Use dairy-free butter, coconut oil, and vegan chocolate chips.
-
Opt for a natural peanut butter without honey, and ensure the powdered sugar is organic and bone-char-free.
-
Great for plant-based diets and those avoiding animal products.
Keto or Low-Carb Buckeye Bars
-
Replace powdered sugar with erythritol or monk fruit sweetener.
-
Use almond flour in place of any added starch or crust layer.
-
Choose sugar-free chocolate chips or melt dark chocolate with a touch of coconut oil.
White Chocolate Buckeye Bars
-
Swap semisweet chocolate for white chocolate chips for a sweeter, lighter flavor.
-
This variation adds visual contrast and is perfect for spring or holiday-themed desserts.
These variations showcase how flexible the recipe can be. From indulgent to healthy, there’s a Buckeye bar for everyone. For ingredient ideas or visual inspiration, browse peanut butter desserts or dive into the science of sweeteners and textures through references like powdered sugar.
7. Serving Suggestions
Buckeye dessert bars aren’t just delicious—they’re also versatile when it comes to presentation. Whether you’re hosting a party or preparing holiday trays, the way you serve them can make a lasting impression.
-
Holiday Dessert Platters: Add these bars to a festive assortment of cookies and candies. Their rich color and smooth chocolate topping stand out beautifully on any tray. They’re a perfect complement to other holiday dessert bars.
-
Game Day Snacks: These bars are an instant crowd favorite. Cut them into smaller squares for bite-sized energy boosts that are easy to grab between plays.
-
Birthday Parties and Potlucks: Since they don’t require refrigeration during short events, these bars are ideal for gatherings. Their balanced sweetness makes them appealing to both kids and adults.
-
Garnishing Ideas:
-
Sprinkle crushed peanuts or sea salt on top before the chocolate sets.
-
Drizzle melted white chocolate or peanut butter for extra flair.
-
Use cookie cutters for themed shapes once chilled.
-
For clean slices, warm your knife under hot water and wipe it dry between cuts. This tip works especially well with firm chocolate toppings, as explored in chocolate tempering.
8. Make-Ahead and Storage Tips
Proper storage ensures that your Buckeye bars retain their texture and flavor. These bars are ideal for advance preparation, making them perfect for holidays, events, and meal planning.
-
Refrigeration: Store the bars in an airtight container in the fridge for up to 7–10 days. Place parchment paper between layers to prevent sticking.
-
Freezing: These bars freeze beautifully. Wrap individual squares in plastic wrap, then store them in a freezer-safe container or bag for up to 2 months. Thaw in the fridge overnight before serving.
-
Avoid Chocolate Bloom: To prevent the chocolate from becoming dull or streaky (a common issue known as bloom), cool the bars gradually and avoid frequent temperature changes.
-
Container Tips:
-
Use a flat, sealed container to avoid crushing.
-
Avoid storing with strong-smelling foods, as the bars can absorb odors.
-
For more insights on why certain sugars and oils affect shelf life, explore ingredient behavior via vanilla extract and powdered sugar. For serving inspiration, scroll through ideas on Pinterest.
9. Common Mistakes to Avoid
Even though Buckeye dessert bars are relatively simple, a few common mistakes can impact the final result. Here’s what to watch out for:
-
Using Natural Peanut Butter: While it may seem like a healthier option, natural peanut butter tends to separate, leading to an oily or unstable base. Stick with creamy, processed versions for best consistency.
-
Overmixing the Dough: Once the powdered sugar is fully incorporated, avoid over-stirring. Overworking the mixture can cause it to become too stiff or greasy.
-
Incorrect Chocolate Melting: Chocolate is sensitive to heat. Always melt it in intervals (microwave or double boiler) and stir between each session. Refer to chocolate tempering techniques for best results.
-
Uneven Spreading: Press the peanut butter layer into the pan evenly, especially in the corners. Use a flat spatula or press down with parchment to ensure uniform thickness.
-
Skipping the Chill Time: Don’t rush the setting process. Refrigeration is essential for achieving clean slices and a firm texture.
-
Wrong Storage Method: Storing bars uncovered can lead to a dry surface or chocolate discoloration. Always use airtight containers.
Reviewing these common errors helps ensure a smooth baking (or no-baking) experience, especially when preparing no bake chocolate treats or assembling a variety of peanut butter desserts.
10. Nutrition Info and Dietary Considerations
While Buckeye bars are an indulgent treat, understanding their nutritional makeup can help with portion control and dietary planning. Here’s what you need to know:
-
Typical Serving Size: 1 bar (approximately 2×2 inches)
-
Estimated Nutrition per Serving:
-
Calories: 280–320
-
Fat: 20g
-
Sugar: 22g
-
Carbohydrates: 26g
-
Protein: 5g
-
-
Gluten-Free: The base recipe is naturally gluten-free, but double-check your chocolate chips and powdered sugar for hidden additives.
-
Nut-Free Alternative: Swap peanut butter with sunflower seed butter or soy nut butter for a similar texture and taste.
-
Dairy-Free Option: Use plant-based butter and vegan chocolate chips for a dairy-free version. Be sure to avoid ingredients that contain milk solids.
-
Low-Carb/Keto Variation: Substitute powdered erythritol for powdered sugar and use sugar-free chocolate. Consider adding a base layer of almond flour and coconut oil for texture.
These figures are approximate, and values may vary based on brand and portion size. For more nutritional clarity, reference items like peanut butter and their macronutrient content.
11. FAQs
What is the difference between buckeye balls and buckeye bars?
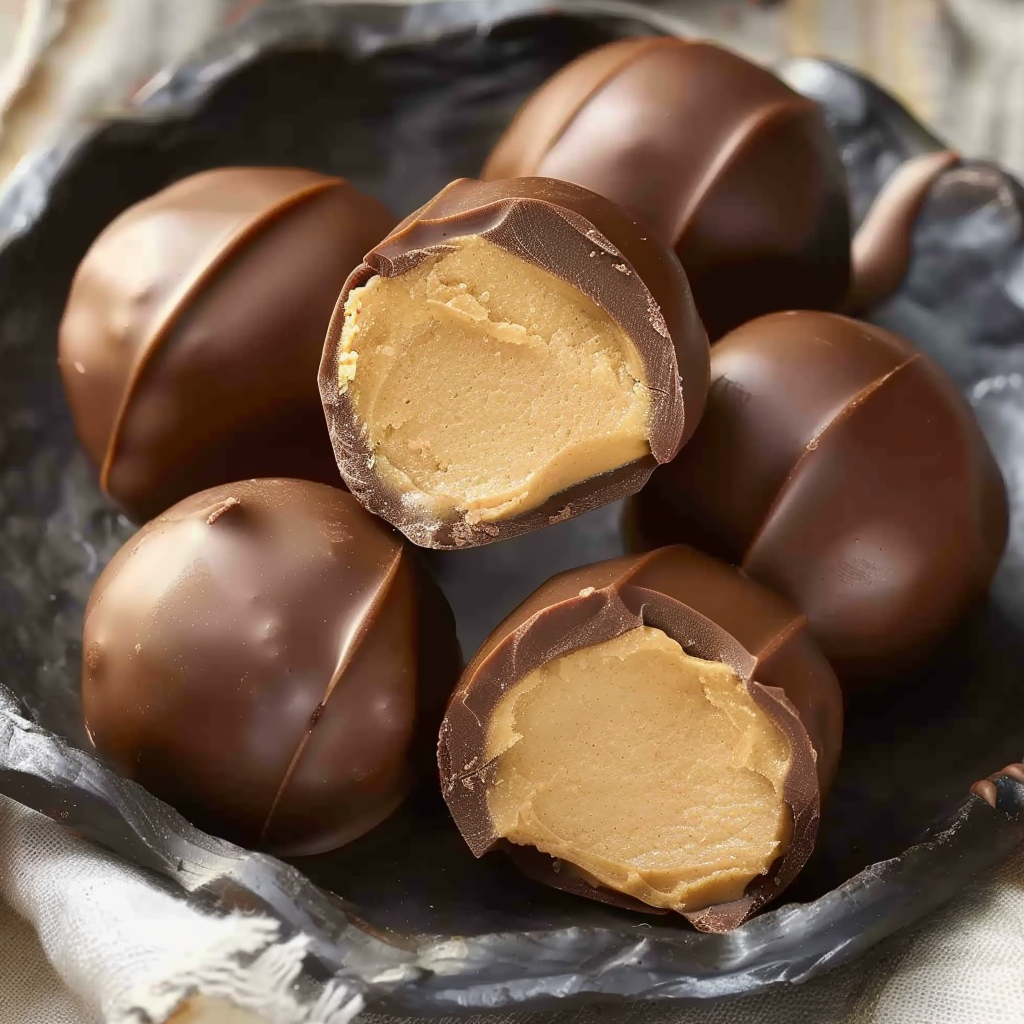
Buckeye balls are individually rolled and dipped peanut butter candies resembling the Ohio buckeye nut, while buckeye bars are the same ingredients pressed into a pan and cut into squares—easier for making in bulk or serving crowds.
Can I freeze Buckeye dessert bars?
Yes, they freeze exceptionally well. Wrap each bar in plastic wrap and store in a sealed container. When ready to serve, thaw in the fridge for several hours or overnight.
Why is it called a buckeye dessert?
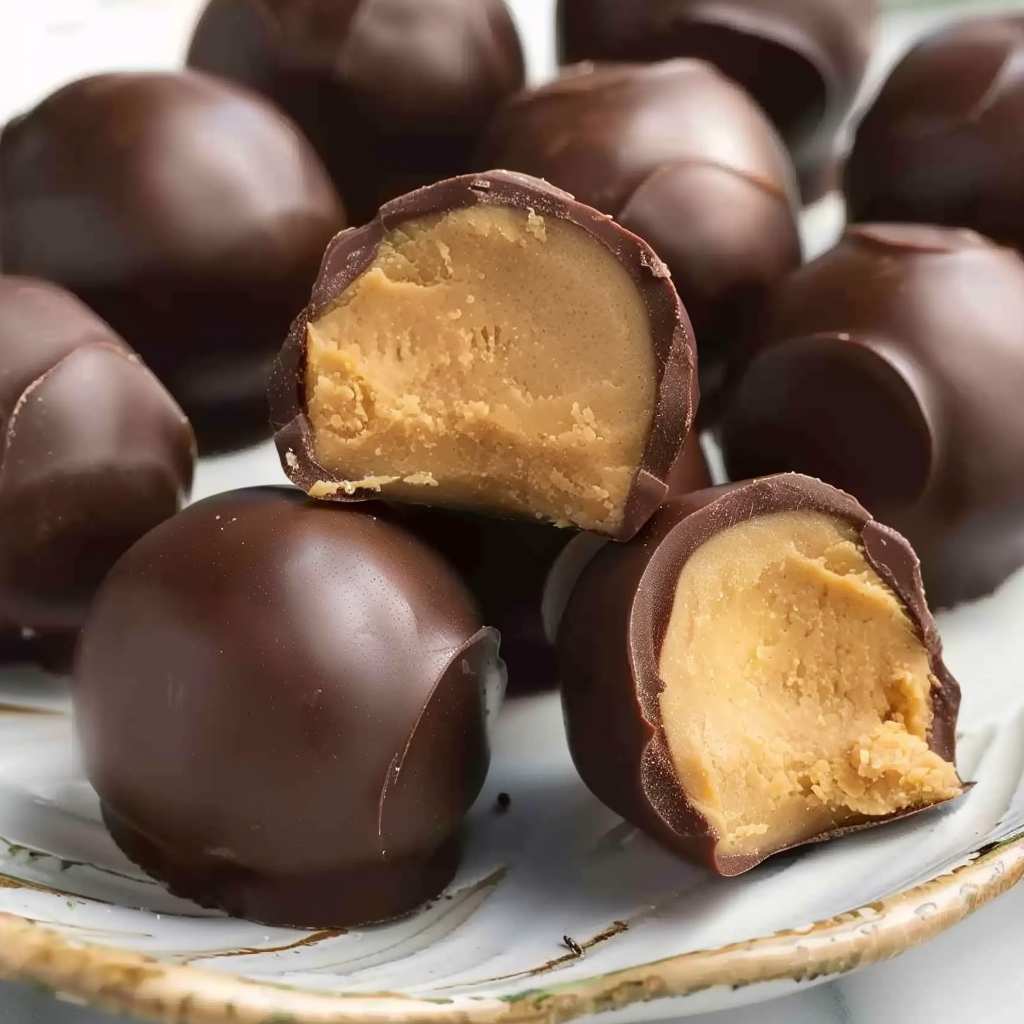
The name comes from the visual resemblance to the nut of the Ohio Buckeye tree. Traditional buckeye candies have a chocolate-coated exterior with a visible circle of peanut butter in the center, mimicking the look of the real nut. Learn more about the tree here.
Can I make buckeye bars without powdered sugar?
Powdered sugar is essential for structure and sweetness. Without it, the peanut butter mixture won’t firm up properly. For low-sugar versions, use powdered erythritol or monk fruit sweetener.
What chocolate works best for Buckeye bars?
Semisweet chocolate is ideal—it balances sweetness and richness. You can experiment with dark or white chocolate, but make sure it melts well and complements the peanut butter flavor. Find more on types of chocolate here.
Do buckeye bars need to be refrigerated?
Yes, for best texture and shelf life. The chocolate and peanut butter layers can soften at room temperature. Store in an airtight container in the fridge for up to a week.
Buckeye Dessert Bars Rich Chocolate Peanut Butter Treat

These Buckeye Dessert Bars are a decadent spin on the classic Buckeye candy, layering creamy peanut butter, sweet powdered sugar, and rich melted chocolate into a simple, sliceable treat. Whether you choose the no-bake or baked version, these bars are easy to make, visually impressive, and irresistibly delicious. Ideal for holidays, parties, or make-ahead treats, they deliver the nostalgic flavor of peanut butter cups in an upgraded, crowd-friendly form.
- Author: Clara
Ingredients
- 1 ½ cups creamy peanut butter
- ½ cup unsalted butter, softened
- 1 teaspoon vanilla extract
- 3–4 cups powdered sugar (as needed for dough consistency)
- 2 cups semisweet chocolate chips
- 2 tablespoons shortening or coconut oil (optional, for smoother chocolate)
Instructions
In a large bowl, mix together the creamy peanut butter, softened butter, and vanilla extract until smooth.
Gradually add the powdered sugar, one cup at a time, mixing until a thick, moldable dough forms. You may need slightly more or less powdered sugar depending on consistency.
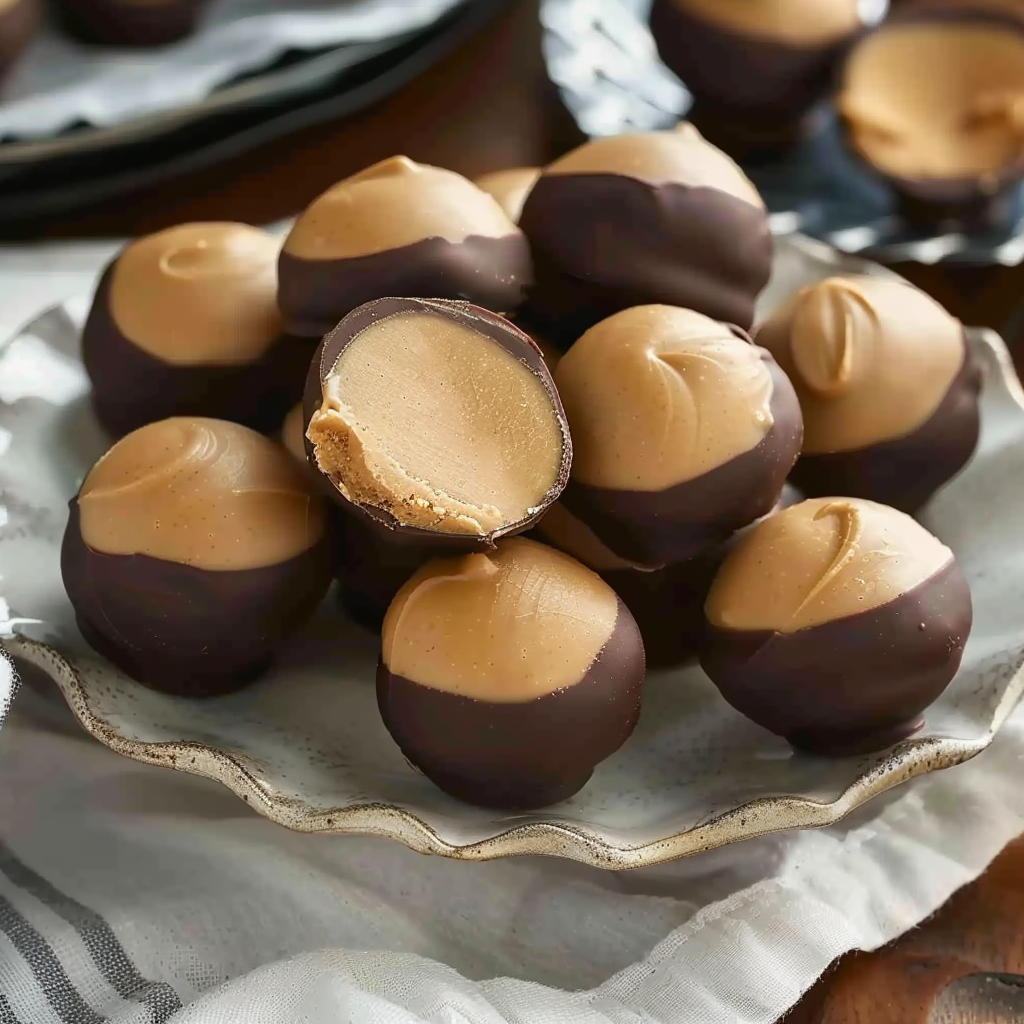
Roll the mixture into small balls, about 1 inch in diameter, and place them on a baking sheet lined with parchment paper.
Refrigerate the peanut butter balls for at least 30 minutes, or until firm.
In a microwave-safe bowl, melt the chocolate chips with shortening or coconut oil (if using), stirring every 20–30 seconds until smooth.
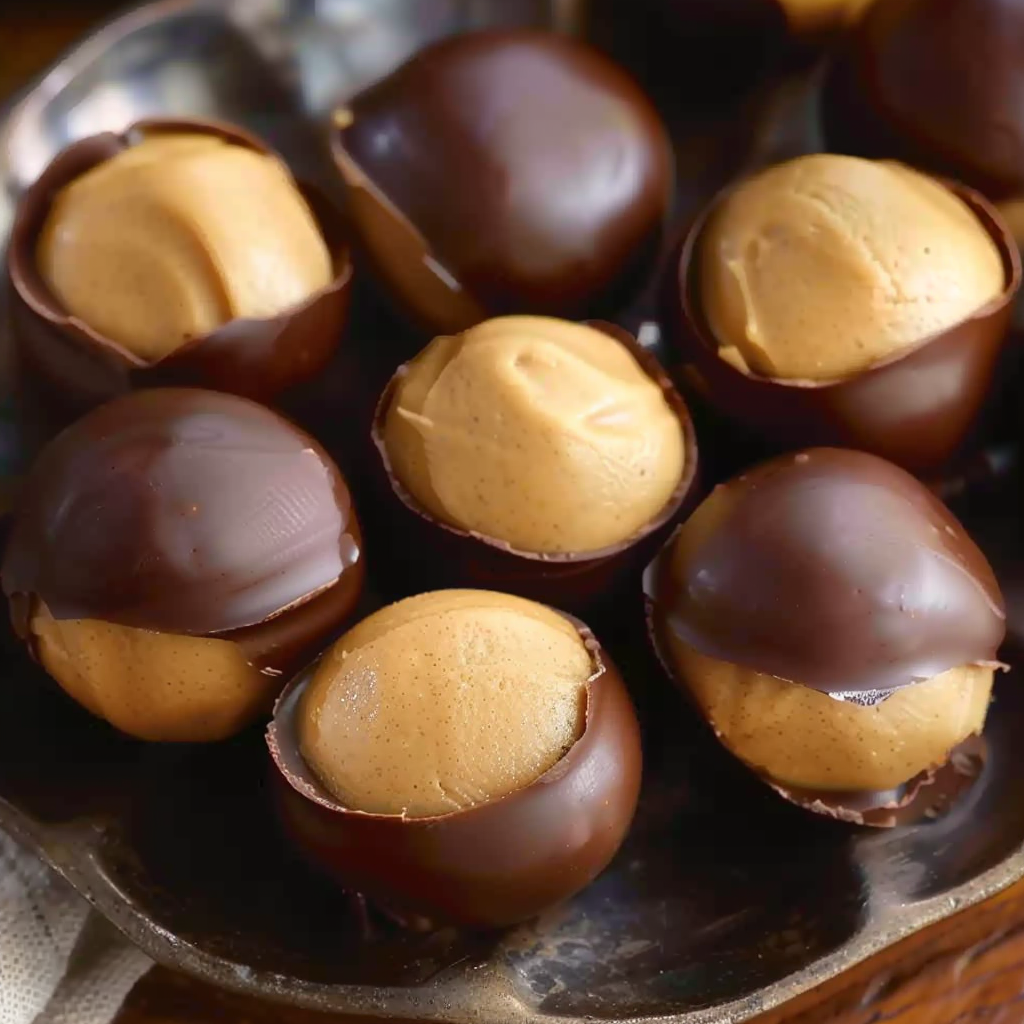
Using a toothpick, dip each chilled peanut butter ball into the melted chocolate, leaving a small circle of peanut butter visible on top to resemble a buckeye.
Place the dipped balls back on the parchment-lined sheet. Smooth over the toothpick hole if desired.
Refrigerate until the chocolate is set, about 1 hour. Store in an airtight container in the fridge.
Notes
-
Consistency Tip: If your peanut butter mixture is too sticky, add more powdered sugar in small increments until it firms up.
-
Chocolate Finish: Add a teaspoon of coconut oil to your chocolate to make it easier to slice and give it a glossy sheen.
-
Flavor Variations: Enhance the flavor by adding a pinch of sea salt or mixing in crushed graham crackers for texture.
-
Serving Tip: For clean cuts, chill the bars thoroughly and use a sharp knife warmed under hot water.
-
Storage Tip: These bars stay freshest when stored in the fridge but can also be frozen up to two months.