Experiencing hibachi cooking at home brings the excitement of interactive dining right into your own kitchen. Watching ingredients sizzle on a flat-top grill delivers restaurant-quality flavors and theatrical flair that elevate any gathering into a memorable event.
Unlike typical stir-fries, hibachi dishes cook at very high heat on a flat grill, creating a unique sear and smoky aroma. Discover essential tools in our Hibachi Tools Guide, dive into the art of Teppanyaki grilling, or master classic marinade techniques to infuse deeper flavor.
In this guide, you’ll learn how to craft authentic hibachi fried rice using day-old grains celebrated among Fried rice varieties and seasoned with umami-rich butter and soy sauce history. Check inspiring boards like Hibachi Rice Ideas or Hibachi Chicken Marinades, then explore presentation tips via Hibachi Presentation.
The Origins and History of Hibachi
The roots of hibachi trace back to portable open grills used in Japan’s Edo period for cooking yakitori skewers and street-food delights. Early travelers adapted these simple devices to prepare vegetables, seafood and meats over charcoal. Over centuries, hibachi evolved beyond outdoor stalls into specialized indoor settings, blending performance with flavor. By the mid-20th century, chefs refined the approach, giving rise to what we now recognize as teppanyaki dining.
Chefs in post-war Japan began combining hibachi grills with theatrical table-side service, popularizing techniques globally. Explore the comprehensive history of hibachi in our Hibachi History Archive, or dive deeper into the mechanics of portable grills on Wikipedia. These innovations emphasized precise temperature control, skillful flipping, and dramatic knife work, captivating guests worldwide.
Several cultural and culinary influences shaped modern hibachi experiences:
- Shichirin grills: Compact charcoal stoves enabling high-heat searing
- Western dining trends: Adoption of table-side entertainment in mid-century restaurants
- Regional ingredients: Local seafood, Wagyu beef and seasonal vegetables
By synthesizing these elements, hibachi emerged as a symbol of interactive dining, combining spectacle with savory satisfaction. Curate your setup with inspiration from Teppanyaki Home Cooking and master traditional marinade techniques for an authentic taste.
Key Ingredients for Hibachi Fried Rice and Chicken
Selecting the right ingredients ensures that your hibachi fried rice and chicken achieve restaurant-quality taste. Key components like day-old rice and high-heat oils set the foundation for that signature sear and texture.
- Rice: Chilled, day-old white rice for perfect grain separation
- Protein: Boneless chicken thighs or breasts, cut into equal pieces
- Vegetables: Yellow onion, carrots, garlic, and green onion slices
- Fats: Unsalted butter and neutral oil for searing and flavor
- Seasonings: Soy sauce, salt, and freshly ground pepper
Each component plays a vital role: the chilled rice provides a chewy texture that resists becoming soggy, while the butter and oil promote the caramelized edges characteristic of Japanese teppanyaki dishes. Enhance flavor by exploring multiple marinade techniques and understanding the science of umami from resources like Soy Sauce History. For visual inspiration on presentation and ingredient prep, browse boards such as Hibachi Rice Ideas, ensuring you replicate authentic crispness, color, vibrant aroma, and full flavor.
Essential Tools and Equipment for Hibachi at Home
Creating a true hibachi experience at home requires the right tools and precise setup. Equipping your kitchen with the proper equipment ensures you can sear ingredients at high heat and achieve that signature char.
Equip flat-bottomed wok or heavy skillet for even heat. Use metal spatulas for tossing. Portable induction burners transform any countertop into a teppanyaki station—see our Hibachi Tools Guide and Teppanyaki Home Cooking.
Small bowls or ramekins for mise en place keep ingredients organized. High-heat oils like vegetable or grapeseed oil prevent smoke. Explore Marinade Techniques and Rice Variation Ideas to refine deeper flavor.
Preparing the Chicken: Marinade and Prep
Marinating chicken is essential for deep, savory flavor and tender texture. Begin by slicing boneless thighs or breasts into even pieces to ensure consistent cooking. Pat the pieces dry before marinating to help the seasonings adhere.
In a bowl, whisk together:
- Soy sauce
- Mirin or sake
- Minced garlic and grated ginger
- A splash of sesame oil
For detailed guidance, explore our /marinade-techniques tutorial or review traditional methods on Marinade techniques to understand the science behind flavor infusion.
Transfer the chicken to a resealable bag or shallow dish and pour the marinade over. Seal and refrigerate for at least 30 minutes or up to 4 hours. Inspiration for creative ideas can be found on Pinterest’s Hibachi Chicken Marinades, where you’ll discover variations with citrus, honey, or chili pastes.
Prepping the Rice: Techniques for Perfect Texture
Using day-old rice is crucial to avoid sogginess. Cook white rice one day in advance, then chill uncovered in the fridge to dry out the grains. This yields that desirable chew and separation during stir-frying.
Before cooking:
- Break up any clumps with a fork
- Let chilled rice sit at room temperature for 10 minutes
- Keep grains loose for even heat exposure
Our /hibachi-history deep dive explains why Japanese chefs favor aged grains. You can also compare methods on Japanese fried rice variations to see how different rice types influence texture and flavor.
Cooking Authentic Hibachi Chicken Step-by-Step
Heat a flat-bottomed skillet or wok over high heat until smoking. Add vegetable oil, then place marinated chicken pieces in a single layer. Sear without moving for 2 minutes to develop a rich crust.
Next:
- Flip each piece and sear the other side for 1–2 minutes
- Push chicken to the pan’s edge, add a knob of butter to melt
- Toss chicken with melted butter and white parts of green onion
- For extra depth, revisit Teppanyaki grilling techniques or check our /hibachi-tools page for recommended cookware.
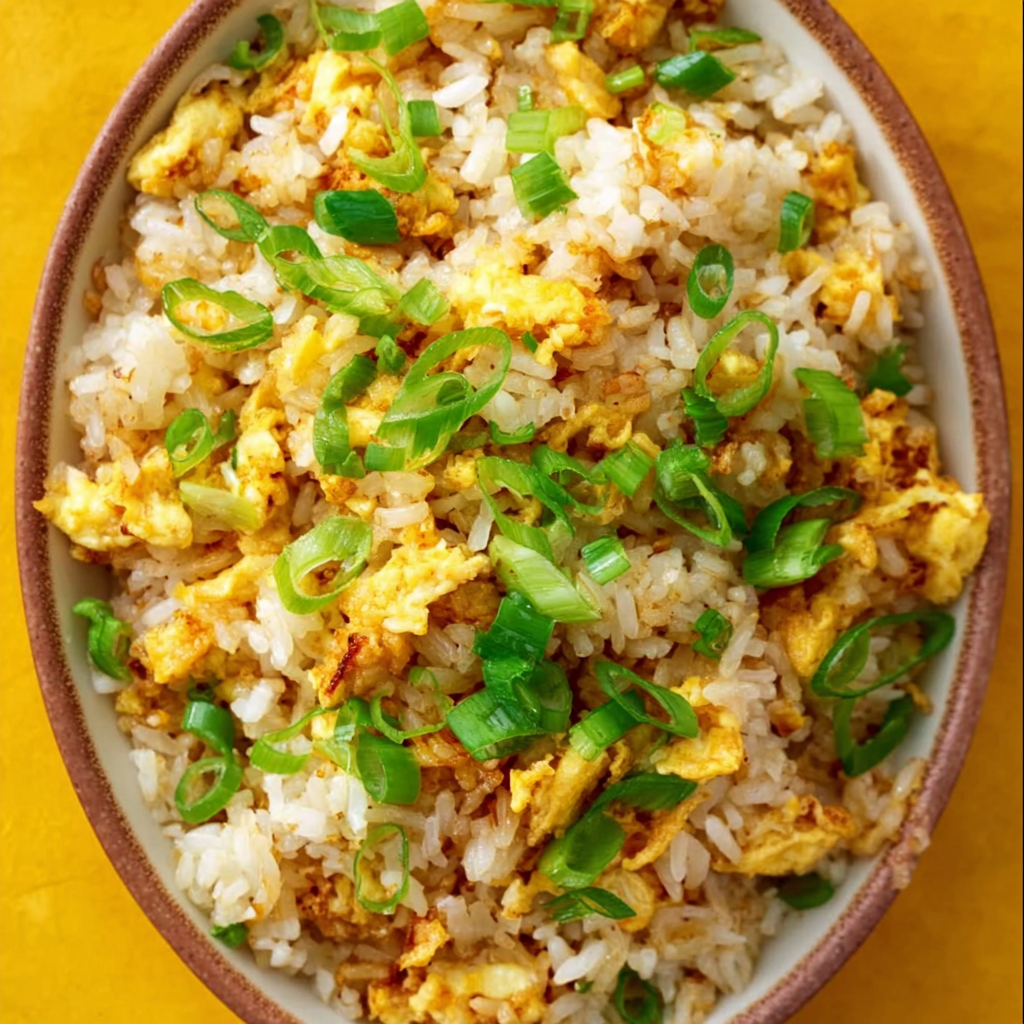
Making Authentic Hibachi Fried Rice: Step-by-Step
Once the chicken rests, clear the pan and add butter plus oil. Sauté diced onion and carrot until translucent, then stir in minced garlic for 30 seconds. Push veggies aside, pour in beaten eggs, and scramble gently.
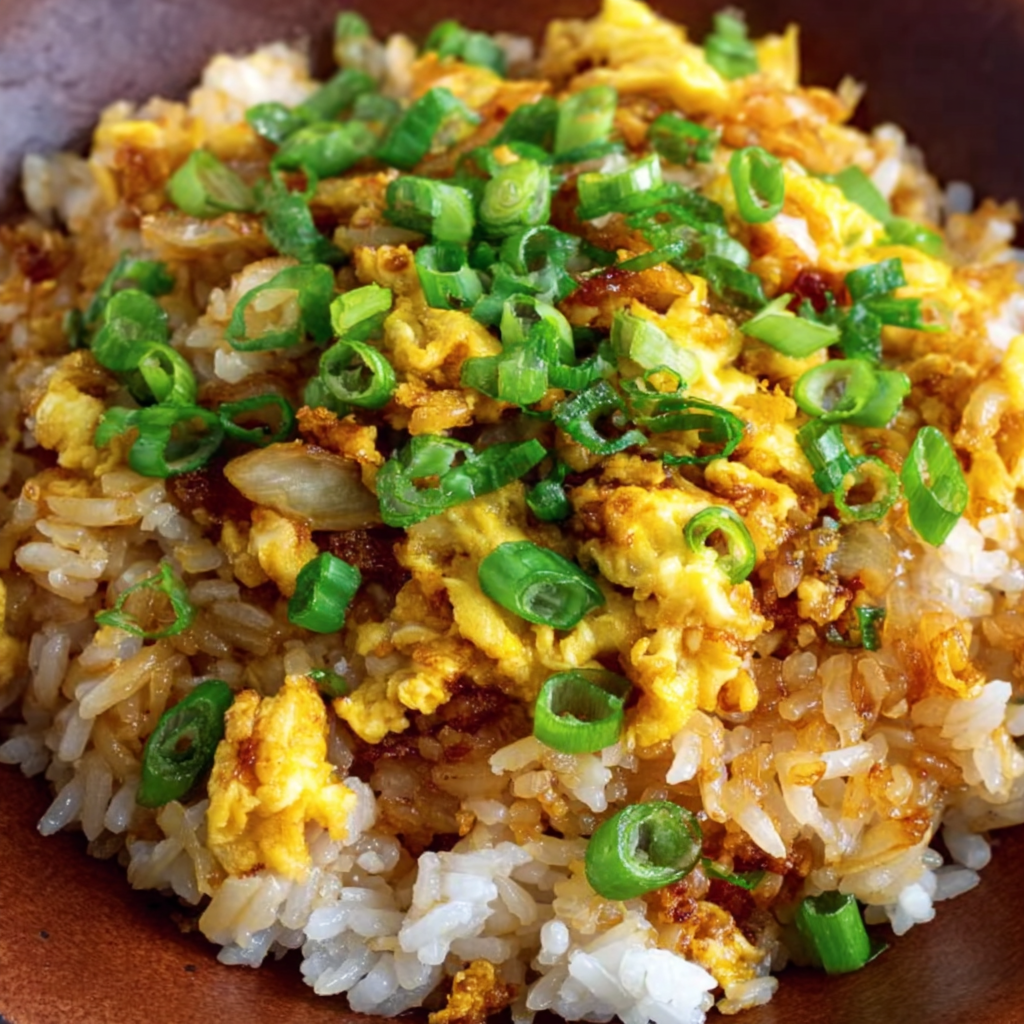
After eggs set:
- Add chilled rice and break up clumps with a spatula
- Drizzle soy sauce evenly, stirring for 2–3 minutes
- Season with salt, pepper, and fold in green onion tops
To see vibrant variations, explore Hibachi Rice Ideas or read about the evolution of Fried rice varieties for global twists.
Combining Chicken and Fried Rice: Timing and Synchronization
Coordinating both pans ensures piping-hot service. Keep cooked chicken covered while finishing rice, then gently fold chicken back into the fried rice or plate side by side. This preserves juiciness and delivers balanced portions.
Plan your workflow:
- Marinate and prep rice simultaneously
- Use one burner for chicken, one for rice if possible
- Rest chicken under foil to maintain warmth
Plating, Presentation, and Serving Tips
Present your hibachi feast on a large platter, arranging chicken and fried rice side by side. Garnish with sliced green onions and serve with lemon wedges or dipping sauces on the side.
To recreate authentic aesthetics, reference Japanese hibachi table setting or stylize your spread following our /hibachi-tools recommendations.
Common Mistakes and How to Avoid Them
- Soggy rice: Avoid overcrowding the pan; stir-fry in batches if needed.
- Dry chicken: Don’t overcook—aim for 165 °F internal temperature.
- Uneven seasoning: Taste and adjust soy sauce, salt, and butter levels as you cook.
Variations and Customizations
- Surf & turf: Swap chicken for shrimp or steak.
- Vegetarian: Replace protein with tofu or extra vegetables.
- Spicy kick: Add chili oil, sriracha, or red pepper flakes.
FAQs about Hibachi Fried Rice and Chicken
1. Why does hibachi rice taste different from regular fried rice?
Hibachi rice uses chilled, day-old grains and high-heat searing with butter, creating a unique smoky flavor and firm texture.
2. Can I use brown rice or cauliflower rice?
Yes, but adjust cooking time and moisture. Brown rice needs longer stir-fry to soften; cauliflower rice should be dried thoroughly to avoid steam.
3. How do I keep my chicken juicy and tender?
Marinate for at least 30 minutes, cook over high heat, and rest under foil for 5 minutes before slicing.
4. What’s the best way to reheat leftover hibachi rice?
Use a hot pan with a little oil, stirring quickly to re-crisp grains. Avoid microwaving, which makes rice soggy.
5. Which oils and fats work best for hibachi cooking?
Neutral oils like vegetable or grapeseed prevent burning, while unsalted butter adds richness and helps develop fond.
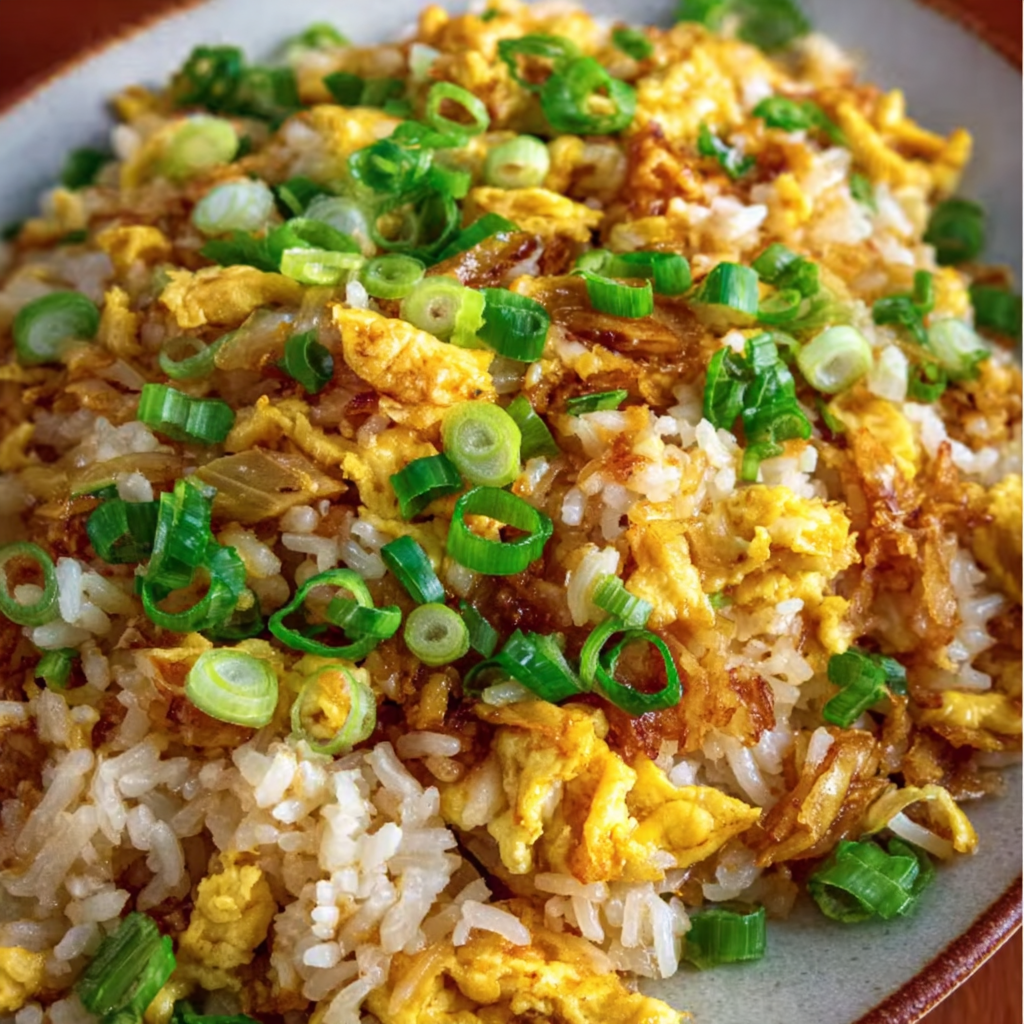
Authentic Hibachi Fried Rice and Chicken

This recipe guides you through creating authentic hibachi fried rice and chicken at home, replicating the flavors and flair of table-side teppanyaki. Using chilled, day-old rice, a savory soy-based marinade, and high-heat cooking techniques, you’ll achieve restaurant-quality sear and aroma. Perfect for entertaining or elevating weeknight dinners, this dish combines simplicity with theatrical appeal.
Ingredients
- 2 cups cooked white rice, chilled
- 2 tablespoons unsalted butter
- 1 tablespoon vegetable oil
- ½ cup yellow onion, finely diced
- ¼ cup carrot, finely diced
- 2 cloves garlic, minced
- 2 large eggs, lightly beaten
- 2 green onions, sliced (white and green parts separated)
- 2 tablespoons soy sauce
- Salt and freshly ground black pepper, to taste
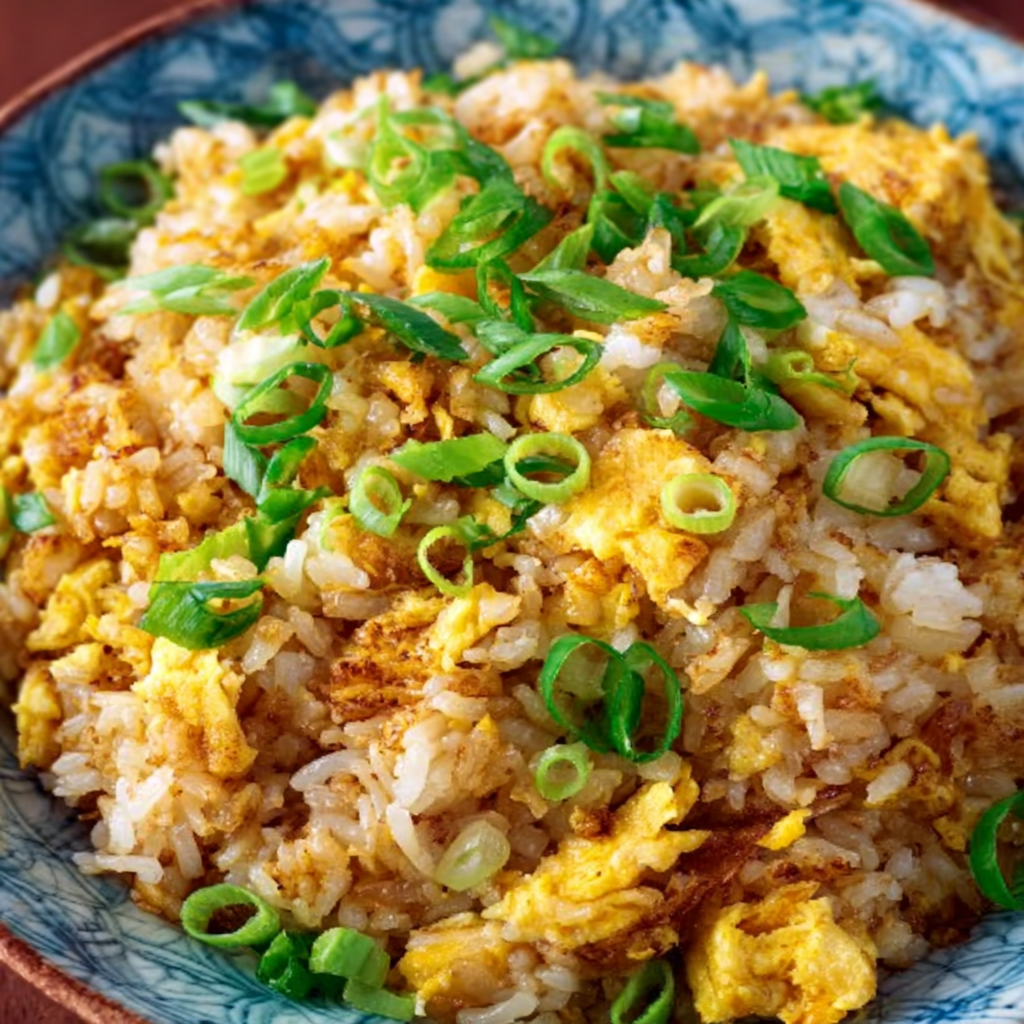
Instructions
Heat the vegetable oil in a large skillet or wok over medium-high heat until shimmering. Add the white parts of the sliced green onions, diced onion, and carrot; sauté until the onion becomes translucent and the carrot begins to soften. Stir in the minced garlic and cook for 30 seconds more, until fragrant. Push the vegetables to one side of the pan, add the butter to the empty space, then pour in the beaten eggs. Scramble the eggs gently until just set, folding them into the vegetables. Add the chilled rice, breaking up any clumps with a spatula, and toss to combine everything evenly. Drizzle the soy sauce over the rice and continue to stir-fry for 2–3 minutes, ensuring each grain is coated. Season with salt and pepper to taste, then stir in the green parts of the sliced green onions just before removing the pan from heat. Transfer to a serving platter and serve immediately.
Notes
- Prep Ahead: Marinate chicken and chill rice up to 4 hours before cooking.
- Equipment: A flat-bottomed wok or heavy skillet is essential for even searing.
- Serving: Serve immediately to enjoy optimal texture—fried rice can become clumpy if left standing.
- Customization: Experiment with proteins (shrimp, steak, tofu) and veggies to suit dietary preferences.
- Storage: Store leftovers in an airtight container for up to 2 days; reheat in a hot pan with oil to restore texture.