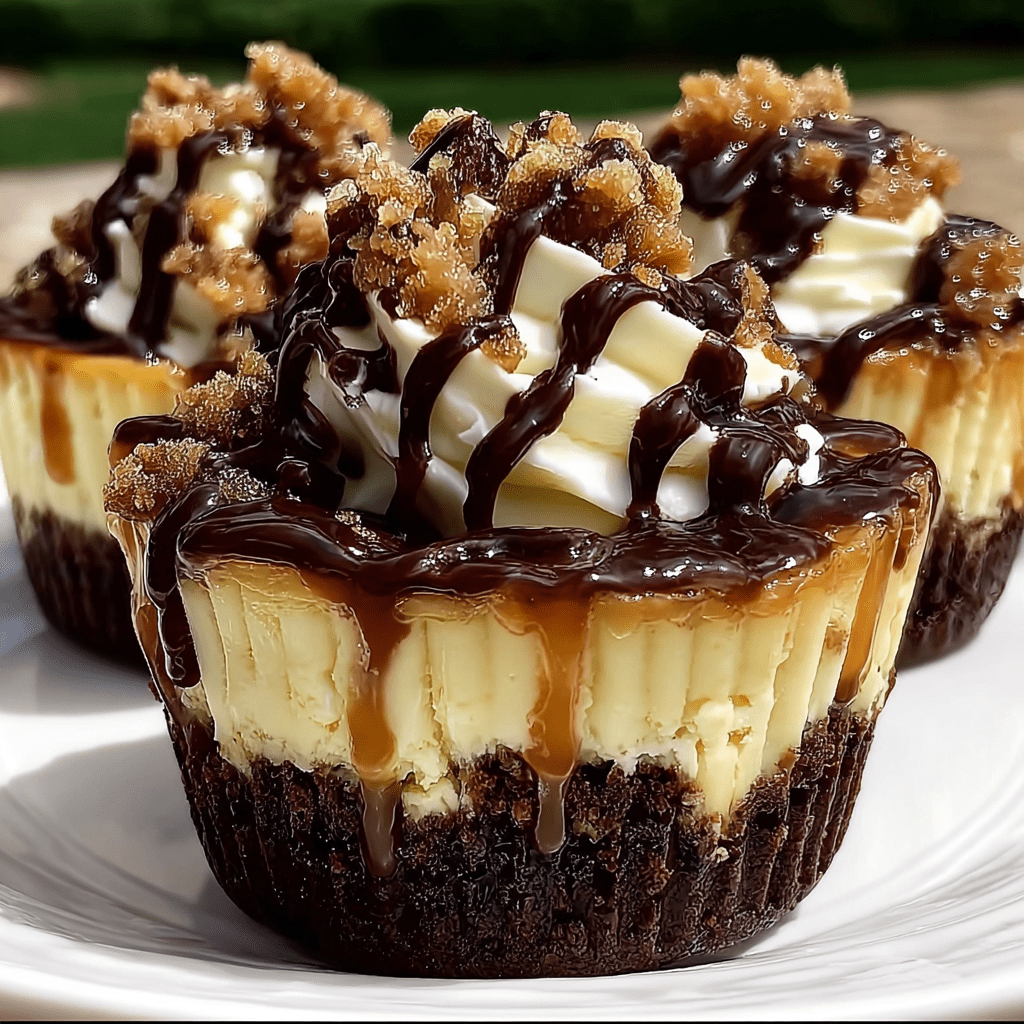
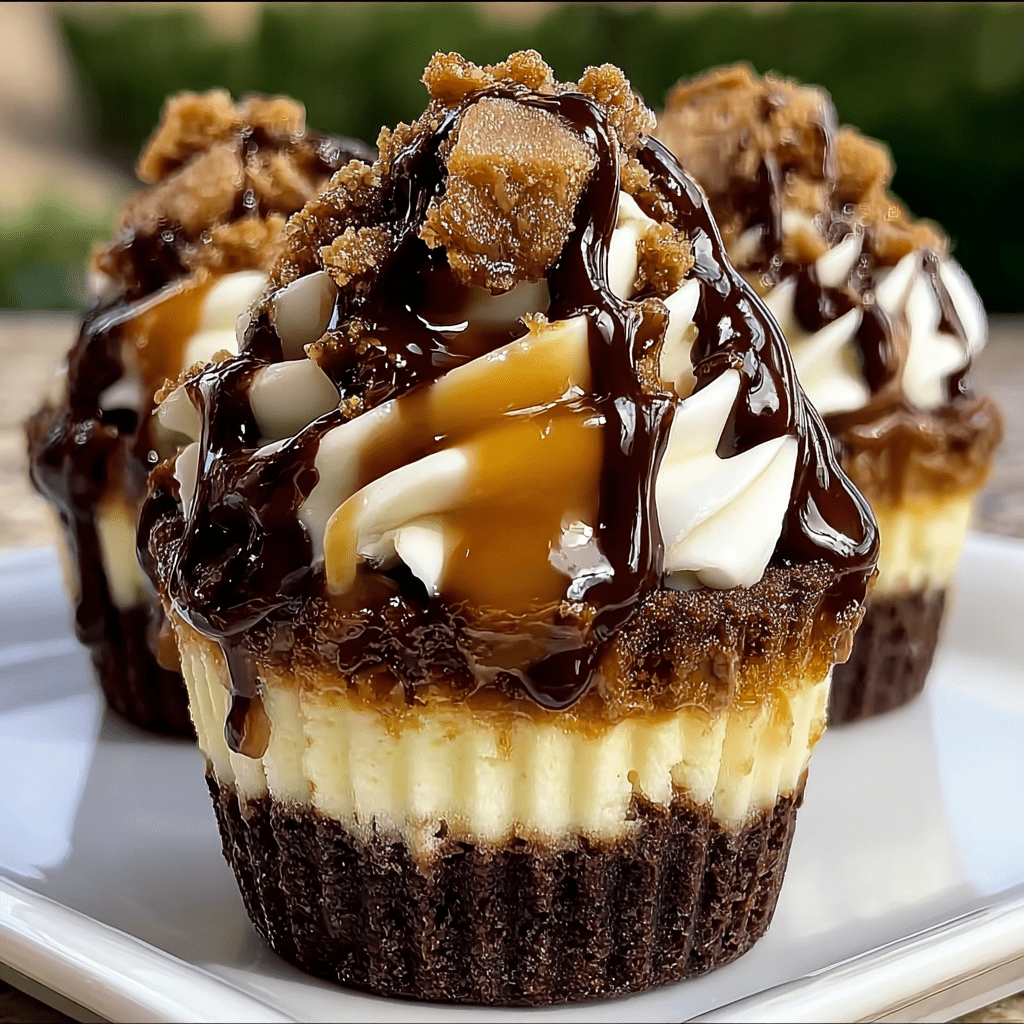
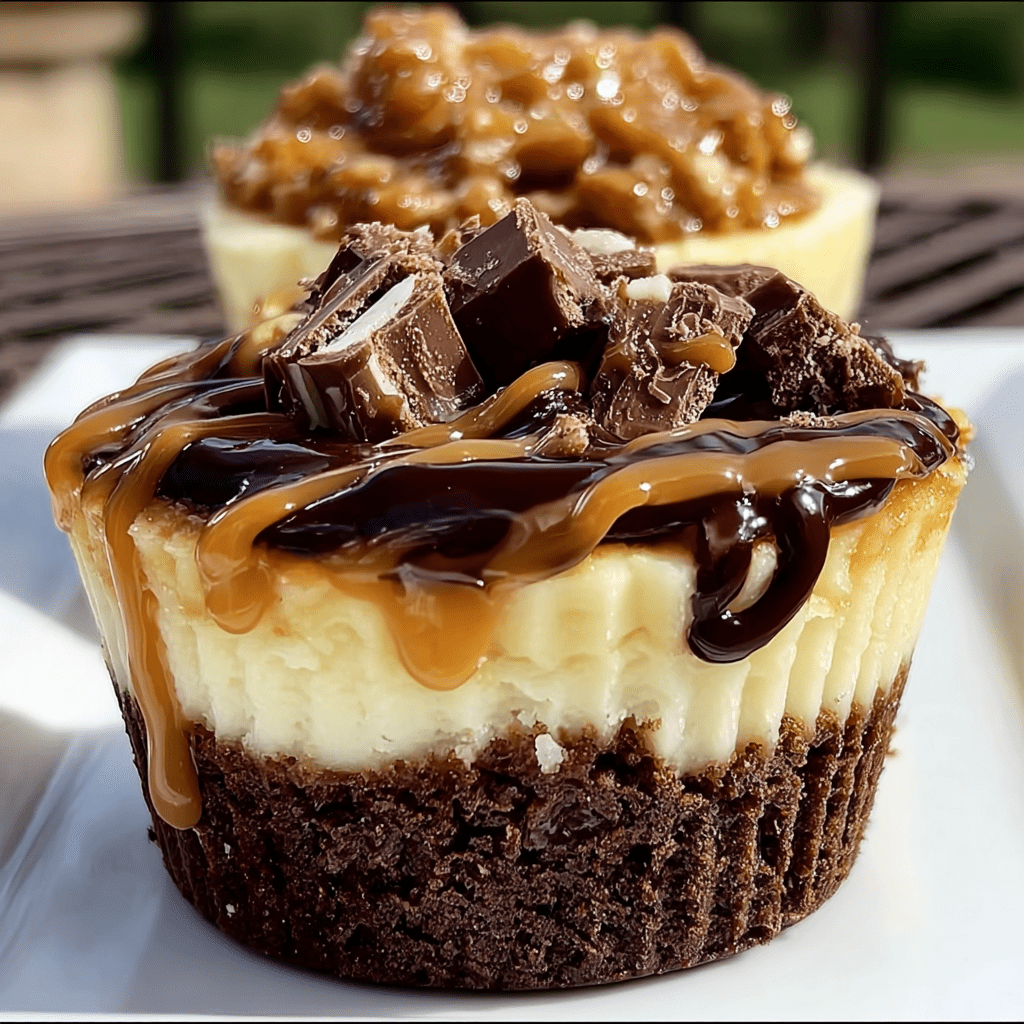
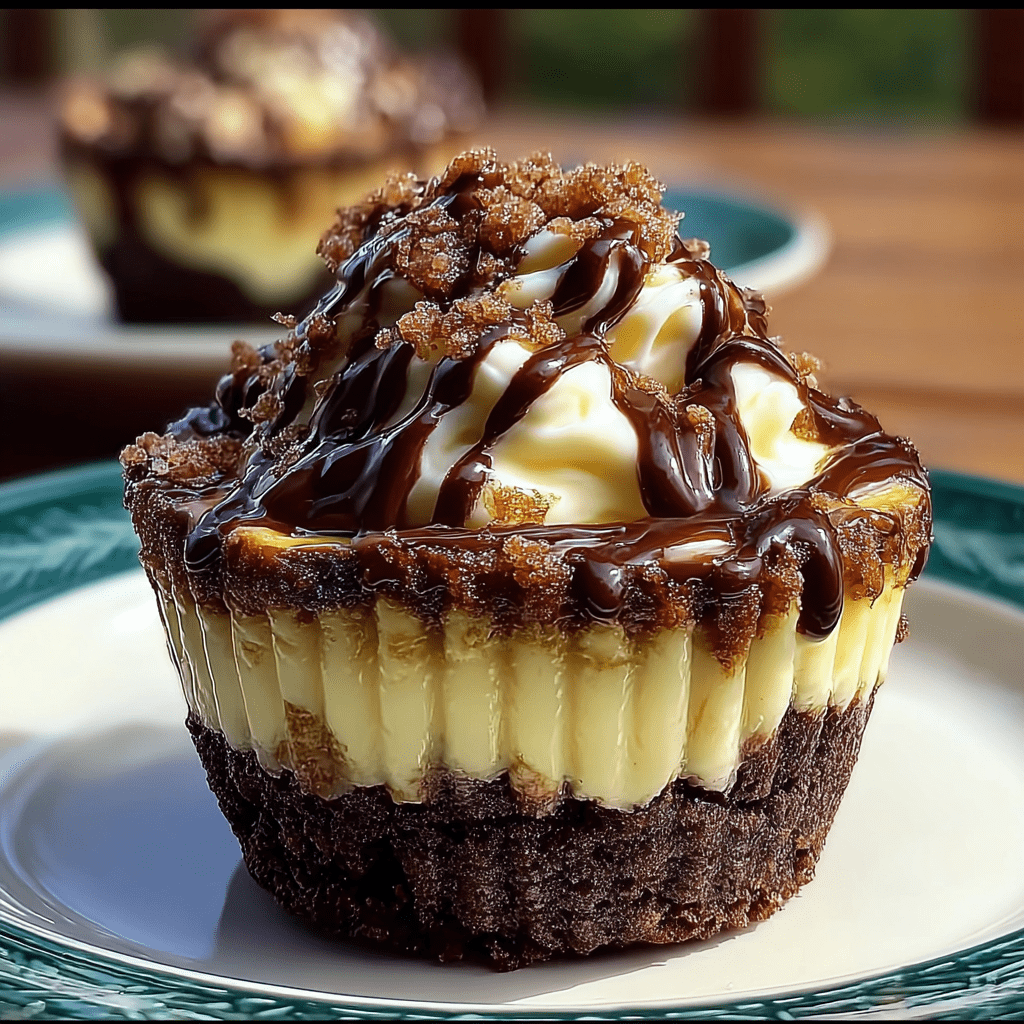
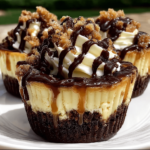
If you’re a dessert lover looking for something decadent, creamy, and packed with indulgent layers, Loaded Brownie Cheesecake Cups are about to become your new favorite treat. These no-bake layered delights combine the richness of fudgy brownies with the light, airy texture of whipped cheesecake filling, all crowned with luxurious toppings like chocolate ganache, caramel drizzle, and extra brownie crumbs. They’re easy to assemble, ideal for parties or personal indulgence, and a crowd-pleaser every time.
What makes these cheesecake cups even more irresistible is their versatility. You can dress them up for holidays, personalize them with your favorite flavors, or serve them in charming mason jars or dessert glasses for a polished presentation. Inspired by the classic cheesecake and the ever-popular brownie dessert (learn more here), this no-bake variation is quick to make and visually impressive.
For those seeking delicious, fuss-free desserts, these cups are right up there with no-bake Oreo cheesecake cups and layered brownie parfaits. Plus, they require no oven time, making them perfect for warmer months or last-minute dessert needs.
🧁 What are brownie cheesecake cups?
Brownie cheesecake cups are individual layered desserts that blend moist, crumbled brownies with a silky, whipped cheesecake filling. Unlike traditional cheesecakes that require baking and chilling for hours, this version skips the oven altogether. Instead, it layers pre-baked or store-bought brownies and a no-bake cheesecake mousse in cups or jars, topped off with ganache, caramel, and more brownie crumbles for extra indulgence.
These dessert cups offer:
-
A quick and easy preparation method
-
Perfect portion control
-
A beautiful presentation for events and parties
They’re similar in style to classic desserts like parfaits and trifle cups but elevated with dense brownie textures and creamy cheesecake layers. If you love combining chocolate and cheesecake flavors, this is your dream dessert.
Brownie cheesecake cups are often inspired by traditional cheesecake methods but adjusted for convenience and fun.
🧂 Key ingredients and their roles
To create the ultimate loaded brownie cheesecake cups, it’s important to understand the role of each component. Each layer plays a vital part in building flavor, texture, and presentation.
Brownie Layer:
-
Fudgy brownies (about 2 cups, crumbled)
-
Use homemade or store-bought brownies
-
Opt for fudgy brownies, not cakey, to get a moist base layer
-
Acts as the chewy, chocolaty foundation of the cup
-
Cheesecake Filling:
-
1½ cups cream cheese (softened)
-
The creamy base of the filling
-
Must be softened to ensure smooth blending
-
-
½ cup powdered sugar
-
Sweetens the cheesecake without adding graininess
-
-
1 teaspoon vanilla extract
-
Enhances flavor and complements the brownies
-
-
1 cup heavy whipping cream (whipped to stiff peaks)
-
Adds lightness and a mousse-like texture
-
Ensures the filling stays fluffy and not dense
-
For more about how whipped cream works in desserts, visit this resource
-
Toppings:
-
Chocolate ganache
-
A mix of melted chocolate and heavy cream
-
Adds richness and glossy finish
-
Learn about the art of ganache here
-
-
Caramel sauce
-
Offers a sweet, buttery contrast to the rich chocolate
-
Explore how caramel is made on Wikipedia
-
-
Extra brownie crumbs
-
For crunch and garnish
-
These layers combine to make every bite creamy, chewy, and full of flavor.
🍽 Step-by-step instructions
Step 1: Prepare the cheesecake filling
-
In a large mixing bowl, beat the softened cream cheese, powdered sugar, and vanilla extract until completely smooth.
-
In a separate bowl, whip the heavy cream to stiff peaks.
-
Gently fold the whipped cream into the cream cheese mixture. Do not overmix—just fold until it’s uniform.
Step 2: Assemble the cups
-
Add a layer of crumbled brownies at the bottom of your cups or jars.
-
Spoon or pipe in a generous layer of cheesecake filling.
-
Drizzle with chocolate ganache and caramel sauce.
-
Repeat the layers until the cup is full.
-
Finish with extra brownie crumbs and a final drizzle of caramel and ganache.
Step 3: Chill and serve
-
Chill the dessert cups in the refrigerator for at least 1 hour before serving to allow the layers to set.
You can take inspiration from holiday mini dessert cups or other dessert cup ideas for creative presentation.
🪄 Tips for the best results
To ensure your brownie cheesecake cups are as delicious and visually appealing as possible, keep these tips in mind:
-
Use quality brownies: Whether store-bought or homemade, aim for moist, fudgy brownies. Avoid dry or overbaked ones.
-
Whip cream properly: Over-whipped cream turns grainy; under-whipped cream won’t hold the cheesecake structure.
-
Soften cream cheese: Allow it to come to room temperature before mixing to avoid lumps.
-
Layer evenly: Use a piping bag for cleaner layers and a more polished look.
-
Don’t skip chilling: This step is crucial to help the layers firm up and blend flavors.
Following these tips ensures each bite is balanced, creamy, and indulgent.
🎨 Customization ideas
One of the best parts about these dessert cups is how customizable they are. You can personalize the ingredients based on preference, dietary needs, or occasion.
Here are some creative twists:
-
Add crushed Oreos, graham crackers, or cookie dough chunks between layers
-
Swirl in peanut butter, Nutella, or espresso to enhance flavor
-
Use fruit sauces like raspberry or strawberry compote for a tangy balance
-
Add chopped pecans, walnuts, or chocolate chips for extra texture
-
Use festive sprinkles or food coloring for themed events
With a few swaps, you can even create Christmas, Halloween, or Valentine’s Day versions of this decadent dessert.
🧾 Nutritional info & serving sizes
While loaded brownie cheesecake cups are undeniably indulgent, it’s helpful to know the nutritional breakdown for moderation or tracking purposes.
| Nutrient | Per Serving (1 Cup) |
|---|---|
| Calories | 470 |
| Total Fat | 30g |
| Saturated Fat | 18g |
| Carbohydrates | 42g |
| Sugars | 34g |
| Protein | 5g |
| Fiber | 1g |
| Sodium | 150mg |
Serving size: One standard cup or jar (approx. 6 oz)
You can make them lighter by using:
-
Low-fat cream cheese
-
Reduced-sugar caramel sauce
-
Greek yogurt instead of heavy cream
🍰 Serving suggestions
These delightful dessert cups are perfect for:
-
Birthday parties
-
Potlucks
-
Holidays like Thanksgiving or Christmas
-
Casual dinner parties or family gatherings
Pair them with:
-
Fresh brewed coffee or espresso
-
A glass of cold milk
-
Vanilla or coffee-flavored ice cream
Presentation Tips:
-
Use clear jars or shot glasses for an elegant look
-
Garnish with a small mint leaf or chocolate curl for contrast
These simple tricks elevate your cheesecake cup from casual snack to gourmet-style dessert.
🧊 Make ahead & storage instructions
One of the advantages of these brownie cheesecake cups is how well they store, making them a fantastic make-ahead dessert.
-
Make ahead: Prepare and assemble up to 2 days in advance
-
Fridge: Store covered in the refrigerator for up to 4 days
-
Freezer: Freeze for up to 2 weeks in airtight containers. Thaw overnight in the fridge before serving
Avoid:
-
Adding ganache and caramel before freezing
-
Keeping at room temperature for too long (they’ll lose shape)
Use mason jars or airtight dessert containers to keep them fresh and flavorful.
⚠️ Common mistakes to avoid
To make sure your dessert comes out flawless, avoid these common missteps:
-
Overbeating whipped cream: Causes it to turn buttery or collapse
-
Under-mixed filling: Results in lumpy texture
-
Dry brownies: Don’t use overbaked or stale brownies
-
Skipping chill time: Makes the filling runny and less set
-
Adding toppings too early: Can cause sogginess or separation during storage
Always taste as you go and trust your texture cues—your spoon should glide through layers, not sink into a mess.
🌱 Variations for dietary needs
This dessert can easily be adapted for various dietary preferences without losing its indulgent charm.
Gluten-Free Version:
-
Use gluten-free brownies (store-bought or homemade)
Keto-Friendly Version:
-
Swap sugar with monk fruit sweetener or erythritol
-
Use almond flour brownies and full-fat cream cheese
Vegan Option:
-
Use dairy-free cream cheese
-
Substitute whipped cream with coconut cream
-
Replace brownies with vegan chocolate cake or brownie alternatives
Making these changes keeps the cheesecake cups delicious and accessible to everyone.
🍪 Related dessert recipes to try
Love loaded brownie cheesecake cups? Here are some similar crowd-pleasers:
Each offers a different flavor twist but keeps the layered, spoonable dessert concept alive. Mix and match ideas from each to build your own signature dessert.
❓ FAQs
Can I use store-bought brownies for cheesecake cups?
Yes! Store-bought brownies work well. Just ensure they’re moist and fudgy—not dry or crumbly.
How long do brownie cheesecake cups last in the fridge?
They’ll stay fresh for up to 4 days when covered and refrigerated.
Can I freeze cheesecake dessert cups?
Absolutely. Freeze in airtight containers for up to 2 weeks. Thaw in the fridge before serving.
What’s the best cream cheese for no-bake cheesecake?
Full-fat cream cheese gives the richest texture and flavor. Avoid whipped or spreadable varieties.
How do I prevent whipped cream from deflating in no-bake desserts?
Make sure to whip it to stiff peaks and fold gently into the cream cheese mixture.
Loaded Brownie Cheesecake Cups
These Loaded Brownie Cheesecake Cups are rich, creamy, and totally indulgent. With layers of fudgy brownie crumbles, whipped cheesecake filling, and decadent toppings like chocolate ganache and caramel sauce, they make the ultimate no-bake dessert for parties, potlucks, or cozy nights in.
- Prep Time: 20 minutes
- Chill time: 1 hour
- Cook Time: 0 minutes (no bake)
- Total Time: 1 hour 20 minutes
- Yield: 6–8 cups (depending on cup size) 1x
- Category: Dessert
- Method: No-Bake
- Cuisine: American
Ingredients
Brownie Layer:
-
2 cups fudgy brownies, crumbled (store-bought or homemade)
Cheesecake Filling:
-
1½ cups cream cheese, softened (full-fat)
-
½ cup powdered sugar
-
1 teaspoon vanilla extract
-
1 cup heavy whipping cream, whipped to stiff peaks
Toppings:
-
½ cup chocolate ganache (see note below)
-
¼ cup caramel sauce
-
½ cup extra brownie crumbs (for garnish)
Instructions
1. Prepare the Whipped Cheesecake Filling
-
In a large bowl, beat the softened cream cheese, powdered sugar, and vanilla extract until smooth and creamy.
-
In a separate bowl, whip the heavy cream until stiff peaks form.
-
Gently fold the whipped cream into the cream cheese mixture using a spatula. Do not overmix—just fold until fully incorporated.
2. Assemble the Cheesecake Cups
-
Add a layer of crumbled brownies at the bottom of each serving cup or jar (about 2–3 tablespoons).
-
Spoon or pipe in a layer of the cheesecake filling over the brownie base.
-
Drizzle a thin layer of chocolate ganache and caramel sauce over the filling.
-
Repeat layers (brownie, cheesecake, drizzle) until cups are full.
-
Top with extra brownie crumbs and additional drizzle for garnish.
3. Chill and Serve
-
Cover the cups with lids or plastic wrap.
-
Chill in the refrigerator for at least 1 hour before serving to allow the layers to set.
Notes
-
For Ganache: Melt ½ cup semi-sweet chocolate chips with ¼ cup heavy cream. Stir until smooth and glossy.
-
Make-Ahead Tip: These cups can be made up to 2 days in advance and stored in the fridge.
-
Customization Ideas: Add nuts, swap caramel for fruit compote, or use gluten-free brownies.
-
Whipped Cream Tip: Always whip cream cold and stop when stiff peaks form to avoid deflation.
-
No piping bag? Just use a spoon or zip-top bag with the corner snipped off for layering.
Nutrition
- Calories: 410 kcal