When it comes to Halloween desserts that are as spooky as they are delicious, few treats capture the eerie fun of the season quite like Halloween Graveyard Dirt Cups. These no-bake, creepy-chic desserts are the perfect addition to any Halloween celebration — from kids’ parties to adult-themed spooky soirées. Easy to make, cost-effective, and endlessly customizable, dirt cups are a beloved classic with a Halloween twist.
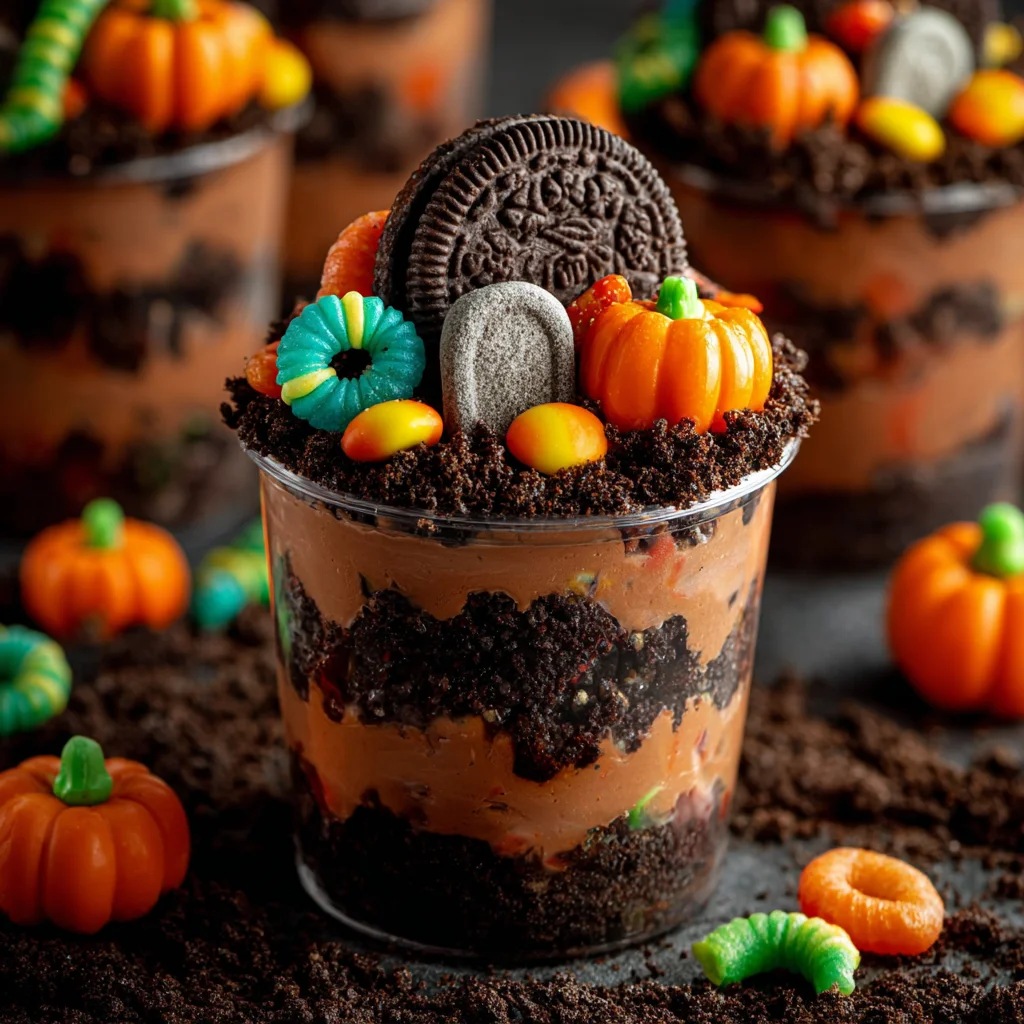
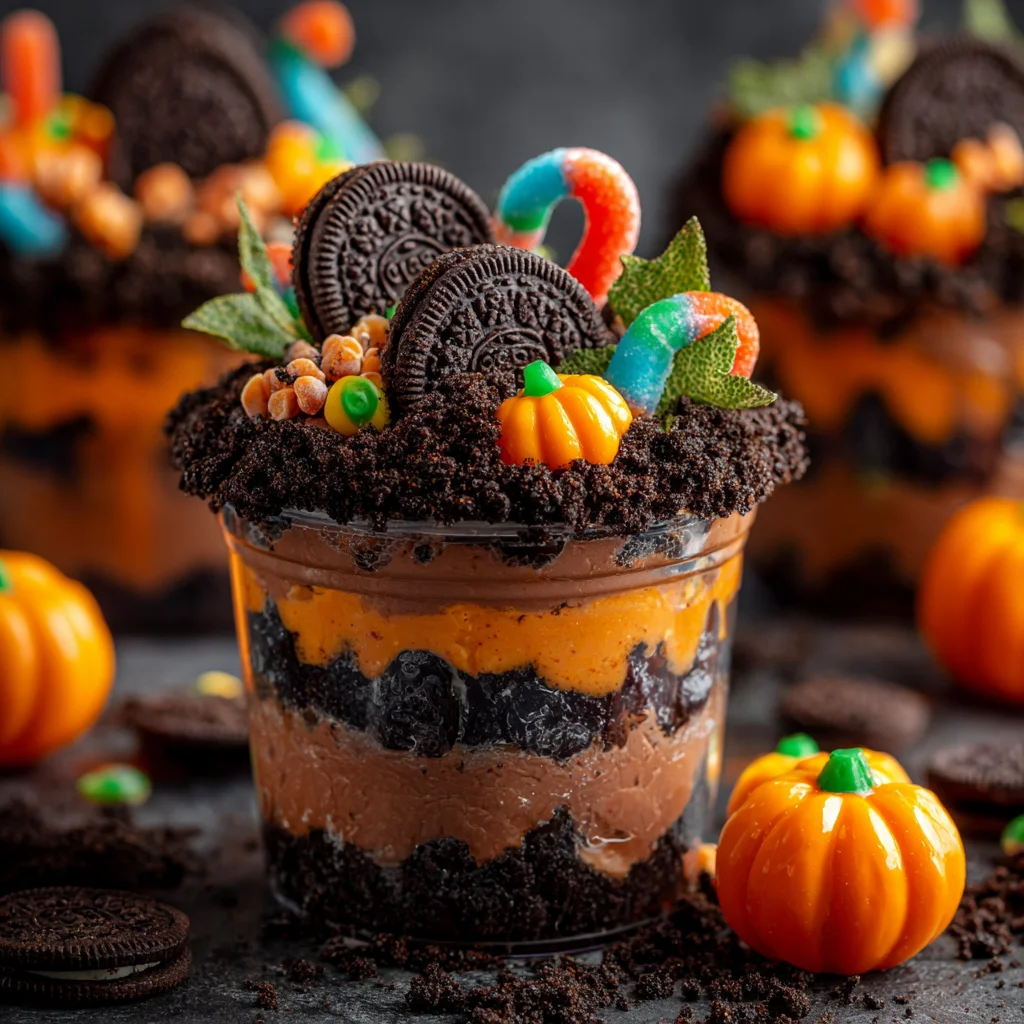
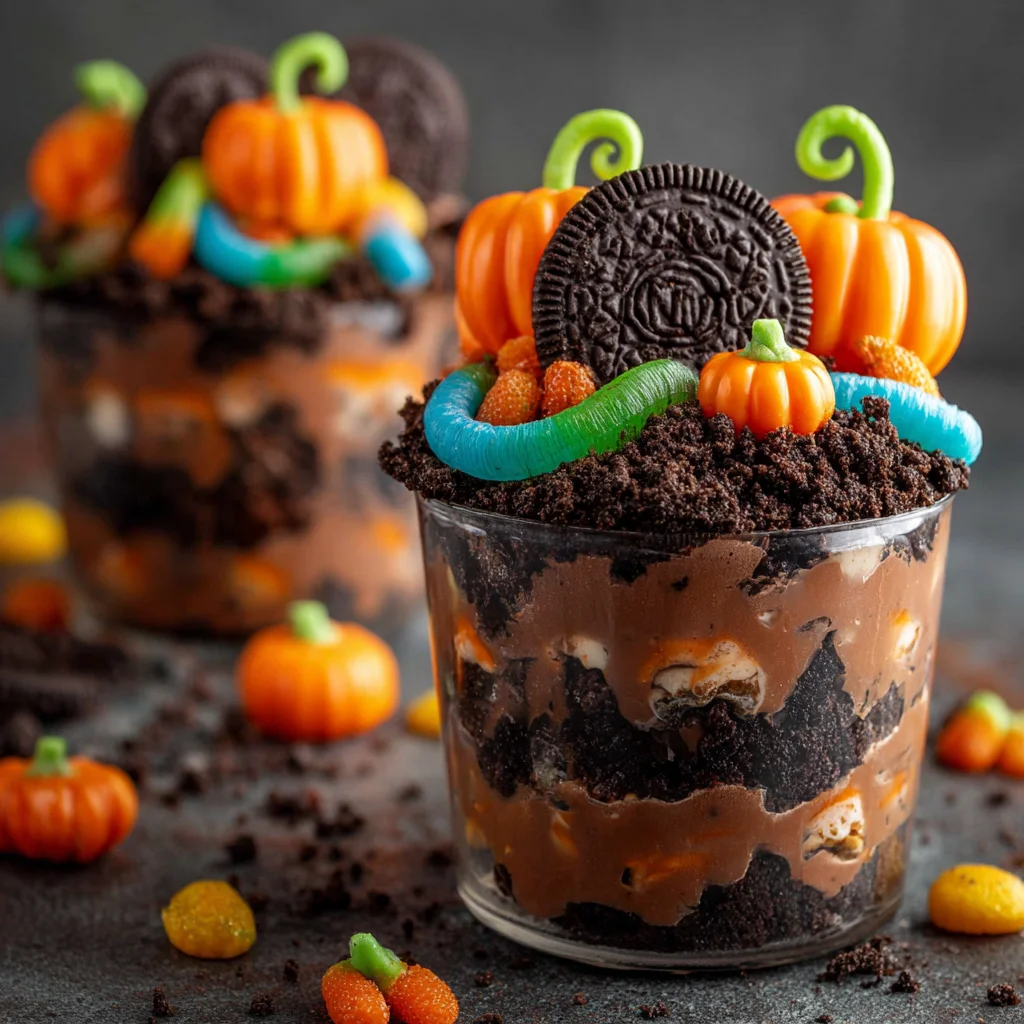
What makes these Graveyard Dirt Cups so special? It’s all about the layers: creamy chocolate pudding, rich whipped topping, and crunchy crushed Oreo cookies that resemble soil. Add spooky edible decorations like tombstone cookies and gummy worms, and you’ve got a graveyard scene right in your cup! The best part? There’s no oven required, making this a great option for busy parents or last-minute Halloween hosts.
These frightful treats are inspired by classic dirt pudding cups, a nostalgic dessert with many variations. According to Wikipedia’s article on pudding, this kind of dessert originated from traditional custards and has evolved into easy-to-make versions using instant mixes. Paired with store-bought or homemade cookie crumbs and topped with candies, Halloween dirt cups have become a Pinterest favorite as seen on Halloween dessert cups.
🧁 Ingredients overview for Halloween dirt cups
To create the ultimate Halloween Graveyard Dirt Cups, gather these simple, accessible ingredients:
-
1 (14-ounce) package Oreo cookies, crushed into fine crumbs
-
2 (3.9-ounce) boxes of instant chocolate pudding mix
-
4 cups of cold milk
-
1 (8-ounce) tub of whipped topping (such as Cool Whip), thawed
-
8 Milano cookies or similar oval-shaped cookies for tombstones
-
Black gel icing or edible marker to write spooky messages
-
Gummy worms, candy pumpkins, candy bones, or spooky sprinkles
Each of these ingredients plays a specific role. The Oreo cookies form the dirt base, while the pudding and whipped topping create a fluffy, rich filling. Milano cookies serve as edible gravestones, and candies turn your cup into a festive graveyard scene. For allergy-friendly options, you can use gluten-free cookies and plant-based milk.
For more on the iconic Oreo cookies, check out this Wikipedia page on Oreo, and if you’re curious about the different kinds of gummy candy, this gummy candy article breaks down the types and flavors commonly used in desserts.
🛠️ Tools & equipment you’ll need
Making Halloween Graveyard Dirt Cups doesn’t require any fancy gadgets. Here’s what you’ll need:
-
Large mixing bowl
-
Whisk or electric hand mixer
-
Measuring cups
-
Spatula
-
Clear plastic cups or glass jars
-
Zip-top bag or food processor (to crush the cookies)
-
Edible marker or gel icing
-
Serving tray or Halloween-themed plates
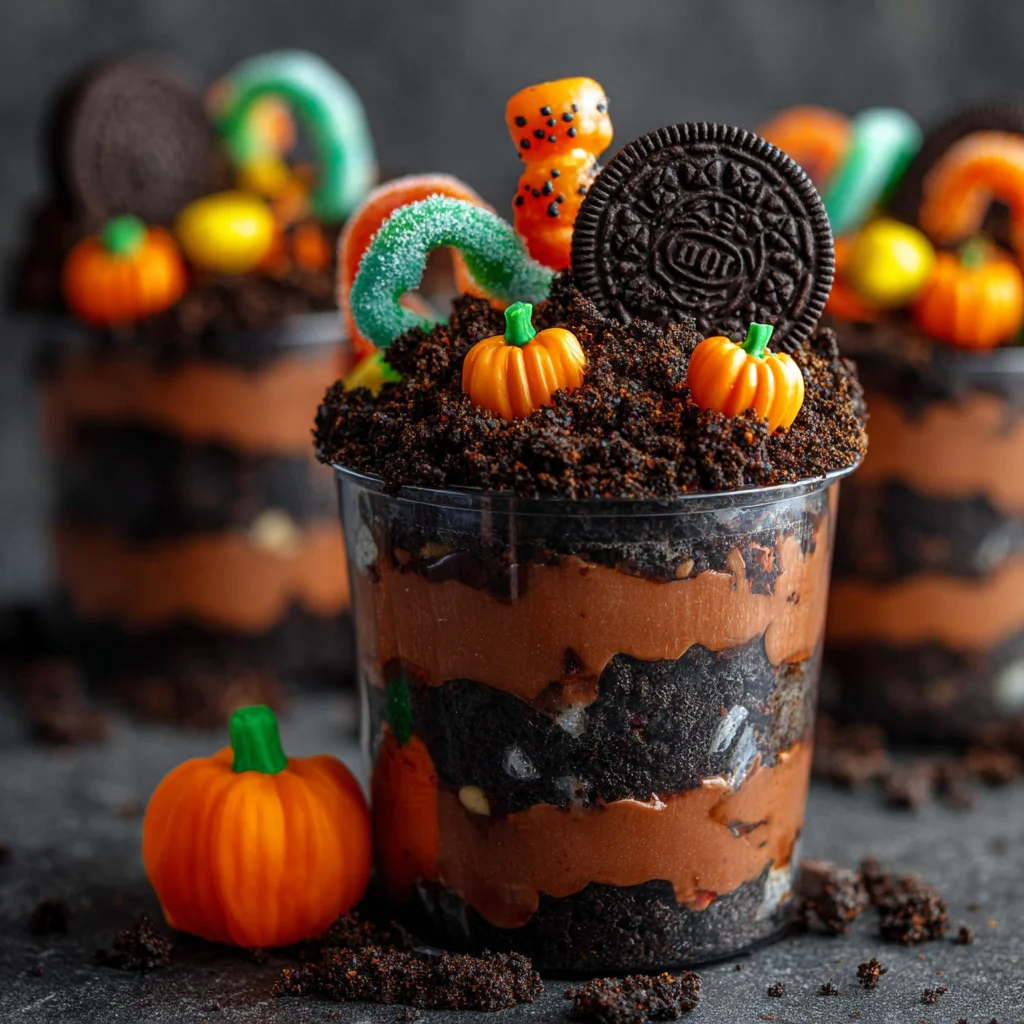
The clear cups are important — they show off the layered look of your dessert, adding to the spooky presentation. You can use disposable clear cups for convenience or glass jars for a more sustainable and reusable option.
Make sure everything is prepped before you begin, especially if you’re making this recipe with kids. To make the decorations extra spooky, take inspiration from DIY Halloween treats on Pinterest.
🍫 Step-by-step instructions for assembling
Now it’s time to bring your Halloween Graveyard Dirt Cups to life (or death 👻). Follow these simple steps:
Step 1: Prepare the pudding
In a large bowl, whisk the 2 (3.9-ounce) boxes of instant chocolate pudding mix with 4 cups of cold milk until thickened, about 2 minutes. Let it sit for 5 minutes to set completely.
Step 2: Fold in whipped topping
Gently fold in 1 (8-ounce) tub of whipped topping into the pudding mixture using a spatula. This step lightens the pudding into a mousse-like texture.
Step 3: Crush the cookies
Place 1 (14-ounce) package of Oreo cookies in a zip-top bag and crush them using a rolling pin, or pulse them in a food processor until they resemble fine soil.
Step 4: Layer the dirt cups
In each cup, layer crushed cookies at the bottom, add a layer of pudding mixture, then another layer of cookies. Finish with a thick top layer of cookie crumbs to mimic a fresh graveyard surface.
Step 5: Create tombstones
Use Milano cookies and decorate them using black gel icing or edible markers. Write spooky messages like “RIP,” “BOO,” or “EEK.”
Step 6: Decorate with candies
Insert a tombstone into each cup and add gummy worms, candy pumpkins, or candy bones to complete the spooky graveyard look.
Step 7: Chill before serving
Place the finished cups in the refrigerator for at least 30 minutes to let the flavors meld and layers set properly.
Want more inspiration on decorating spooky treats? Check out this Pinterest board for edible marker cookie decorating.
🪦 How to make tombstone cookies
Creating edible tombstones is one of the highlights of this dessert. Here’s how to do it:
-
Use Milano cookies for their oval shape and firm texture.
-
Choose black gel icing or an edible marker to write messages.
-
Use short messages like:
-
RIP
-
BOO
-
HELP
-
BEWARE
-
Let the writing set before inserting the cookie into your dirt cup to avoid smudging. These tombstones add character and humor, making your cups stand out at any Halloween event.
🍬 Halloween candy decorations – ideas & variations
The final touch to your Halloween Graveyard Dirt Cups is the candy. Here are some fun options:
-
Gummy worms crawling out of the “dirt”
-
Candy pumpkins placed next to tombstones
-
Candy bones scattered on the surface
-
Edible eyes for a creepy peeking effect
-
Halloween-themed sprinkles for extra color
Want to get even more creative? Check out Halloween party food ideas for decoration themes like haunted forests or zombie hands.
❄️ Chilling & storing dirt cups
Once assembled, your Halloween dirt cups need some time to set. Here’s how to store them:
-
Chill for at least 30 minutes before serving
-
Store in the fridge for up to 3 days
-
Keep covered with plastic wrap or lids to retain moisture
Avoid freezing these cups, as freezing can change the texture of pudding and whipped topping. If you’re preparing for a party, consider assembling the layers in advance and decorating the tops just before serving.
🧟 Creative variations of Halloween dirt cups
Want to put your own twist on the classic? Here are fun variations to suit different diets and party styles:
-
Graveyard Pudding Jars: Use mason jars instead of plastic cups for a rustic Halloween look.
-
Vegan/Dairy-Free: Use almond or oat milk, vegan pudding mix, and coconut whipped topping.
-
Gluten-Free: Choose gluten-free chocolate cookies instead of Oreos.
-
Monster Mash Cups: Add green-tinted pudding and eyeball candies for a monster effect.
-
Haunted Forest: Top with mini trees made from chocolate-covered pretzels.
These variations are fun to experiment with and keep your dessert lineup fresh each year. For more no-bake ideas, explore no-bake Halloween recipes.
👶 Tips for making with kids
Halloween Graveyard Dirt Cups are a perfect activity to do with kids! Here’s how to make it even more fun and safe:
-
Pre-measure ingredients so kids can easily combine them
-
Let them crush the cookies with a rolling pin
-
Allow full creativity when decorating tombstones and adding candies
-
Use plastic or silicone cups for safety
This activity encourages creativity and gives kids a sense of accomplishment. Plus, it’s a sweet treat they’ll be proud to share!
🎨 Serving ideas & presentation tips
Presentation can take your dirt cups from cute to unforgettable:
-
Serve on a spooky tray with dry ice fog for dramatic effect
-
Add miniature Halloween figurines like skeletons or ghosts
-
Use themed name tags like “Zombie Zoe” or “Dracula Dave”
-
Decorate the outside of the cups with Halloween stickers
Serve them alongside other fun Halloween foods like spider cookies or monster popcorn for a complete treat table!
🧛♂️ Graveyard dirt cups for Halloween parties
These cups are perfect for both small gatherings and large events. Here’s how to adapt them:
-
Make in bulk by prepping pudding and cookie crumbs ahead of time
-
Use mini 3-ounce cups for party-size portions
-
Add plastic lids for easy transport to schools or events
-
Provide a decorating station where guests can personalize their own cups
For Pinterest-worthy ideas on Halloween events, check out this collection of Halloween party desserts.
🕒 Can you make these ahead of time?
Absolutely! These are a great make-ahead option:
-
Assemble the pudding and cookie layers the day before
-
Store undecorated to keep cookies and candies fresh
-
Add tombstones and candy decorations the day of serving
-
Keep refrigerated until it’s time to serve
Avoid soggy cookies by separating wet and dry ingredients until closer to serving time.
🥄 Healthier Halloween dirt cups
Want to reduce the sugar without sacrificing the fun? Here are ways to make healthier Halloween dirt cups:
-
Use sugar-free pudding mix and light whipped topping
-
Replace part of the pudding with Greek yogurt and cocoa powder
-
Add banana or strawberry puree between layers for natural sweetness
-
Use low-sugar or sugar-free cookies
This lets everyone enjoy the spooky fun, regardless of dietary preferences or health concerns.
⚠️ Common mistakes to avoid
Even a simple recipe like this has a few potential pitfalls:
-
Using warm pudding – always chill it first
-
Overmixing whipped topping – fold gently to keep the texture light
-
Skipping chill time – makes it harder for layers to set
-
Adding candy too early – can cause it to melt or get soggy
-
Inconsistent layers – use spoons or piping bags for even distribution
Paying attention to these small details will make your Halloween Graveyard Dirt Cups not just good, but great.
❓ FAQs – People also ask
What are dirt cups made of?
Dirt cups are typically made of crushed chocolate cookies (like Oreos), chocolate pudding, and whipped topping. For Halloween versions, they include candies and cookies as decorations.
Can you make Halloween dirt cups the night before?
Yes, they can be made 24 hours in advance. Just wait to add tombstones and candy decorations until shortly before serving.
Can I use homemade pudding instead of instant?
Absolutely, though it takes longer. Ensure it’s fully chilled before assembling the cups.
What other cookies can be used for tombstones?
You can use graham crackers, shortbread cookies, or any oval/rectangular cookies with a flat surface for writing.
How do you keep Oreo dirt from getting soggy?
Layer the cookies just before serving or store them separately and assemble at the last minute.
🧁 Conclusion – a fun, spooky treat everyone will love
Halloween Graveyard Dirt Cups are the ultimate no-fuss, all-fun dessert for spooky season. They’re easy to make, perfect for parties, endlessly customizable, and a blast to decorate. Whether you’re preparing treats for kids, friends, or family, these cups bring creativity and flavor together in one deliciously eerie package.
So grab your pudding, cookies, and candy — and start digging your delicious grave!
PrintHalloween Graveyard Dirt Cups

These Halloween Graveyard Dirt Cups are the ultimate spooky, no-bake dessert for Halloween parties! Made with layers of creamy chocolate pudding, whipped topping, crushed Oreos, and decorated with cookie tombstones and gummy worms, they’re perfect for kids and adults alike.
- Prep Time: 15 minutes
- Chill time: 30 minutes
- Cook Time: 0 minutes (no baking required)
- Total Time: 45 minutes
- Yield: 8 individual dirt cups
- Category: Dessert
- Method: No-Bake
- Cuisine: American
Ingredients
Pudding Layer:
2 (3.9-ounce) boxes instant chocolate pudding mix
4 cups cold milk
1 (8-ounce) tub whipped topping (Cool Whip), thawed
Dirt Layer:
1 (14-ounce) package Oreo cookies, finely crushed
Decorations:
8 Milano cookies (or similar oval cookies, for tombstones)
Black gel icing or edible marker (for writing on tombstones)
Gummy worms
Candy pumpkins
Candy bones
Optional: Halloween-themed sprinkles, edible eyes
Instructions
Step 1: Prepare the Pudding
-
In a large mixing bowl, whisk 2 boxes of instant chocolate pudding mix with 4 cups of cold milk for about 2 minutes until it thickens.
-
Let it sit for 5 minutes to fully set.
Step 2: Add Whipped Topping
-
Gently fold in 1 tub of thawed whipped topping using a spatula.
-
Mix until fully combined, forming a fluffy chocolate mousse texture.
Step 3: Crush the Cookies
-
Place Oreo cookies in a zip-top bag and crush them with a rolling pin, or pulse in a food processor until they resemble fine crumbs.
Step 4: Layer the Cups
-
In clear plastic or glass cups, add a layer of crushed cookies to form the “dirt” base.
-
Spoon in a layer of pudding mixture.
-
Repeat the layers, finishing with a thick layer of Oreo crumbs on top.
Step 5: Make Tombstone Cookies
-
Use Milano cookies and write “RIP”, “BOO”, or other spooky messages using black gel icing or edible markers.
-
Let dry for a few minutes.
Step 6: Decorate
-
Insert a tombstone cookie into each cup.
-
Add gummy worms, candy pumpkins, and candy bones around the tombstone.
-
Optional: sprinkle with Halloween sprinkles or add edible eyes for extra spookiness.
Step 7: Chill
-
Refrigerate for at least 30 minutes before serving.
Notes
-
To avoid soggy cookies, don’t add decorations until just before serving.
-
For a gluten-free version, use gluten-free sandwich cookies.
-
For a dairy-free version, use almond milk and coconut whipped topping.
-
Use smaller cups for party-sized portions.
-
You can prep the pudding and cookie layers a day in advance and assemble the decorations just before the event.